



Thằn lằn cử động linh hoạt - In tại chỗ (Không cần support)
 Bycream110_291842Likes924Downloads7.7K
Build another version of this model.
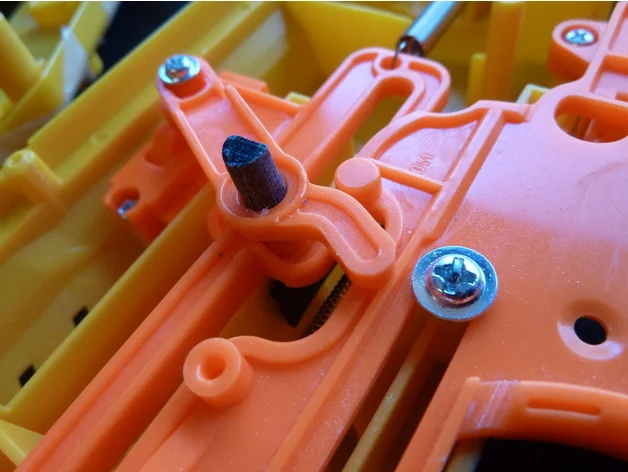
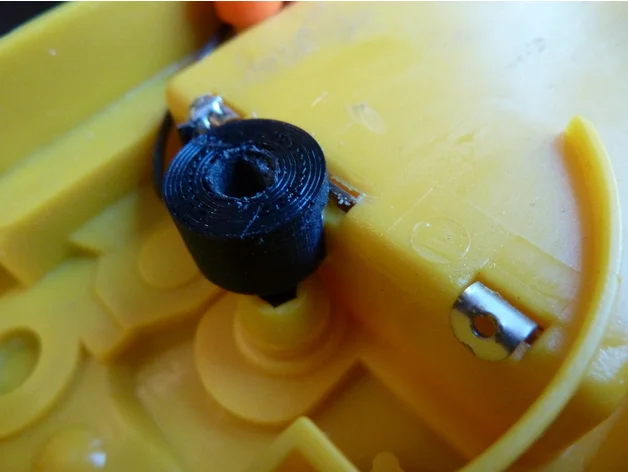
This replaces the central post of a Barricade/Stockade's trigger mechanism - the post on which the pusher slides and the lever rotates. This rod experiences a fair bit of force in normal use, especially when the trigger is pulled while the jam door lock is engaged, and sometimes breaks.
Printing in a horizontal orientation (as it is currently laid out) should provide the most strength. The surface of the cap that contacts the Barricade's lever prints in contact with the bed - this is deliberate, as that makes this surface near-perfectly smooth. Internal support will probably be needed for the cap during printing.
To install:
Bycream110_291842Likes924Downloads7.7K

 ByOnemoredaveLikes861Downloads6.9K

 Bycustom-3d-partsLikes0Downloads197

 Byjs14581_2767550Likes118Downloads3.3K

 Byquibeck_3353173Likes351Downloads2.1K

 Byfilament-frenzyLikes0Downloads453

 ByTheMakerStuffLikes315Downloads1.9K

 ByGoolow_295072Likes598Downloads1.6K

 ByMikWantecLikes264Downloads1.5K

 BySzvmkn_3779340Likes231Downloads1.3K

 ByHacker Man ManLikes248Downloads1.5K

 Bycentarico_3241219Likes257Downloads974