


Mô hình Rick Roll QR Code Prank - Bảng mã QR troll bạn bè độc đáo
 ByvojtagrecLikes289Downloads902
Build another version of this model.
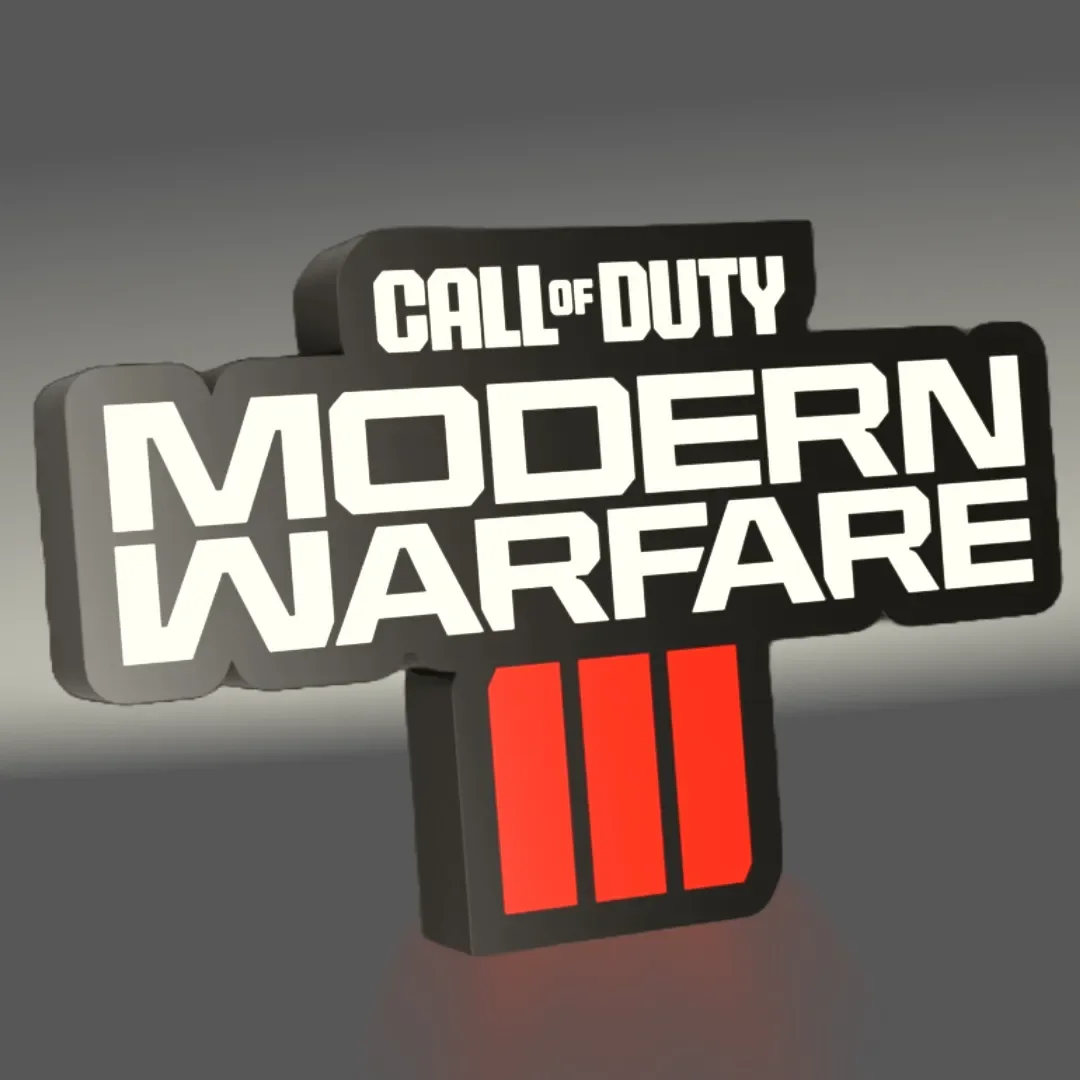
The Call of Duty LED lightbox is a visually impressive decoration inspired by the iconic video game franchise. Featuring the franchise's logo and imagery, the lightbox utilizes LED technology to emit a vibrant glow, making it a captivating addition to any gaming setup or entertainment space. It serves as a bold statement piece for Call of Duty enthusiasts, bringing the excitement of the game into the real world with its sleek design and attention-grabbing illumination.
Materials
Materials and tools required for this project include a glue gun, aluminum tape, and an LED USB strip. Additionally, a soldering iron is optional for those who may choose to use it.
Suggestions
1. Opt for a textured PEI sheet for improved printing results.
2. Utilize the recommended print profile, as it includes several settings conducive to achieving optimal results.
3. Create a hole for the USB strip at your preferred location, using a soldering iron, drill, or by adjusting settings in the slicer.
4. Enhance light diffusion by applying aluminum tape to the inside of the backplate.
5. When placing the LED lights, ensure they are positioned as far away from the colored design as possible to prevent diffusion issues and the visibility of individual LEDs.
Bambu Studio Settings
For optimal results, I highly advise utilizing the provided print profile. However, if you opt not to, here are the key slicer settings recommendations:
1. Navigate to preferences (ctrl + P), activate developer settings, then go to Quality → Advanced → First Layer Flow Ratio: 1.04 to 1.08.
2. Under Quality, choose Wall generator → Arachne.
3. Set Quality → Wall transitioning threshold angle to 50º.
4. In Strength → Advanced, adjust Infill/wall overlap to 20% to 25%.
5. Quality → Advanced → Activate "Avoid crossing walls."
6. To minimize stringing, consider increasing retraction or reducing temperature.
7. When color printing, order the colors from the lightest to the darkest.
Print Settings
0.4mm Nozzle @ .2mm
3 bottom layers
15% gyroid infill on base
First layer speeds, 30mms and 60mms for first layer infill
ByvojtagrecLikes289Downloads902

 ByDrewmundLikes833Downloads4.6K

 Byjeremy-linLikes0Downloads122

 ByHowler117Likes27Downloads350

 ByVojtechSkals_4144903Likes50Downloads251

 ByFastRaccoon_718321Likes461Downloads1.5K

 ByvexanixLikes168Downloads1.3K

 ByIvoLikes196Downloads1.1K


 ByshoheiyLikes0Downloads212

 ByawelshmanLikes74Downloads139

 Bynonoobybut_3307010Likes364Downloads1K