



Kẹp Kính Mát Gắn Xe Hơi
 ByVC_DesignLikes721Downloads2.9K
Build another version of this model.
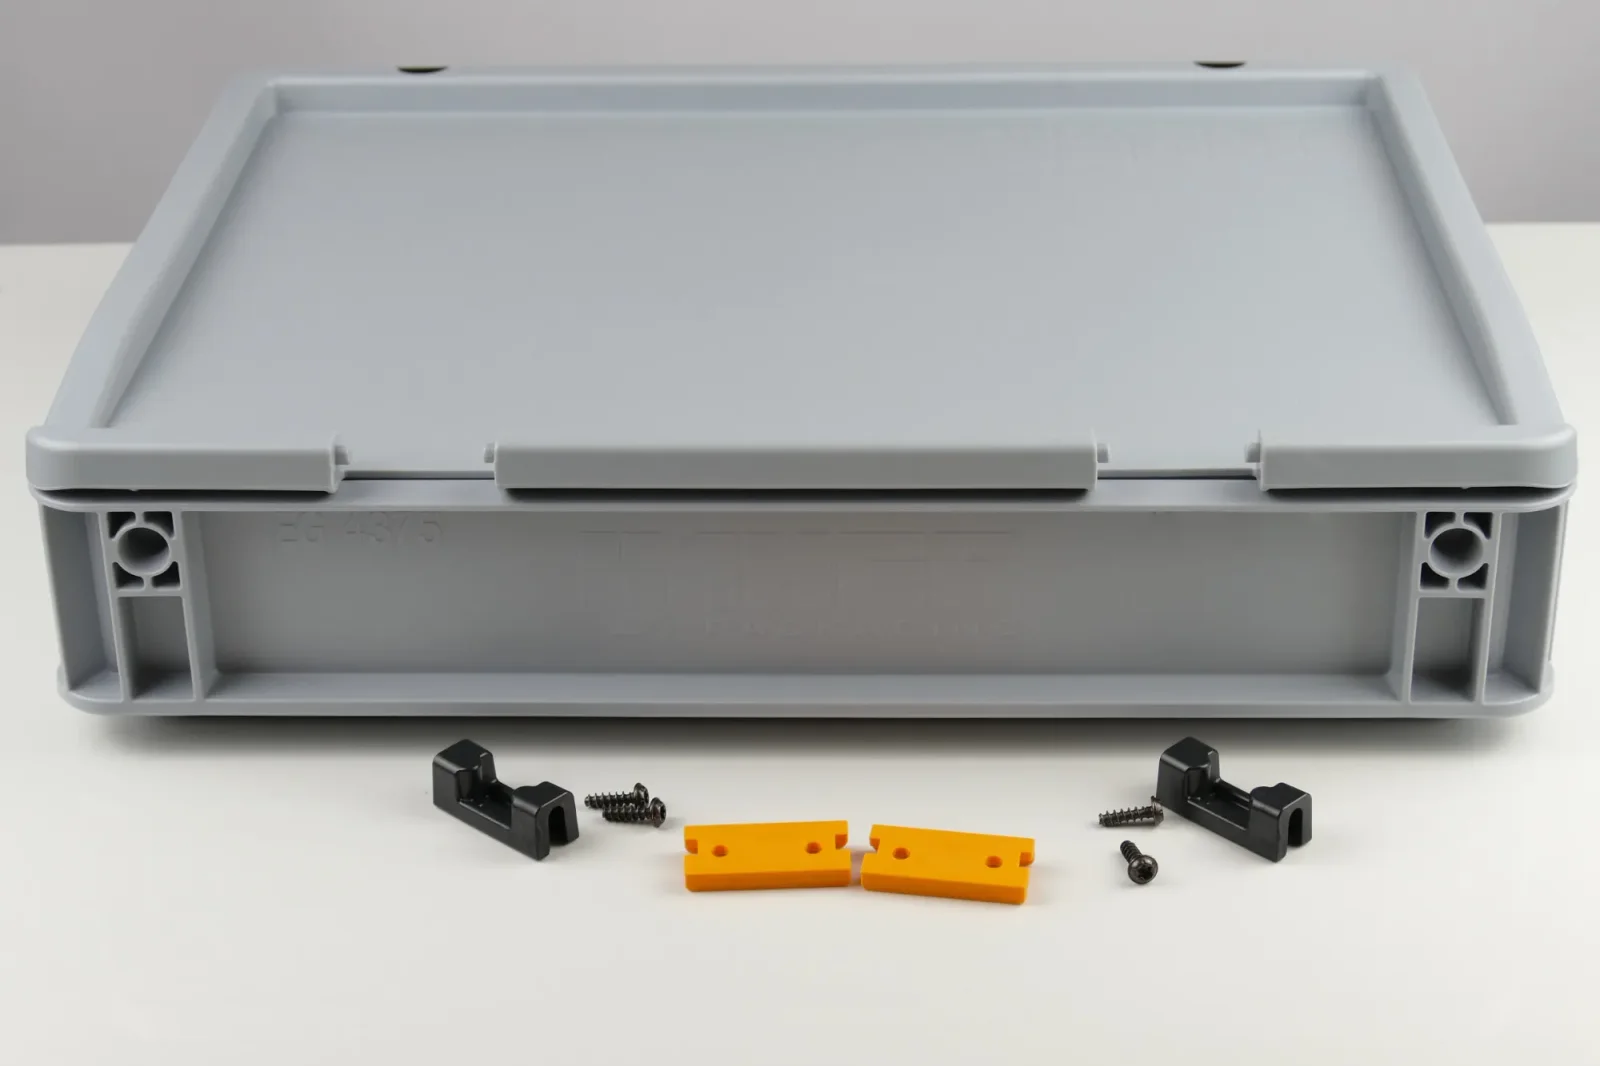
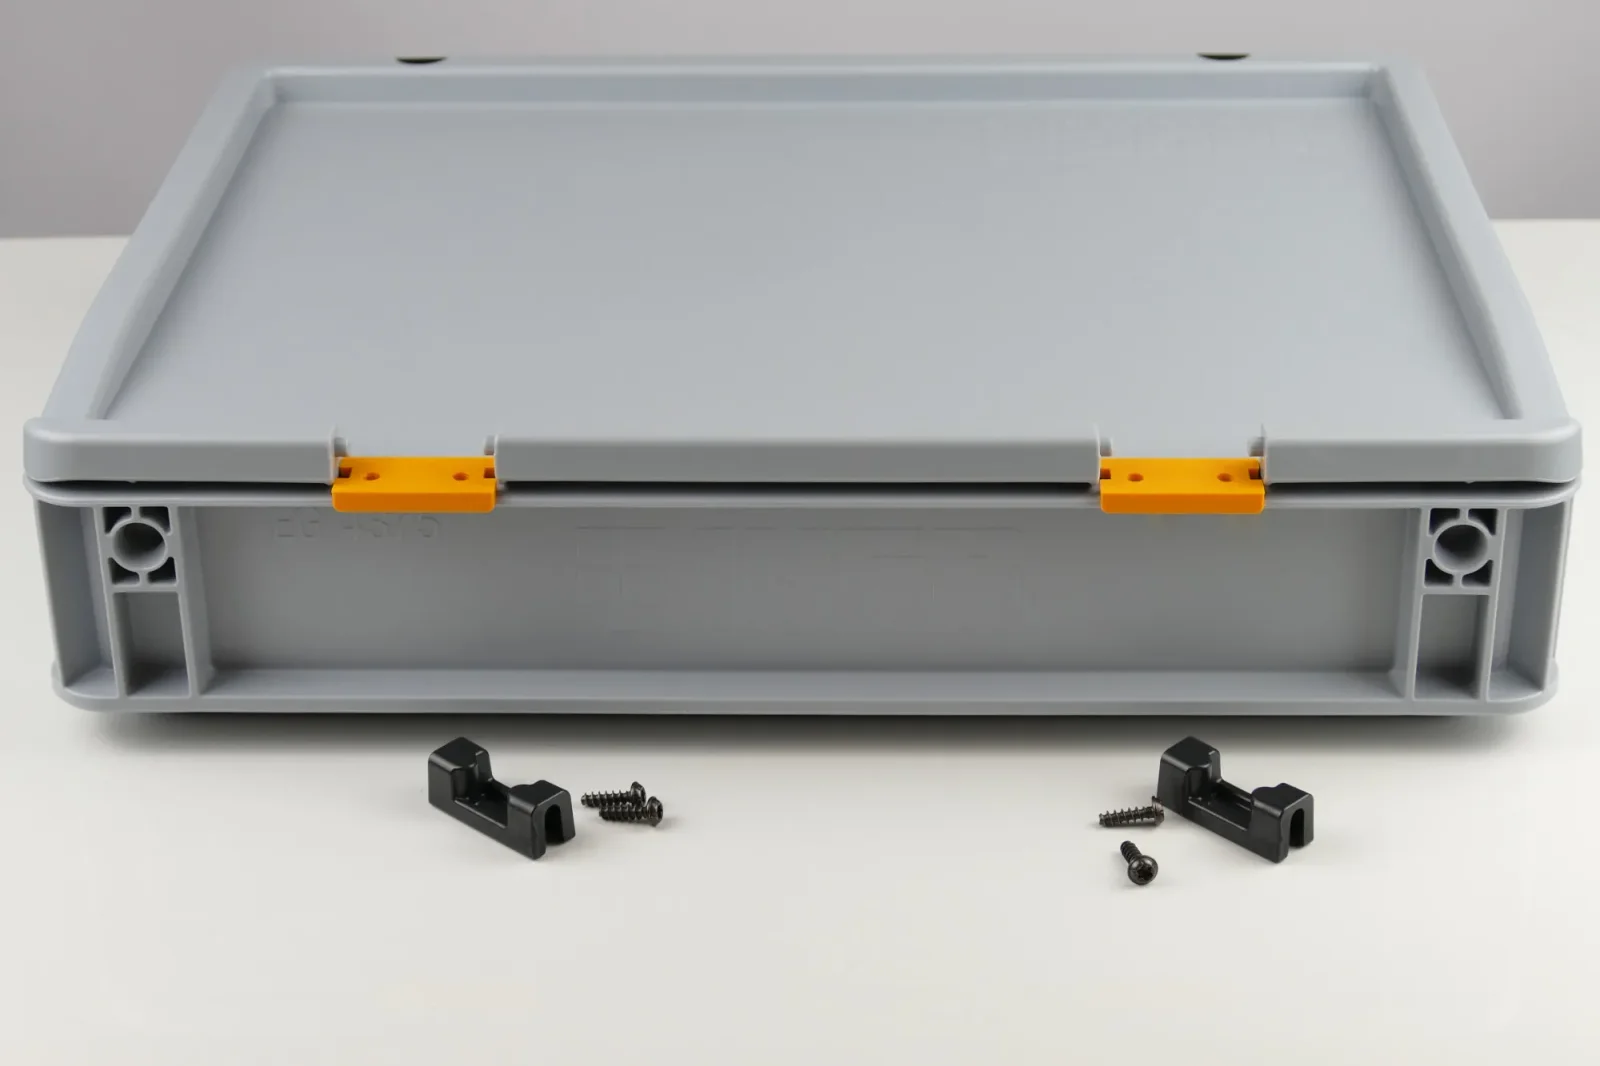
For my Eurobox/Gridfinity-Transportation-System, I use Euroboxes with hinged lids made by Auer Packaging. You can buy the assembled boxes with lids or save a few € by buying the box and the lid separately (or even buy B-grade boxes) and do the assembly yourself.
To mount the lid, you have to drill two holes per hinge into the upper rim of the box. The manufacturer specifies a hole diameter of 5 mm but I measured the screws and use only 4.5-mm-holes. To accurately drill the holes, this jig is quite handy:
It is possible to drill all holes with only one jig. But with two (or even three on the big boxes) copies it is very convenient as you can align everything at once and can drill all holes in one go.
I printed mine in PETG but I guess any other material would also work. It is printed on the flat surface and does not need supports. For rigidity, I printed with 4 perimeters.
ByVC_DesignLikes721Downloads2.9K

 ByUpcrid3D_1585693Likes808Downloads2.1K

 ByWilko_SLOLikes935Downloads2K

 ByshoheiyLikes0Downloads429

 ByRobertoGalloc_356815Likes549Downloads1.8K

 ByTater_364200Likes486Downloads1.6K

 ByfifindrLikes709Downloads1.7K

 Bywhilex_1739192Likes644Downloads1.1K

 ByGi_TLikes801Downloads1.3K

 ByzeroflowLikes186Downloads1.2K

 ByMatthew_GhostLikes350Downloads942

 ByleonicLikes0Downloads1.4K