

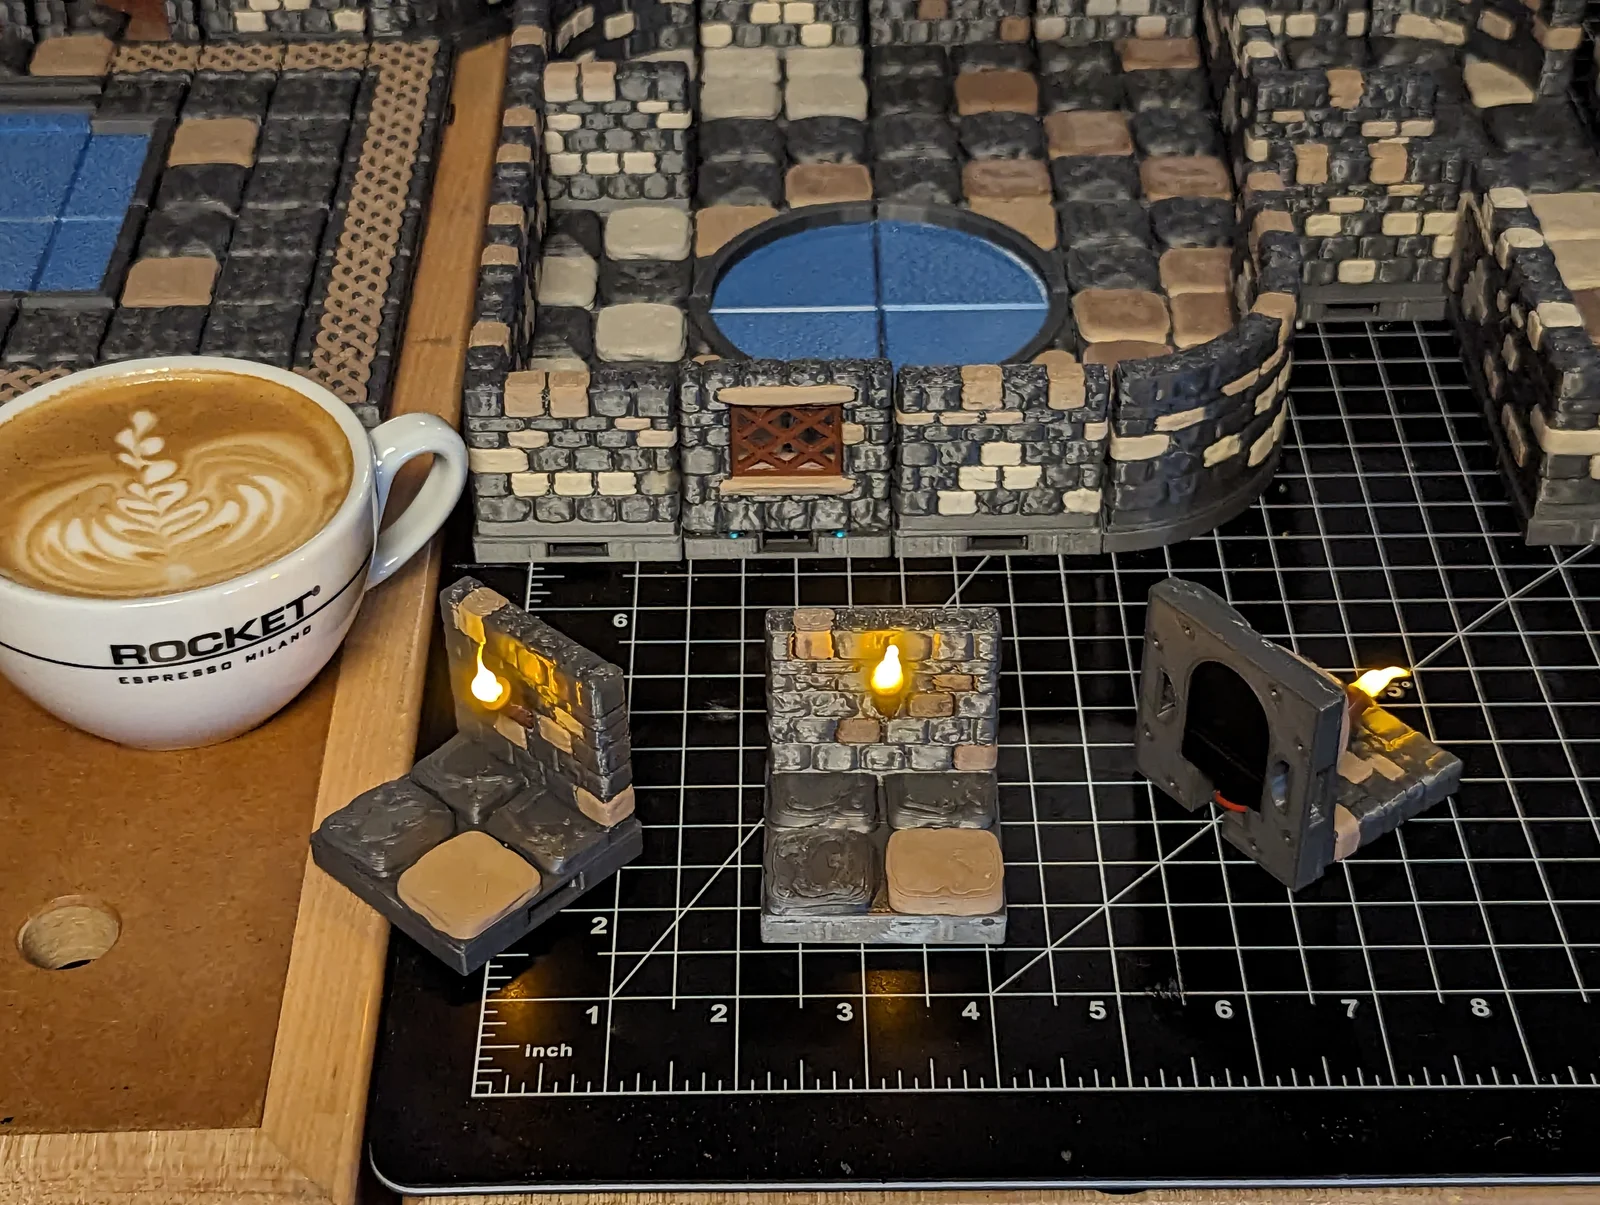



Phoenix - Mô hình thu nhỏ MGM sẵn sàng in
 ByMikeGyverMinisLikes317Downloads1.6K
Build another version of this model.
Based on the Torch Wall model from the OpenForge project, use the negative STL in your slicer to cut out a spot for the battery holder, torch, access to the power switch, and a path for the wires to connect them.
ByMikeGyverMinisLikes317Downloads1.6K

 ByTomAnderson_1460797Likes208Downloads650

 BydjkrevLikes0Downloads401

 ByGeorgeMiddleco_24802Likes23Downloads236

 Byraghulm_1461586Likes20Downloads139

 Bymodel-magicLikes0Downloads164

 ByPatrick_1487475Likes65Downloads855

 ByMagig_I3PrusaLikes14Downloads112

 ByhaggiwattLikes0Downloads142

 Bymike-gyver-minisLikes0Downloads145

 ByandrewlbLikes24Downloads107

 Bymagig-i3prusaLikes0Downloads218