



Thể Thao & Ngoài Trời
TX22 Weighted Backplate and Accessories
Remix of Vỏ siêu mỏng cho Arduino Uno R2 với khả năng truy cập chân cắm By Torsten
- Downloads
- 486
- Likes
- 0
- Views
- 0
- Remixes
- 0
- Comments
- 0
Files 3 2.5 MB
- Revised TX22 Left Hand.stlSTL · 2.4 MB
- Weighted Backplate Lid.stlSTL · 28.6 KB
- TX22 Weight Plug v3.stlSTL · 31.3 KB
Make a variant with AI
Build another version of this model.
Details
- Model ID
- #419242
- Category
- Thể Thao & Ngoài Trời
- Published
Description
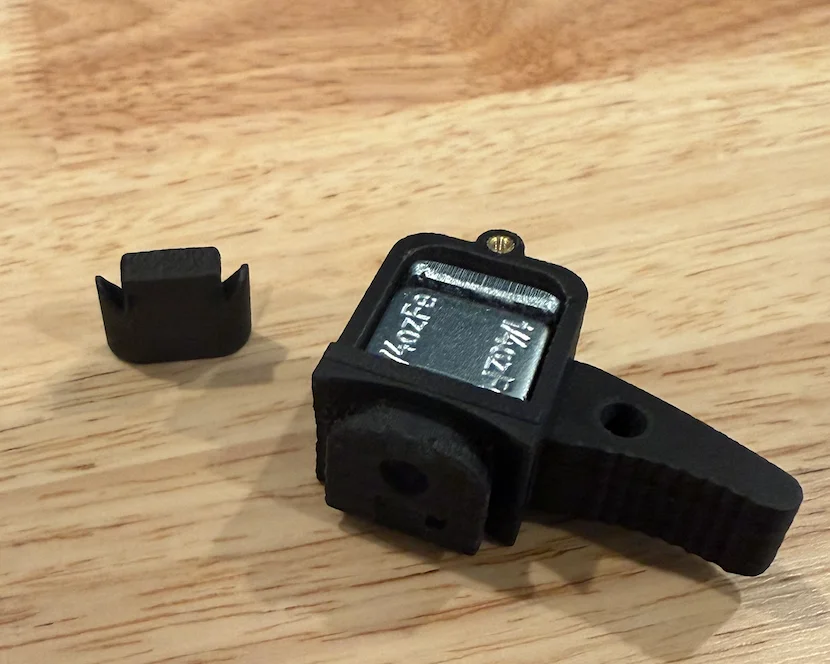
This is a remix of the weighted backplate design from aaextra44 on Thingiverse. I printed this in PA6-CF on my X1C and noticed the trigger would not function when the part was installed on the TX22. Through trial and error, I was able to modify the cutout under the retaining hole, which fixed the issue. From there, I went on to modify the lid for added strength and created a weight plug for the weights I was using, which are these: https://www.amazon.com/dp/B0CLDF7FDR?ref=fed_asin_title&th=1.
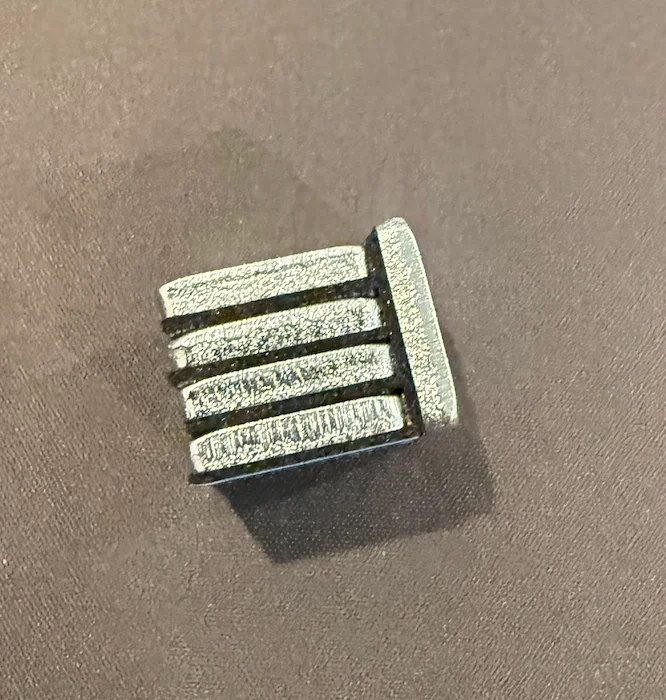
The weights are stacked in a certain way so that they fit precisely in the backplate housing while still being able to be removed so you can access the retaining plug, if you need to remove the backplate. I included pictures above for reference.
The total weight I was able to achieve using Polymaker PA6-CF with 100% infill was 1.645oz, which, from my research, is right in the middle of the two most popular backplates you can purchase. This build costs 1/10th of those, so it is definitely worth trying out.
Note:s Minimal sanding with a small file may be required for optimal fitment. The dimensions are tight, so I found light sanding around the interface between the backplate, where it connects to the slide, is helpful. It is still a tight fit, but you want to be able to remove it once on.
DO NOT: Force the backplate onto the slide or it will be very difficult to remove. Take your time and sand until it fits snugly but can still be removed. A little grease may help.
It may also me helpul to scale the lid and plug down to 99% - 98%. I found the lid needs a little sanding on the edges where it slides under the lip of the housing, but minimal scaling may remove this need.
Printer Settings:
Bambu X1C
Engineering Plate
0.4 Nozzle
0.16 High Quality
Quality Settings:
Seam Position: Back
Auto circle countour-hole: On
Ironing: Top Surfaces
Avoid Crossing Wall
Strength Settings:
4 Walls
Infill: 100%
Infill Pattern: Rectilinear
Infill Combination
Support Settings:
Support: Normal
Style: Snug
Top Z: 0.14
Interface Layers: 4 (Could leave alone)
Interface Pattern: Rectilinear
You will also need a M2x6x3.5 or M2x4x3.5 heat set and a M2x6 Screw
Print spec
- Formats
- stl
- Model files
- 3
- Total size
- 2.5 MB
- Largest file
- 2.4 MB
0 comments
You may also like 12 models
See all-
-
Kẹp giữ gậy golf cho túi đựng gậy
 ByCubaLibreee_2869176Likes125Downloads1K
-
 New
My First AR
 By3d-finesseLikes0Downloads143
-
Giá treo băng đạn súng Glock gắn tường
 ByXDr4g0nXLikes198Downloads830
-
Khóa cài tháo nhanh cho dây
 ByGerhard_48223Likes240Downloads471
-
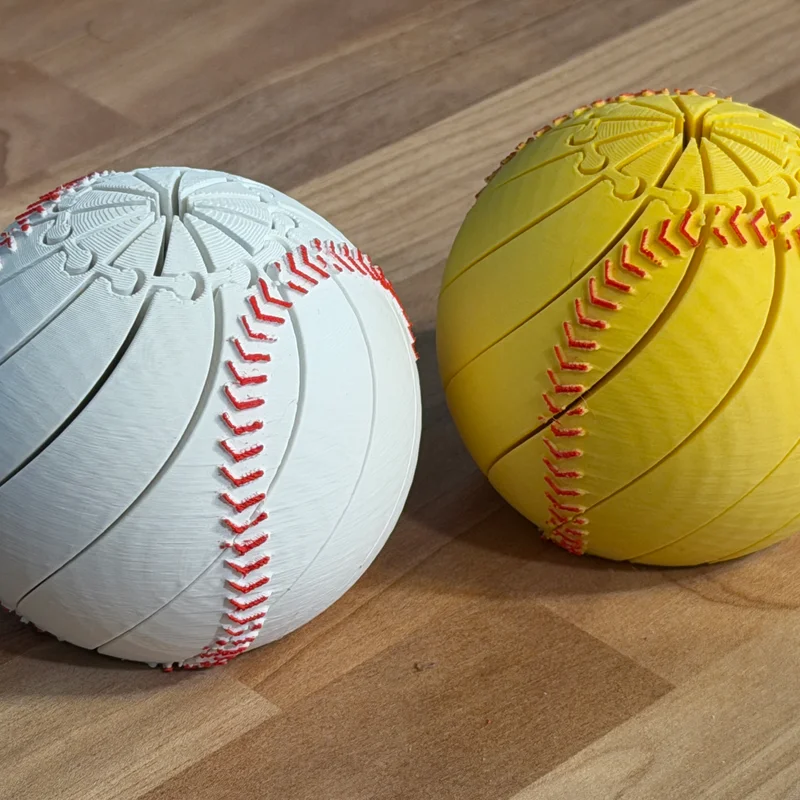
Đồ chơi Fidget xoắn ốc hình bóng chày/bóng mềm
 ByBillRichardsLikes32Downloads389
-
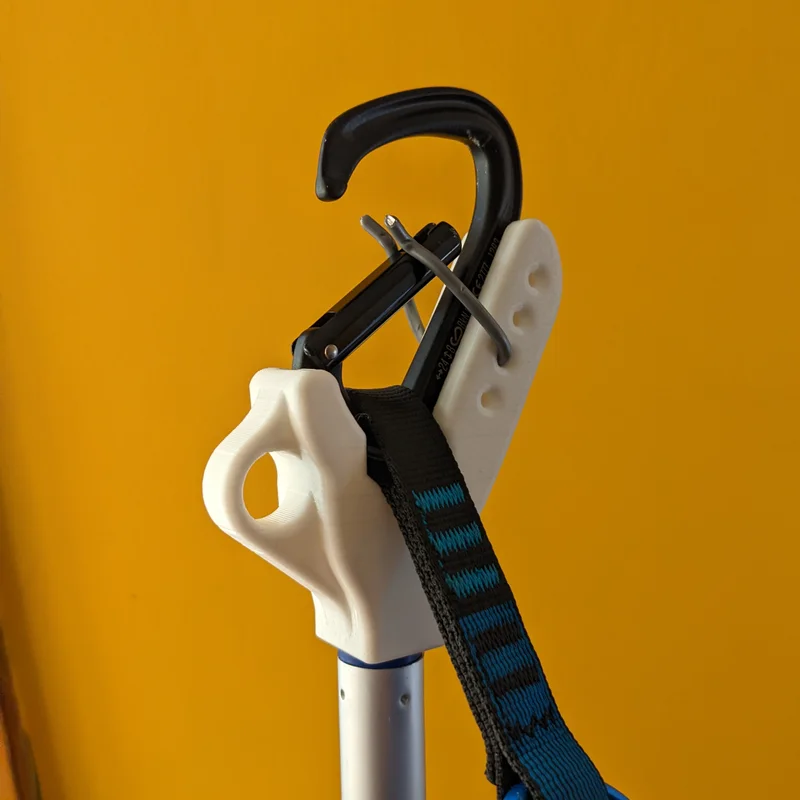
Đầu kẹp Stick Clip siêu bền gắn vừa cán chổi/gậy lau kính
 ByKorriLikes60Downloads617
-
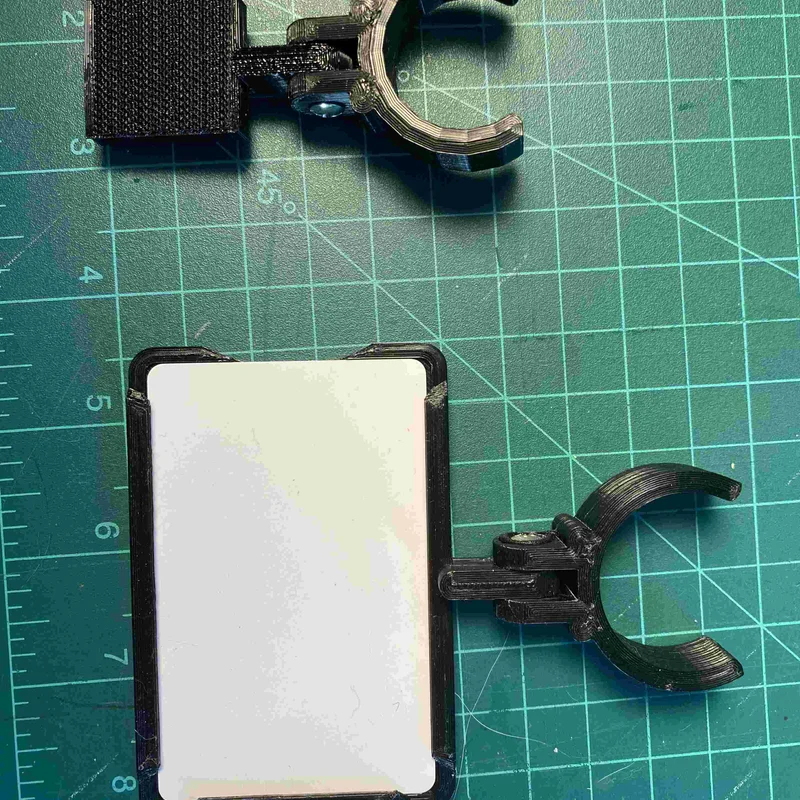
Giá đỡ thẻ DOPE Data Card Holder cho ống ngắm
 ByTarzLikes28Downloads582
-
Giá đỡ mái chèo cho ván SUP
 ByMachaki_1134160Likes36Downloads371
-
Lỗ Golf Trong Nhà (Indoor Golf Hole)
 ByMauroVanDerG_4110408Likes378Downloads2.7K
-
Miếng đệm gia cố ngăn chứa đạn cho LifeCard (Mag Compartment Stiffener)
 By3DGearSupplyLikes26Downloads448
-
Bộ sưu tập ray Picatinny và kẹp lắp đặt cho mô hình in 3D
 ByMFTuningLikes153Downloads1.8K


