



Dino Snack Clip - Kẹp miệng túi hình khủng long siêu đáng yêu
 ByTommy3DLab_2023125Likes636Downloads2.5K
Build another version of this model.
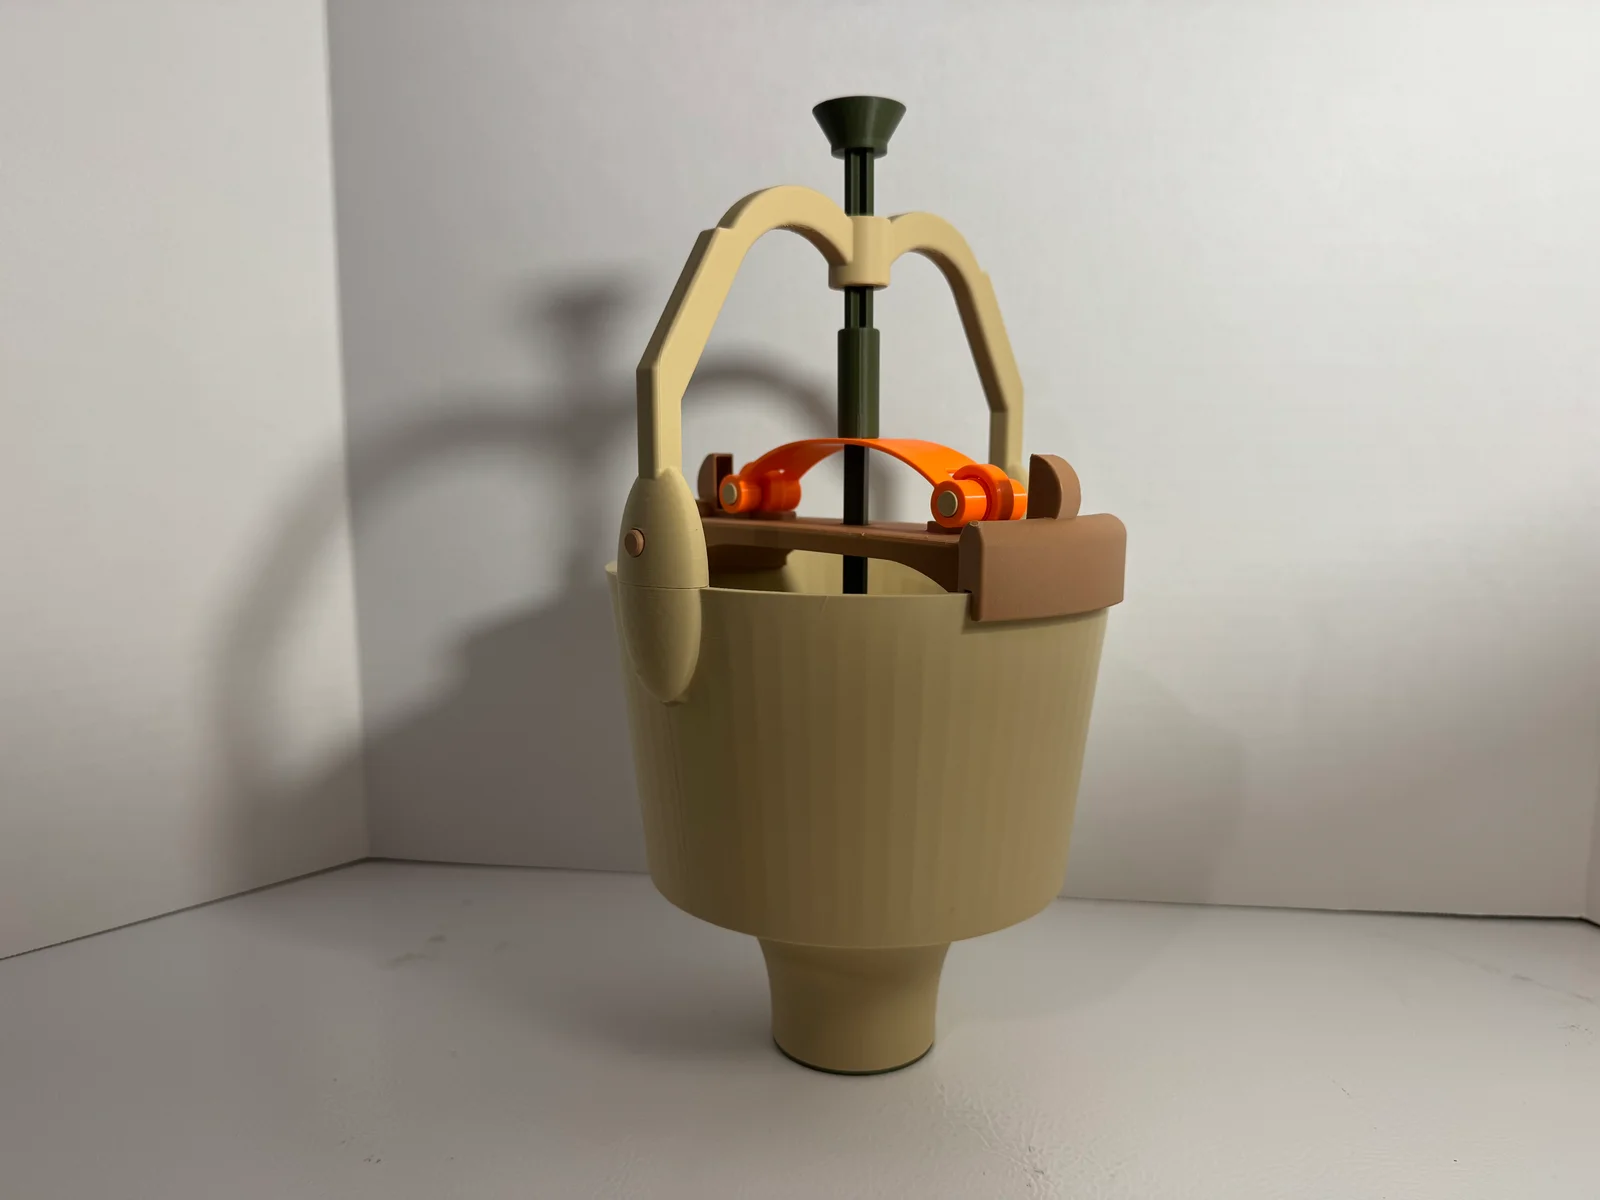
Pancake batter dispenser. If you have ever worked at a restaurant that serves breakfast, likely you have seen one. It was a challenge to design but I hope many people get enjoyment out of this tool. You could also use this to dispense muffin and cupcake batter too. After several uses, the only drawback to how it works is the way pancake batter tends to thicken up, but that always happens even without this contraption. Just use a fork or rubber spatula to release the air making it fluffy, and/or add some water to thin it a bit.
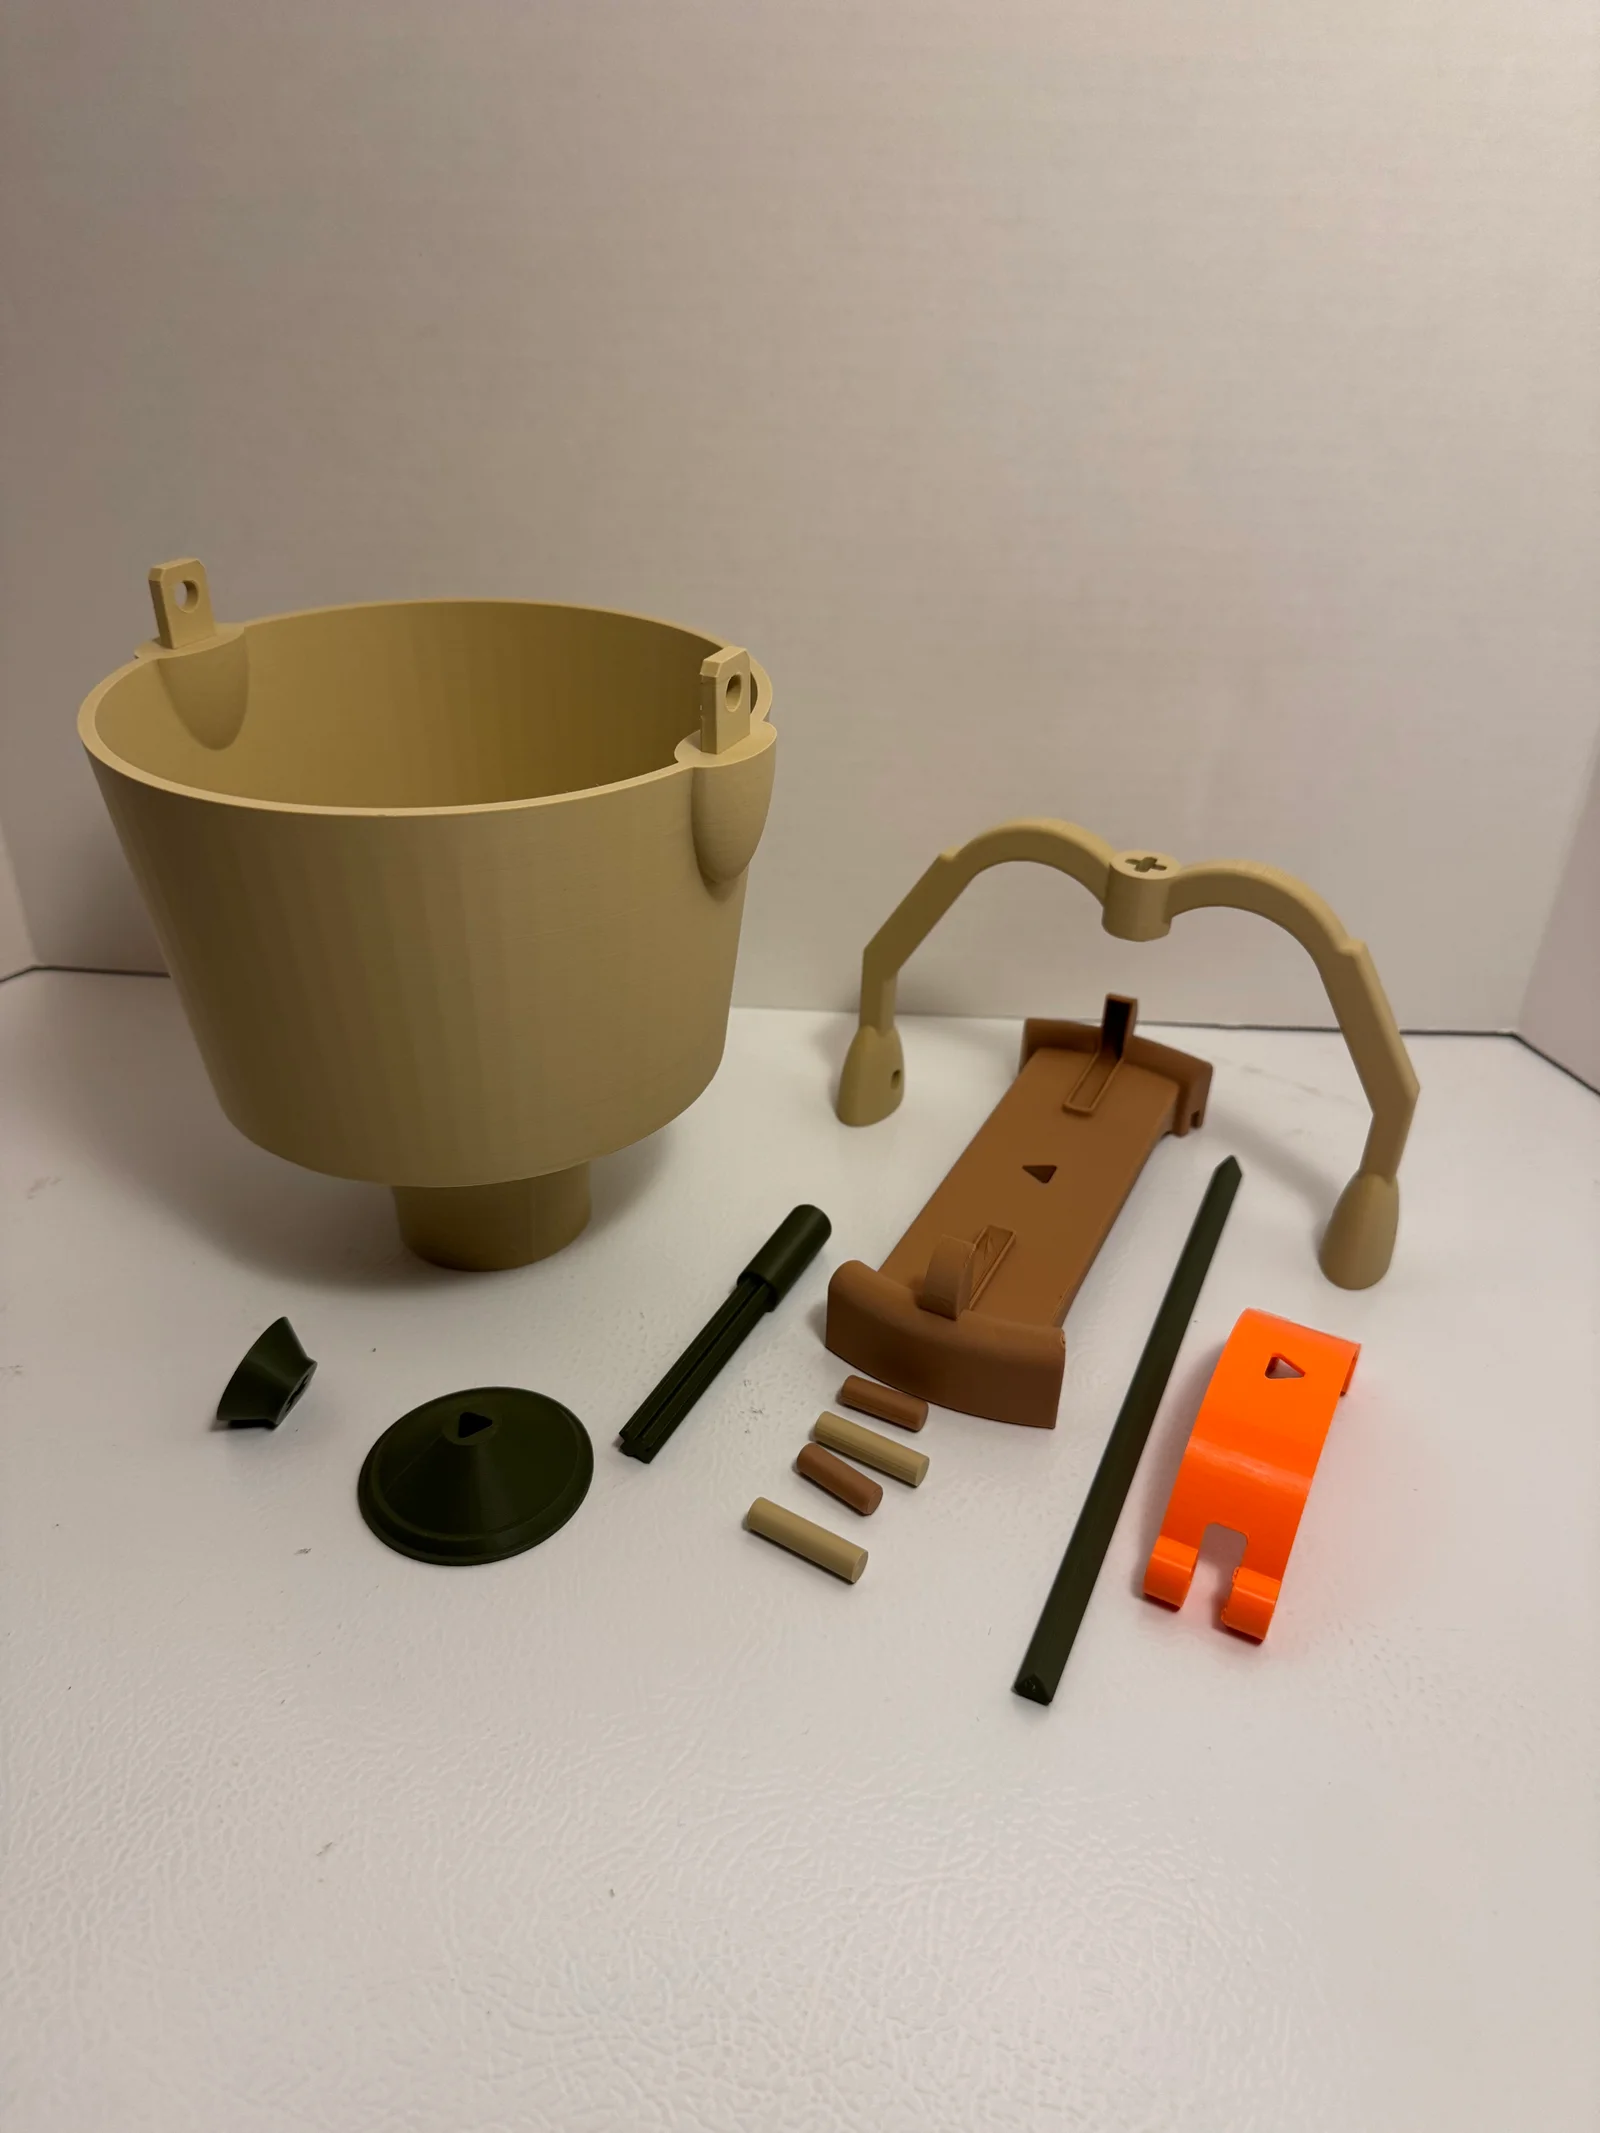
Additional Parts: Will need to print two 608 bearings from your favorite bearing model page.
Print Details: All parts printed using .4mm nozzle, .20 Standard - High Quality print profile, 15% Infill and Tree supports.
Special thanks to https://fixer.formware.co/home/ for fixing some artifacts in my bowl.
Enjoy!
Assembly:
1. Use the short pins to connect the handle and bowl.
2. Place the bearings into the fitted slots of the spring and align the holes, use the two remaining pins to set bearings in place, one at a time, and set aside.
3. Look at the shaft coupler triangle inset and place into the cross hole with one tip of the triangle inset pointing at one side of the handle (same tip that aligns with one of the coupler's cross shaft arms). Hold in place while…
4. Setting the spring base on the bowl, roughly. Let go of the shaft coupler and adjust the spring base perpendicular to the handles, ensuring one tip of the triangle hole aligns with the coupler's triangle inset.
5. Place the assembled spring into the tracks, aligning the triangle whole correctly.
6. Pre-set the shaft into the stopper and feed it from the bottom, aligning the triangle shaft with the triangle holes.
7. Be sure the shaft is perfectly aligned with the coupler's inset, hold in place with one hand and use the other hand to put the button on the cross shaft and then give it a good solid couple bumps with the bottom of fist, until you do not feel any more movement. You should be able to hear and feel everything snap in place, or break if you bumped/pounded too hard.
ByTommy3DLab_2023125Likes636Downloads2.5K

 BygentledesignLikes0Downloads132

 Bymatthew-ghostLikes0Downloads313

 Bysalas-designsLikes0Downloads169

 BybobmakesLikes2.5KDownloads17.5K

 ByRMJourney_762911Likes140Downloads367

 Byquibeck_3353173Likes1.5KDownloads11.5K

 ByMateuszTokarzLikes46Downloads302

 ByJanStecha_4316168Likes90Downloads241

 ByVaclav_ZahradkaLikes181Downloads1.2K

 BympdesignLikes0Downloads224

 ByTony Bullard BullardLikes465Downloads686