



Còi Tàu Hơi Nước Mini
 ByfifindrLikes500Downloads4K
Build another version of this model.
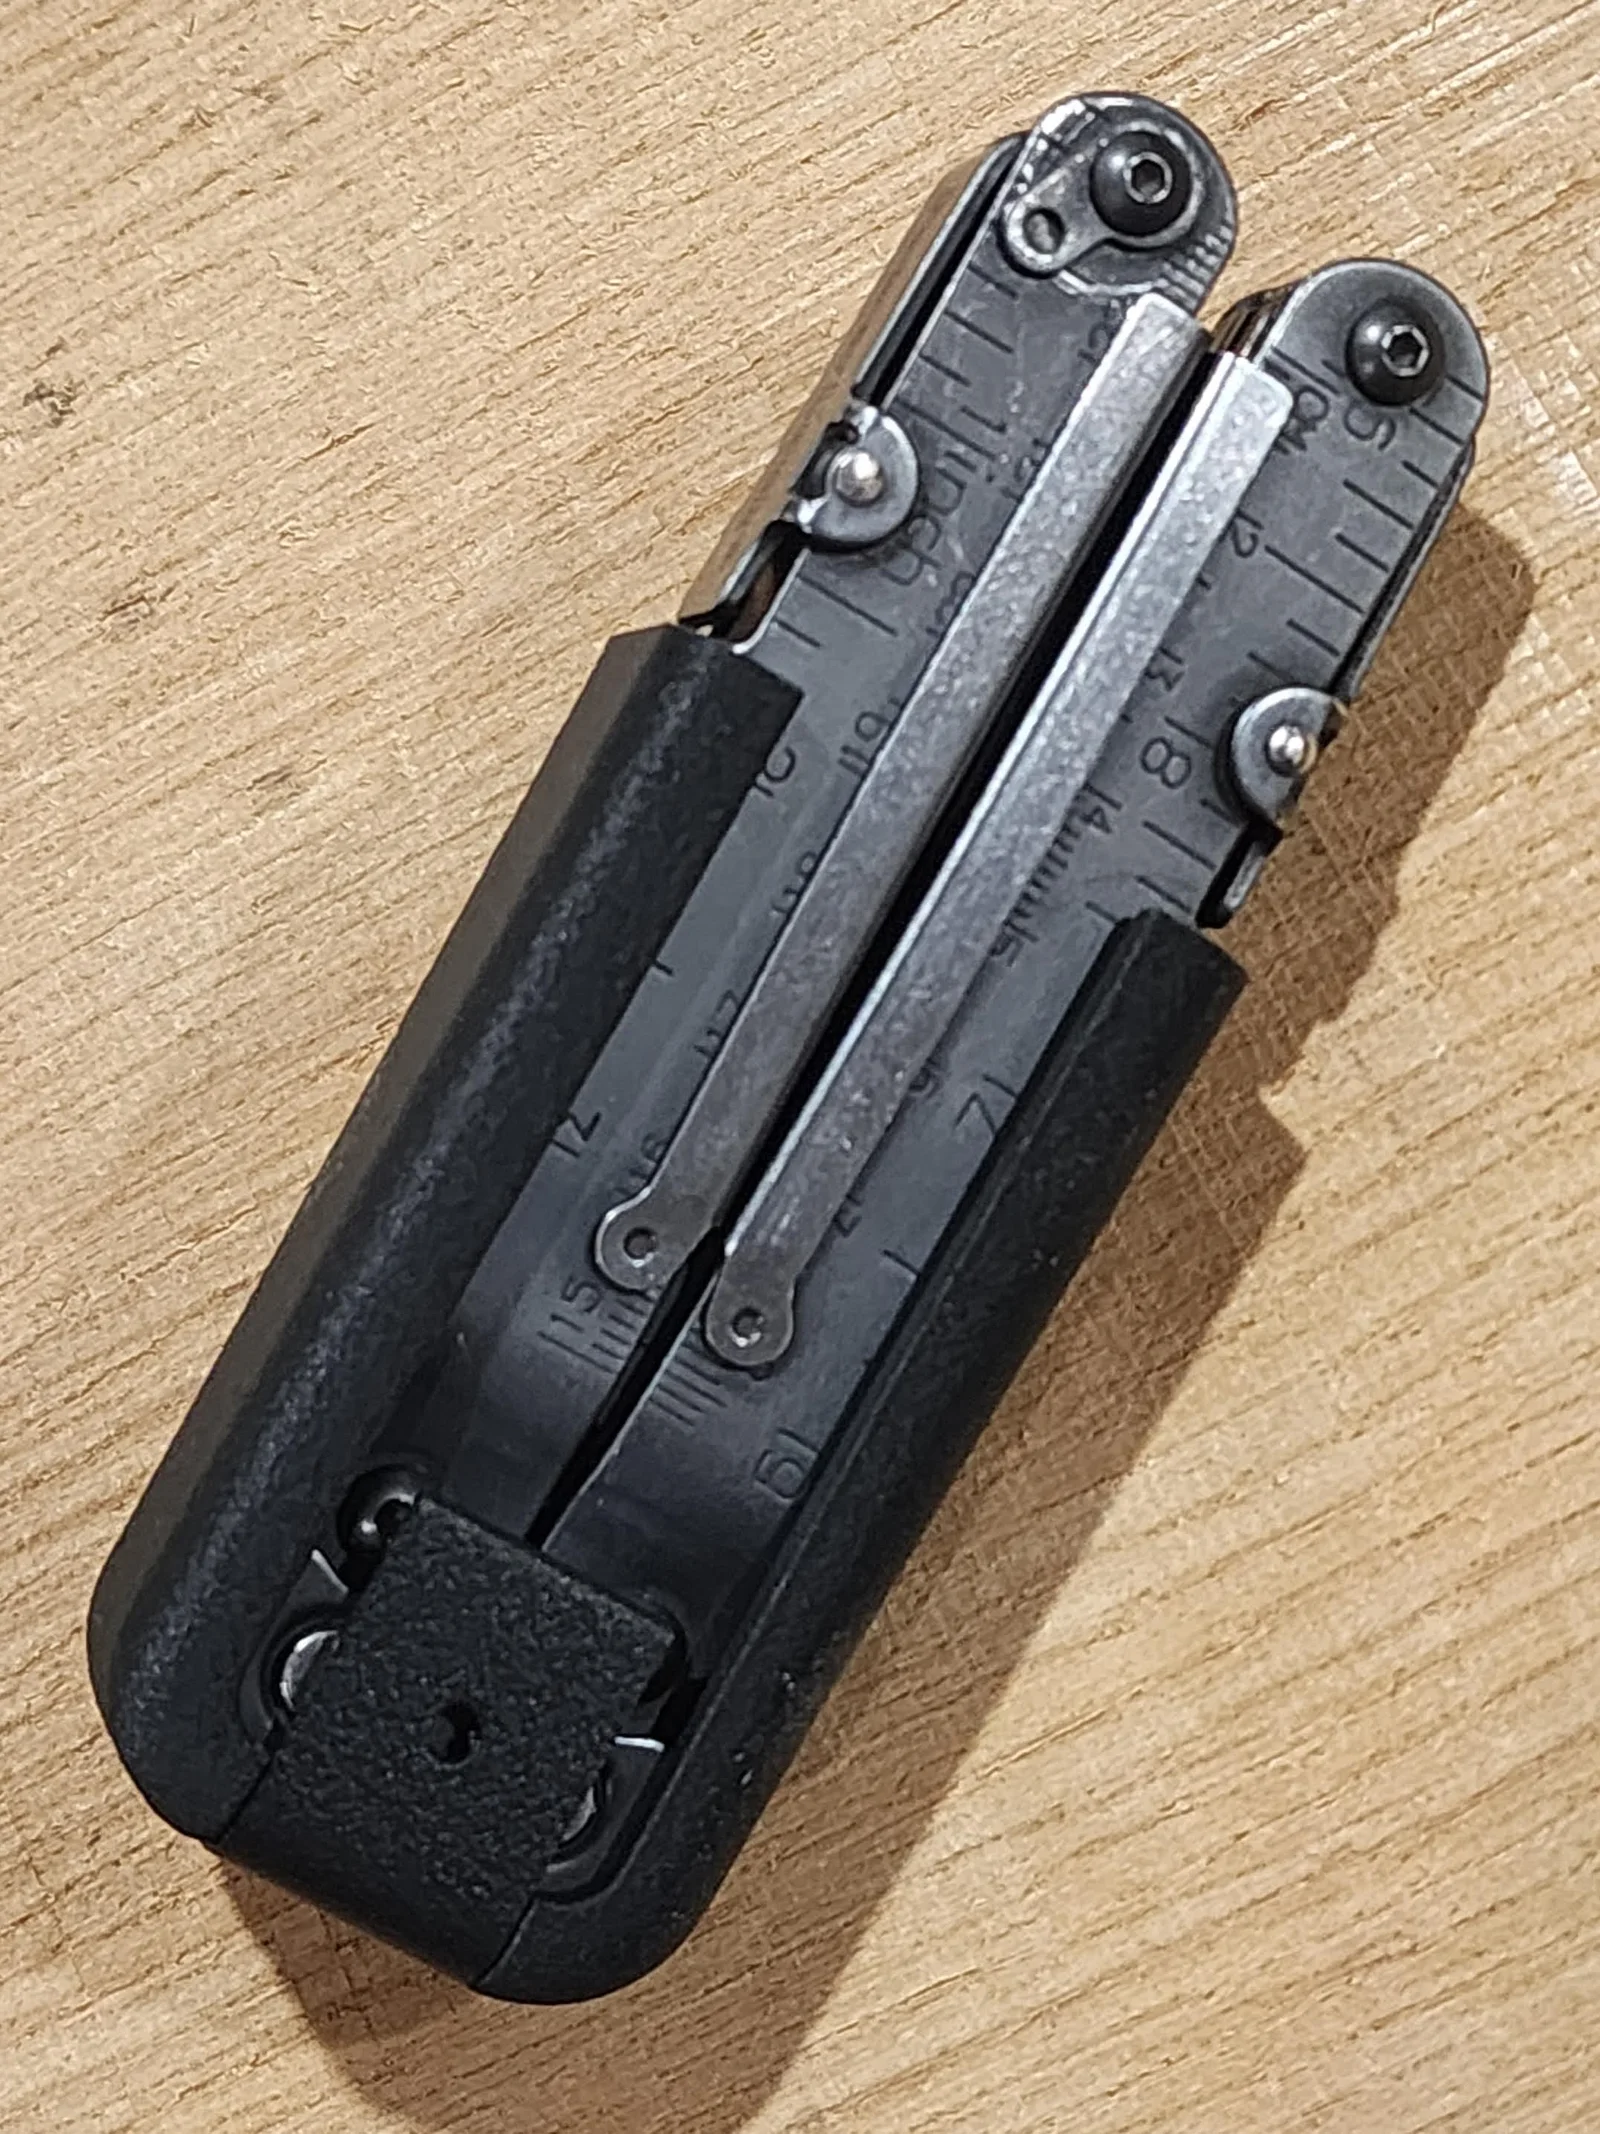
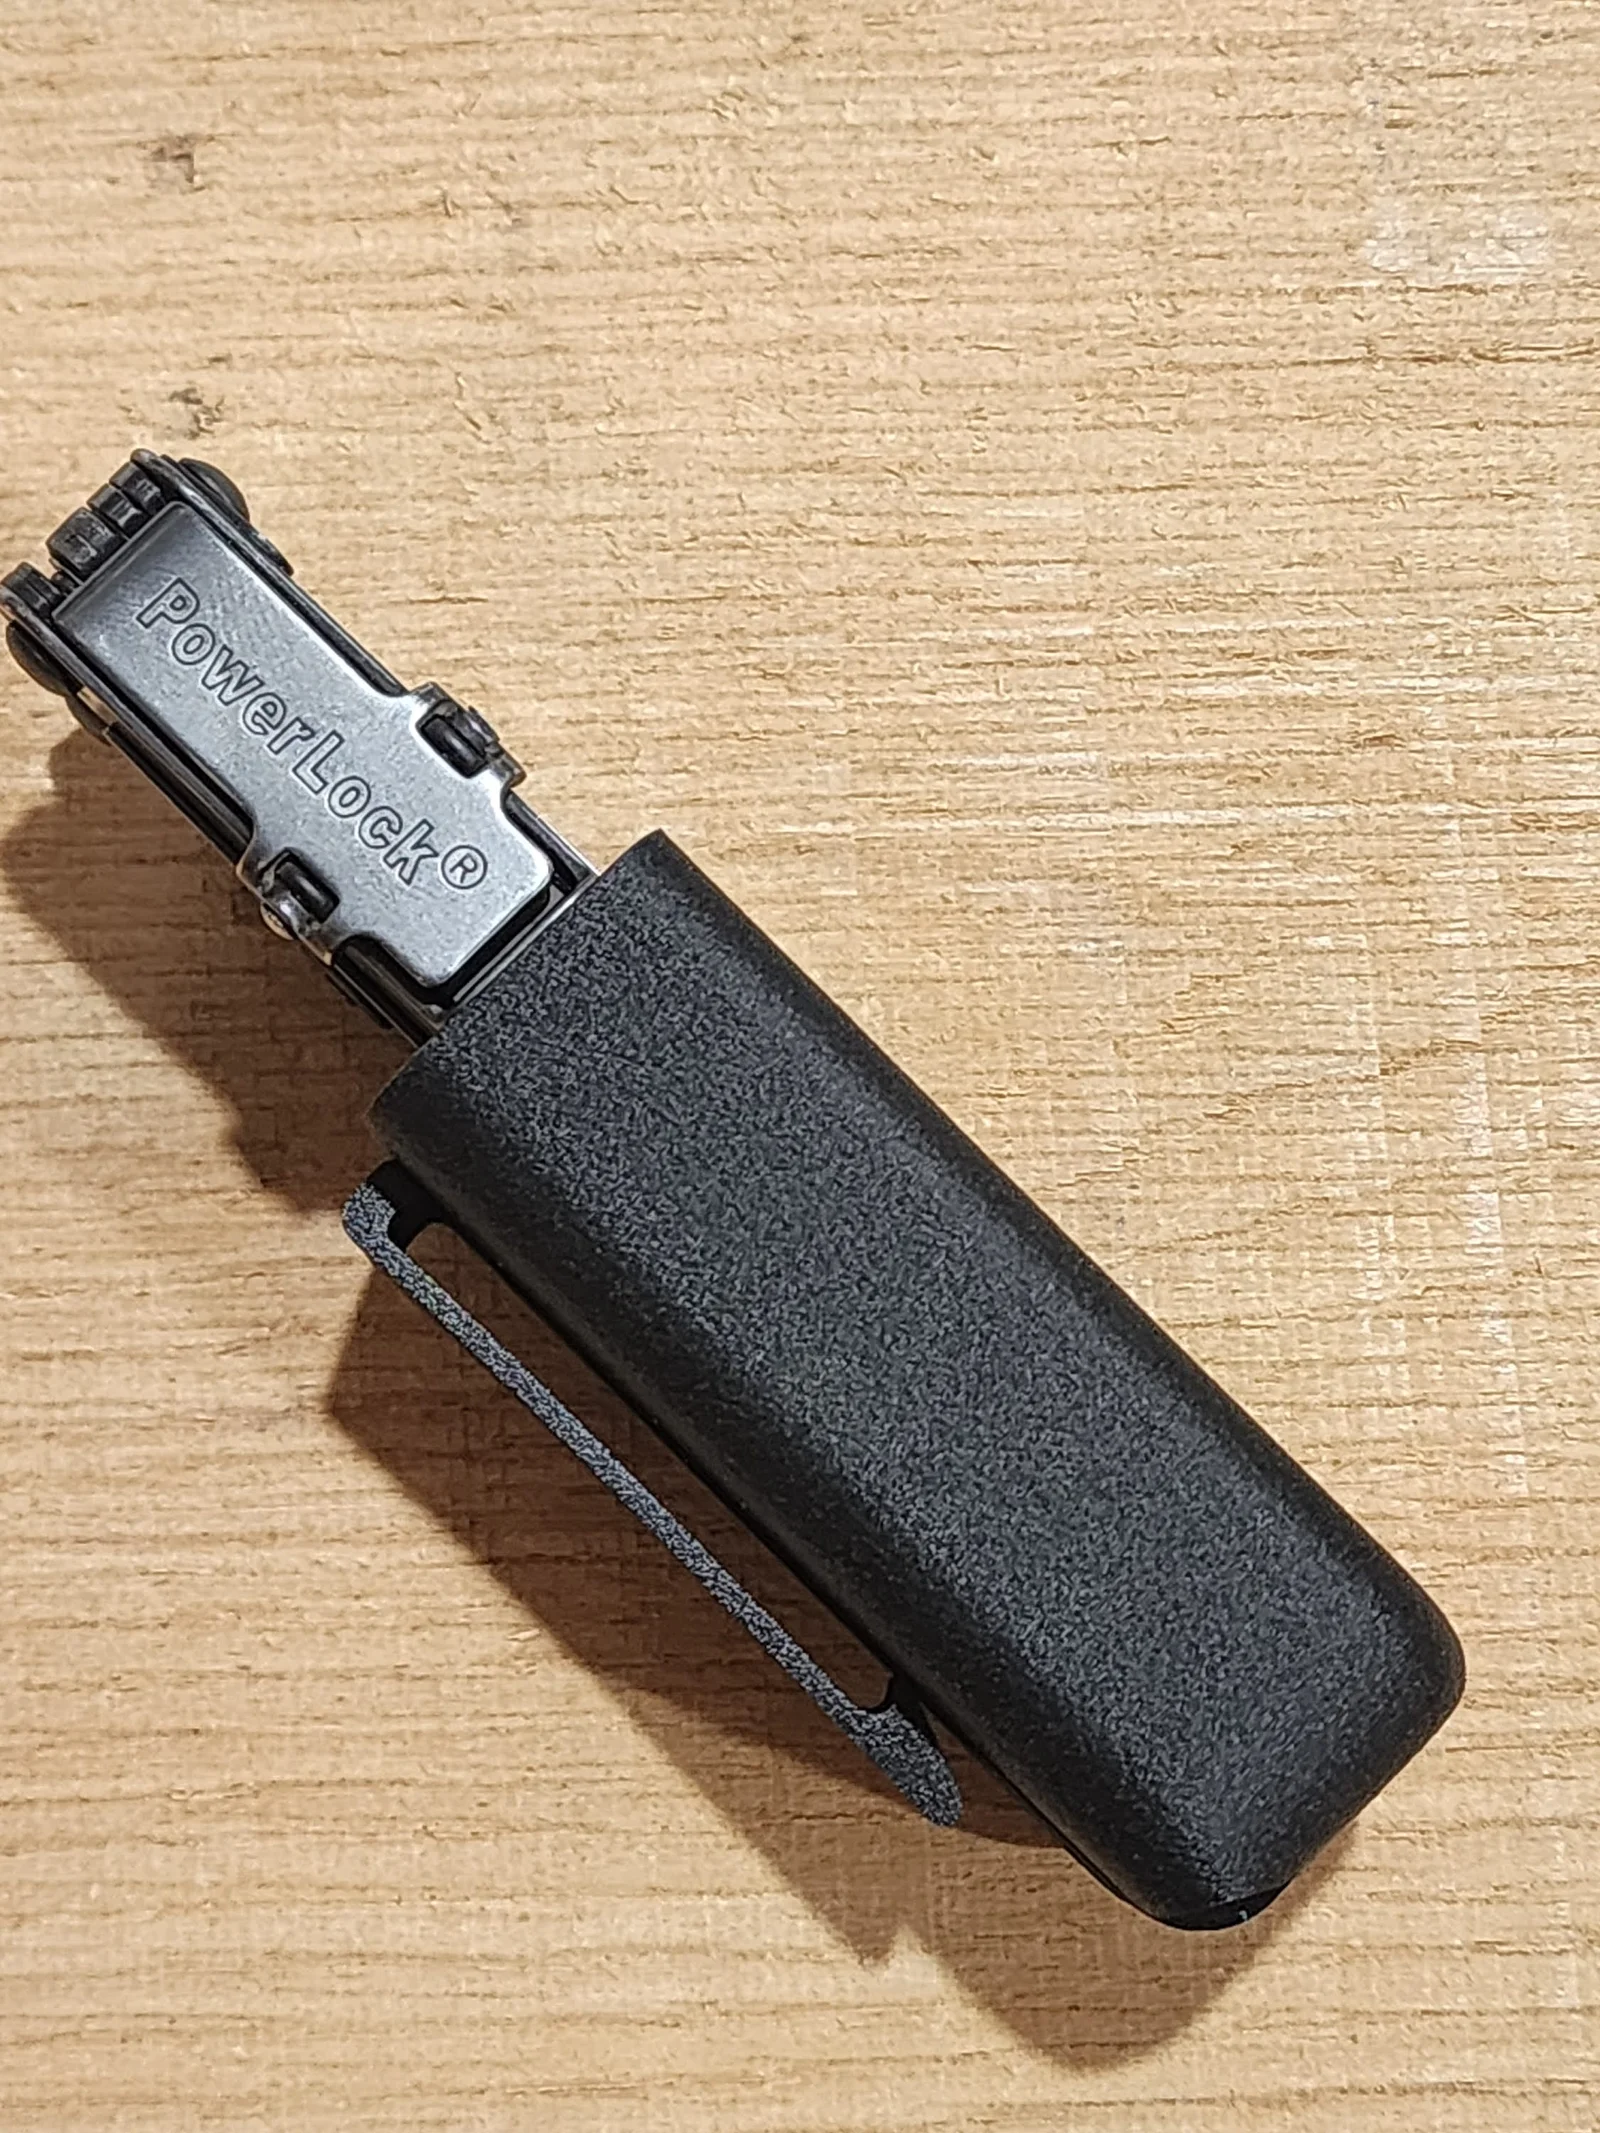
I've carried a SOG PowerLock multitool for over 15 years, but three days ago the belt clip sheath that came with it broke when the rivet ripped through the cloth. So it was time to pull out CAD and design a replacement.
This design is printed in two parts and assembled with three M2x4 bolts, washers, and nuts. The sheath prints on an angle to avoid the need for any bridging or curves that wouldn't print well off the build plate while the clip is printed on it's edge to provide excellent springiness. There's a hole in the front of the retention clip that gives easier access to a hex wrench when installing one of the bolts, but it can be printed without that hole if you prefer that for aesthetic reasons. It just makes assembly more of a pain. Expect to use tweezers for either assembly method.
Fit and finish are phenomenal. The belt clip component also has a retention latch that securely holds the multitool in the sheath along with a bunch of other thoughtful details that give this model a snug profile and slight friction fit, even without the retention clip. I may be biased, but I like this more than the original pouch the tool came with.
Fits a belt up to 1.75 in (45mm). Due to the two part design, it should be relatively easy to remix larger or smaller sizes. I have plans for the future to make a belt clip that would allow the holster to sit another inch or so lower, a 1in belt clip, and maybe even a MOLLE webbing compatible clip, but that could be a month or two from now, so patience please.
Printing recommendations:
The model prints without slicer generated supports, just the designed support in the model.
You may need to scale this up to compensate for shrinkage depending on your choice of plastic. The one you see in the pictures above are printed in PAHT-CF and I scaled it up to 100.5%. ABS or ASA might need 101%-103% (especially if they don't have the CF texture I have in mine) and I recommend printing a cross section or two to test the fit for your material at your chosen scale. Be sure to apply the scale to both parts or they won't mesh. You could also print it in PETG or PLA, but I wouldn't recommend them for opposite reasons. PETG might be too flexible and not provide enough strength for the retention clip to perform well. PLA might fatigue and break over time due to it's stiffness.
Import the STEP file and use the auto orient. It will get things to the intended orientation. If you just slice from here (at least in OrcaSlicer using Arachne line gen, and maybe others slicers), you might have small bumps on the outer wall of the sheath where it meets the designed support.
This can be easily fixed by right clicking the model while you're in the Prepare tab, and splitting it into objects and then right clicking again and clicking Assemble.
Print with 4-5 walls so that key sections are printed solid. Less might work, but I printed mine to last and be near indestructible.
These next changes aren't required, but can improve quality. In the "Objects" specific slicing settings, you can lower the wall count for the support fin down to 2, with 2 top and bottom layers and 5% infill. I also move the seam to the outside edge of the support fin so that the seam is not in the higher tolerance interface area. On the clip, I hide the seam in a place that won't experience any bending and won't affect tolerances if the seam isn't perfect, like so.
Turn off "Only one wall on top" so that it stays continuous lines on all layers, even the top of the clip. Also make sure that your first layer z-offset is well dialed in or your elephant's foot compensation is well tuned. Any squeeze out on the first layer could hurt the fit of the clip to the body. It should still work, but it won't be as flush/smooth.
Layer heights should be a little smaller than normal, say 0.12-0.16 to improve overhang quality.
Finally, print slow, hot and low cooling for max layer adhesion since this part needs to take abuse over years of use.
Enjoy!
ByfifindrLikes500Downloads4K

 ByVC_DesignLikes679Downloads3.6K

 ByDan Schwartz SchwartzLikes744Downloads3.4K

 Bychubbs8697_2027893Likes585Downloads1.7K

 Byquibeck_3353173Likes965Downloads1.9K

 ByRungeKuttaLikes229Downloads1.2K

 ByEadubsLikes228Downloads1.3K

 ByWolf_115355Likes513Downloads8.4K

 ByJeremyVillalo_760366Likes68Downloads766

 ByZED4EverLikes313Downloads5.2K

 Bykjus_448782Likes314Downloads673

 BySchmitzBertLikes95Downloads629