



Mô hình đường ray thẳng Lego City Train tự in 3D cực tiện lợi
 ByChristianS_2237751Likes502Downloads3.7K
Build another version of this model.
About the model
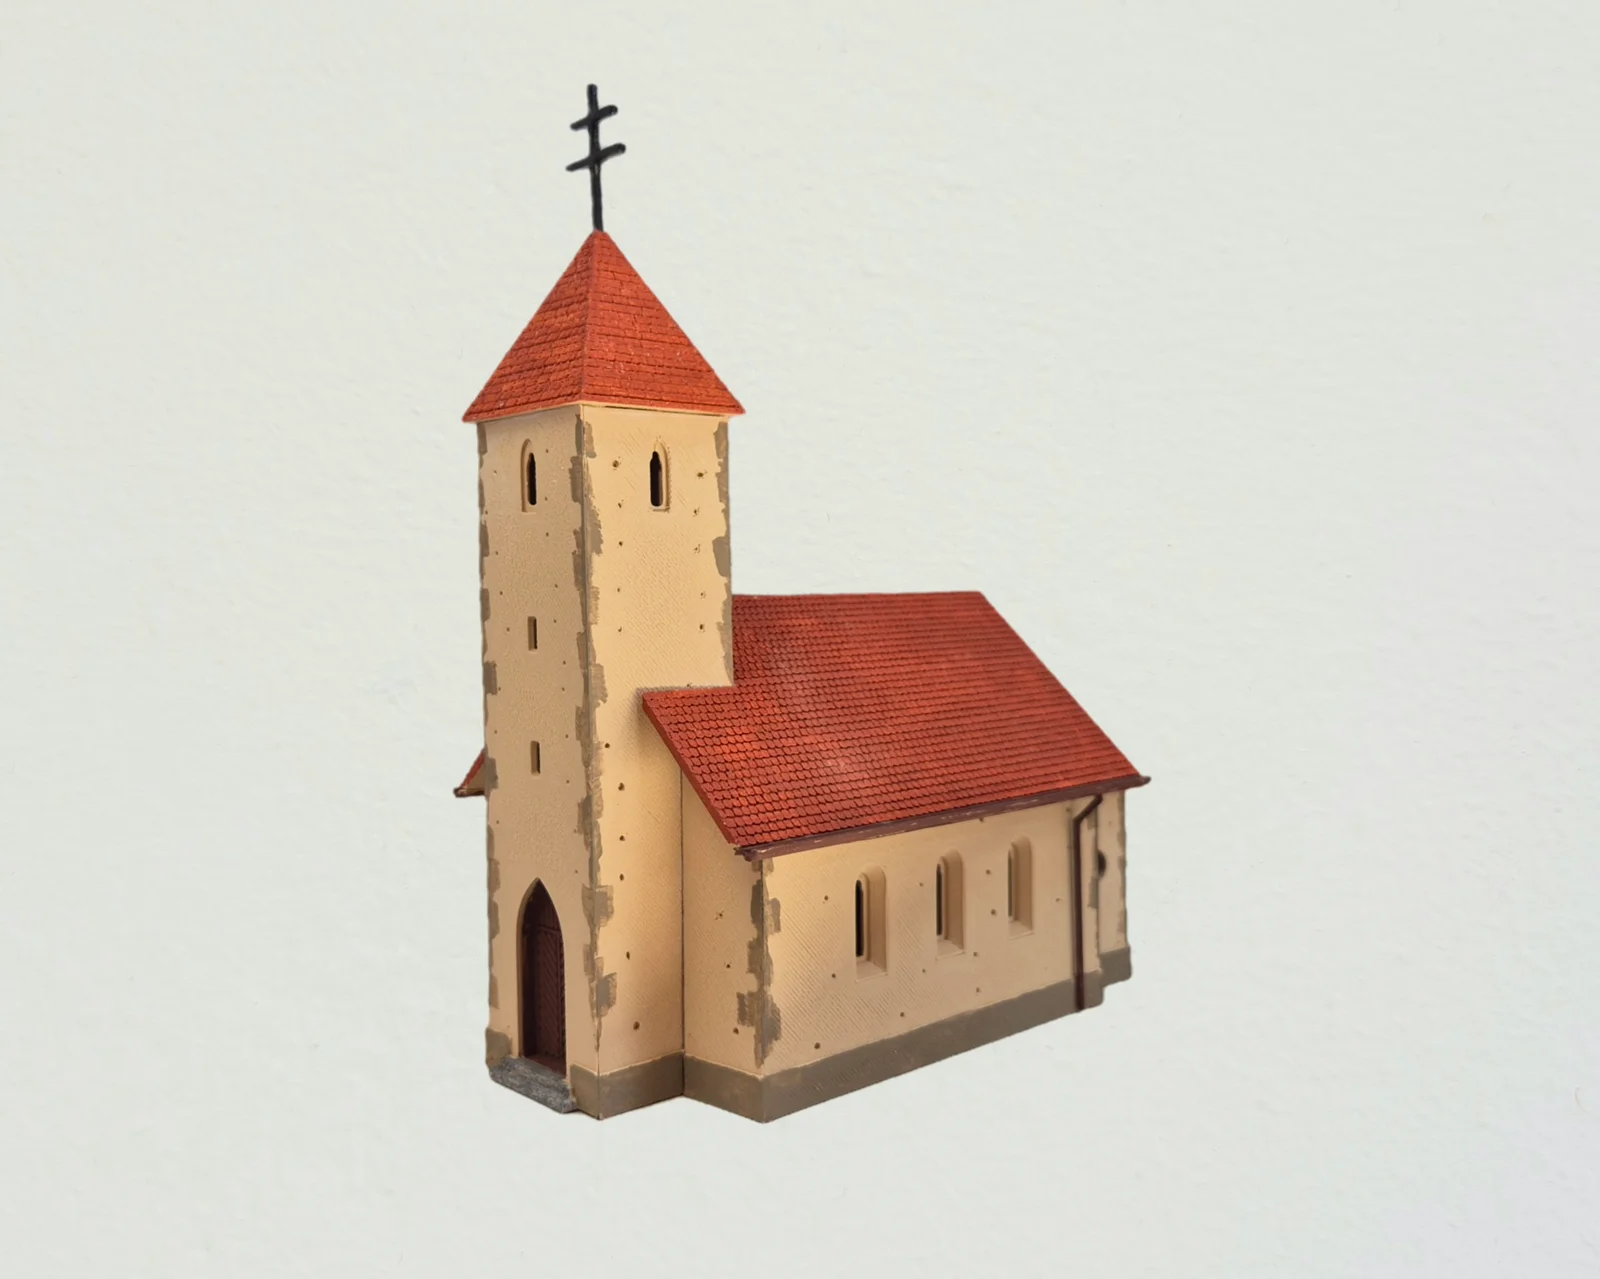
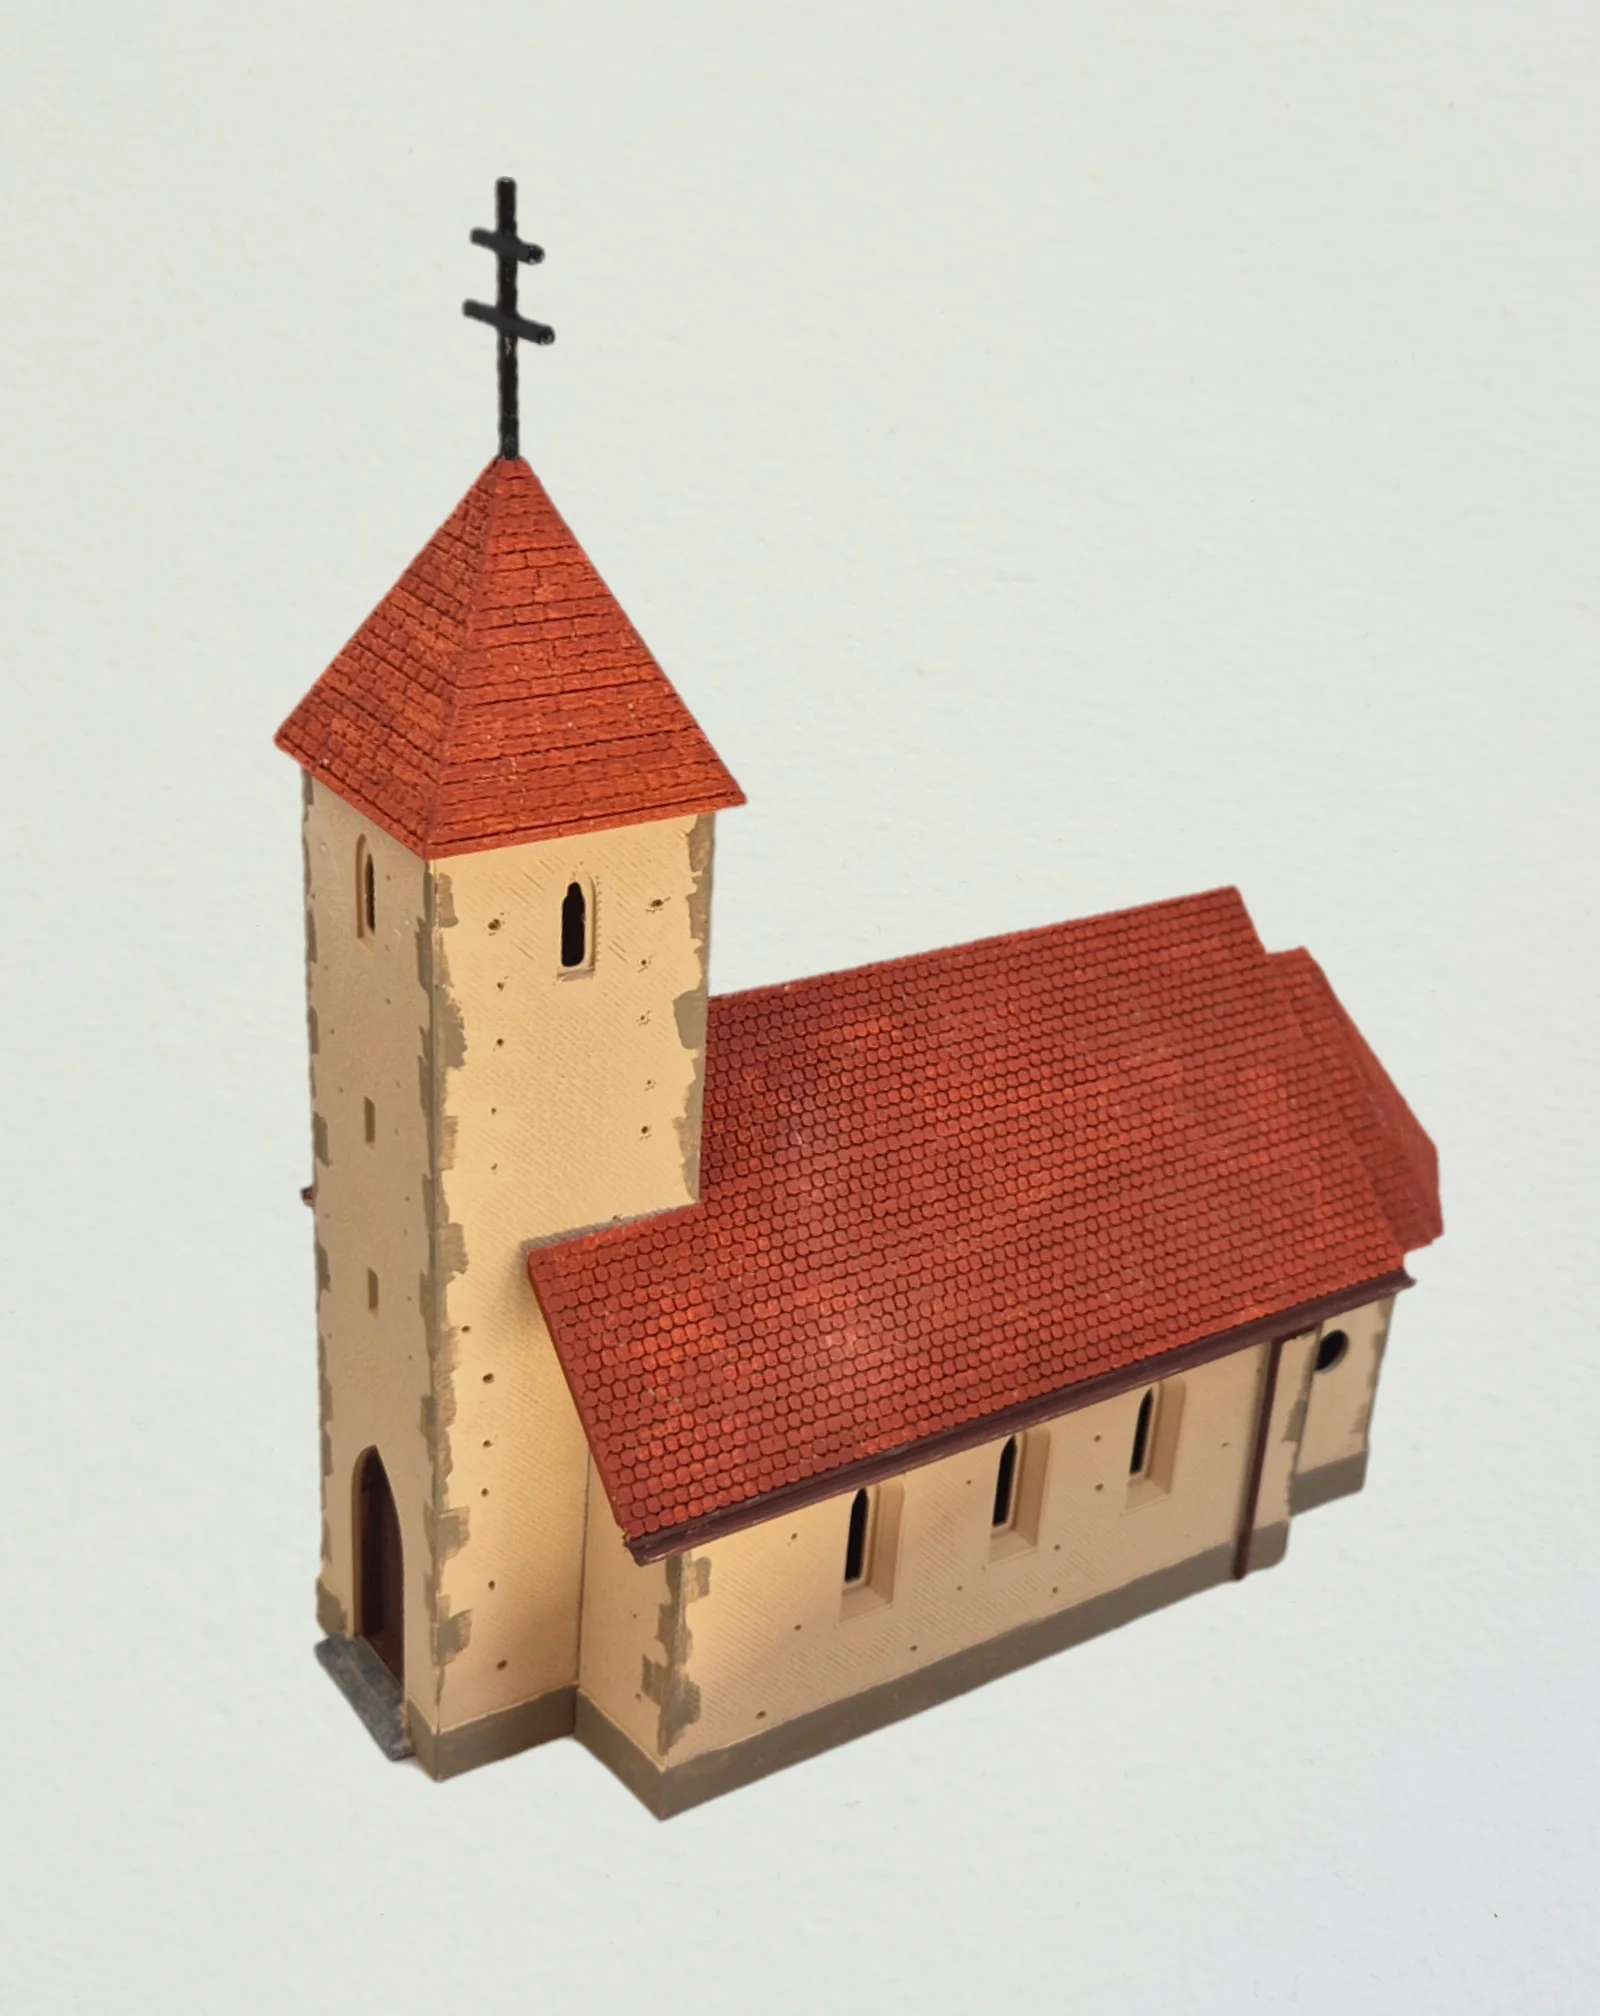
The Holy Trinity Church of Velemér (also known as the “Church of Lights”) is one of the most significant Romanesque monuments of the Árpád era in Hungary. Built at the end of the 13th century, this small brick church sits on a hill near a forest in the Őrség region near the western border.
It is famous for its unique interior frescoes and architectural alignment. The church windows were oriented so that on significant days of the year (such as solstices or the patron saint’s feast day), the streaming sunlight would illuminate the exact corresponding biblical fresco. For example, during the winter solstice, light shines through the sanctuary's round window precisely onto the symbol of the Holy Trinity.
This 1:87 scale model consists of several parts, all of which can be printed without support. The roof elements feature mesh bodies textured with tiles. The kit also includes alignment inserts to help hold the components in place while gluing.
My model was printed using a 0.4 mm nozzle, a 0.2 mm layer height, and ironing enabled on the top surfaces.
Assembly guide
1. Paint the gate and the roof elements.
2. Insert the windows into the walls.
3. Glue the tower gate into place.
4. Glue the tower walls together. Pay close attention to the order of the walls: the plain back wall must be directly opposite the front wall.
5. Glue the tower roof into place.
6. Glue the nave walls together, starting with the back wall. The wall with the windows should be on the right side.
7. Glue the nave roof panels together using the longer roof insert for alignment.
8. Glue the nave roof to the tower, using the nave walls as a support.
9. Glue the nave walls to both the tower and the nave roof. Ensure the roof overhangs the main nave walls by an equal distance on both sides.
10. Glue the apse walls together using the apse insert.
11. Assemble and glue the apse roof together using the smaller roof insert.
12. Fit the apse roof onto the apse walls, then glue the completed apse assembly to the center of the nave's back wall.
13. Paint or weather the model as desired.
14. Decorate the finished model with the cross, gutters, and downspouts.
ByChristianS_2237751Likes502Downloads3.7K

 ByRedfully_1701430Likes717Downloads3.3K

 ByDennisMLikes189Downloads1.7K

 ByJona32u4Likes82Downloads680

 Bymtakashi_164009Likes176Downloads491

 Bythall72Likes30Downloads524

 ByGhostmanta_3143708Likes187Downloads342

 ByHugoS_588209Likes108Downloads1.4K

 ByLimitSwitch_4355441Likes102Downloads291

 ByIngviMarLikes68Downloads798

 Byemoses_1276310Likes0Downloads13

 BytimquiLikes104Downloads153