



Mẫu gảy đàn Guitar (Guitar Pick) in 3D tùy chỉnh độ dày
 ByWolf_115355Likes513Downloads8.4K
Remix of Móc treo đầu ghế xe hơi với thiết kế linh hoạt By ThomPatterson
Build another version of this model.
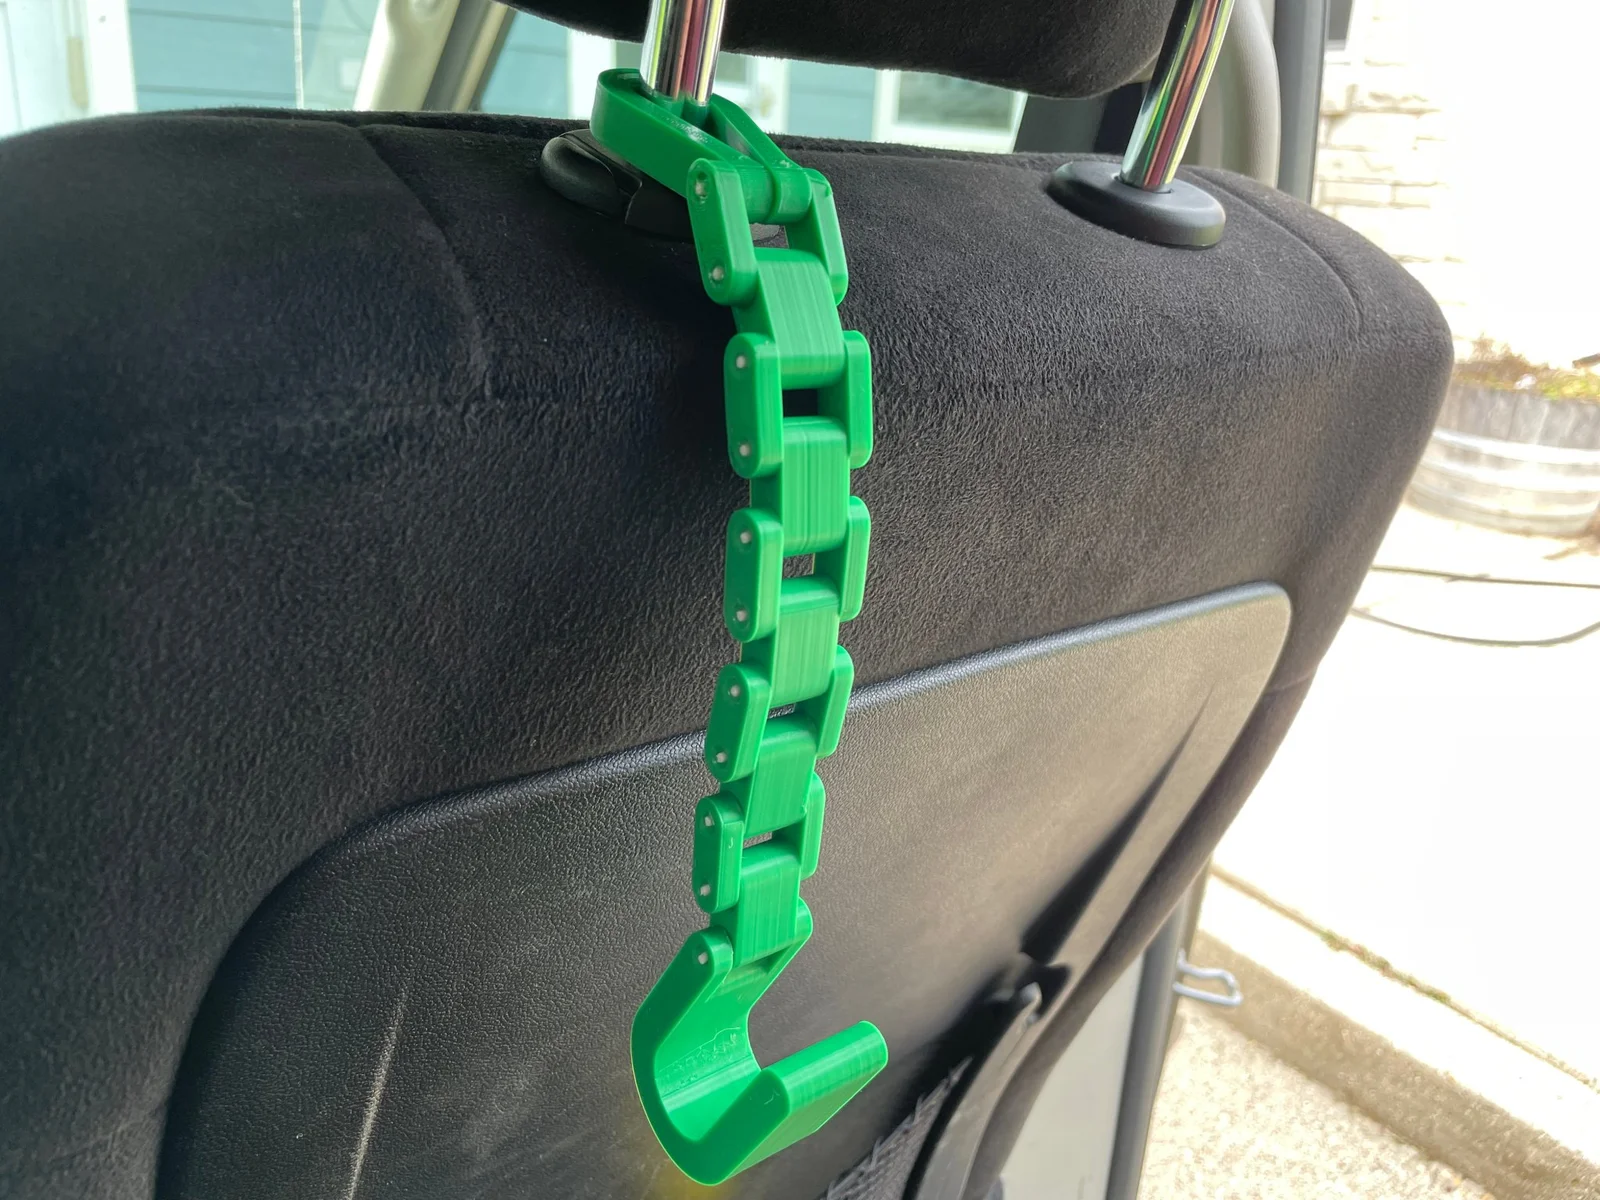
The ultimate headrest hook. The headrest clip fits around a headrest post completely and will not fall off while driving or being knocked around. It attaches easily without having to remove the headrest. The chain will conform to any seat back.
The chain and hook print in place, you shouldn't need to change the orientation. I've found it prints very well at 0.2 mm.
I've printed this successfully in ABS and PETG, both of which will hold up to the hot temperatures of a car in the summer.
What's New
I uploaded the original headrest hook a year ago. Since then my kids have been doing their version of durability testing and have found that the printed hinge pins can snap off. This redesign uses raw printer filament as the hinge, and as a result is significantly stronger!
Assembly
If your headrest can be removed then you can permanently attach the “Headrest Attachment - One Piece”. Otherwise use “Headrest Attachment - Two Piece - Left” and “Headrest Attachment - Two Piece - Right” for an attachment that can be opened and closed.
ByWolf_115355Likes513Downloads8.4K

 ByZED4EverLikes313Downloads5.2K

 ByfifindrLikes500Downloads4K

 ByVC_DesignLikes679Downloads3.6K

 ByDan Schwartz SchwartzLikes744Downloads3.4K

 ByJordanK_858807Likes42Downloads430

 ByMAFIXMAFIX_337316Likes130Downloads379

 ByUpcrid3D_1585693Likes808Downloads2.1K

 ByWilko_SLOLikes935Downloads2K

 Bystephenhiras_1439037Likes15Downloads233

 Bychubbs8697_2027893Likes585Downloads1.7K

 Byquibeck_3353173Likes965Downloads1.9K