


Mẫu tranh treo tường nghệ thuật phong cảnh thiên nhiên Nature Decor
 ByCodyMeyer_2545340Likes163Downloads724
Build another version of this model.
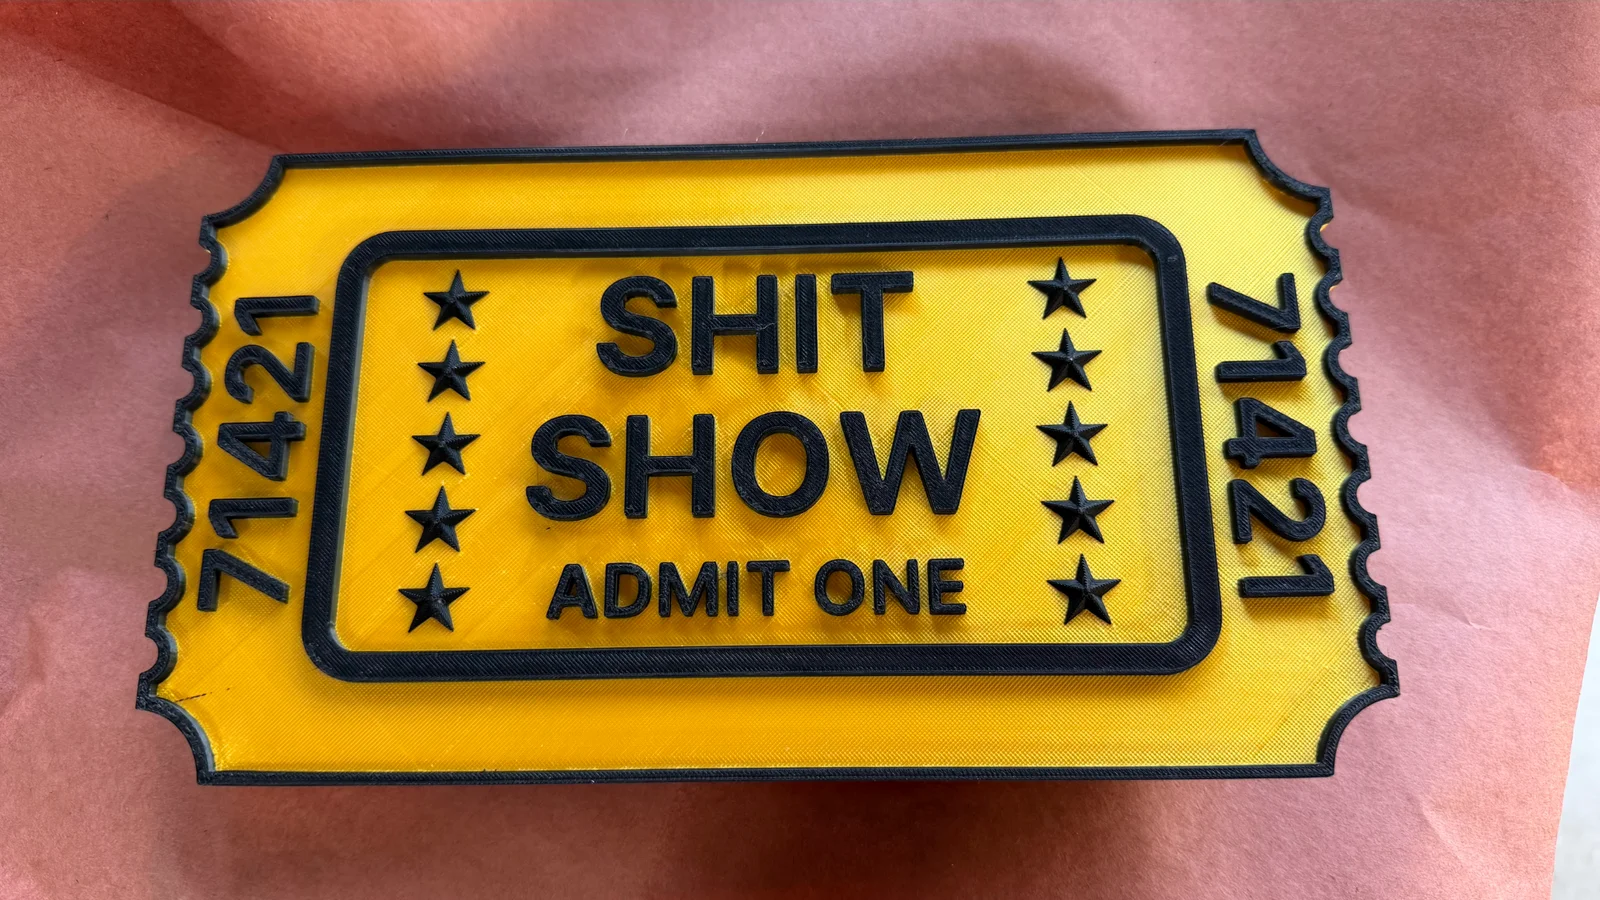
You can access a copy of the Onshape CAD model and modify it. It was designed to be printed on a printer with a 300mm X 300mm bed.
If you want to hang this at an angle and want to tilt the mounting slots in the sign, you can change the variable "TiltAngle" in this OnShape model and generate a new STL. You do not need to create a new STL of the guide tool. Onshape sign model is available here: https://cad.onshape.com/documents/eb96dddd6cce6d10e053f42f/w/13dad8075accec7614017879/e/17fc141ef258d4c333ac569e?renderMode=0&uiState=6a05d70d2486e0233c0df0d8
If you'd like to change the ticket serial number (like to a date, for instance) you can edit the "Serial Number Sketch" by double clicking the name in the Onshape history tree and then right-clicking an entity of the sketched text and selecting "Edit text" in the pop-up menu. Perhaps 010621 or 110524?
Finally, insert a pause in the .gcode file so you can change color from the background to the color for the text, stars and borders, at Z position 12.8. (see Instructions.pdf for how to do this on the Creality slicer). When your printer pauses, retract old filament and extrude new filament, as you usually do. After that, go back to main printer display and select the play icon and "Resume" button to continue.
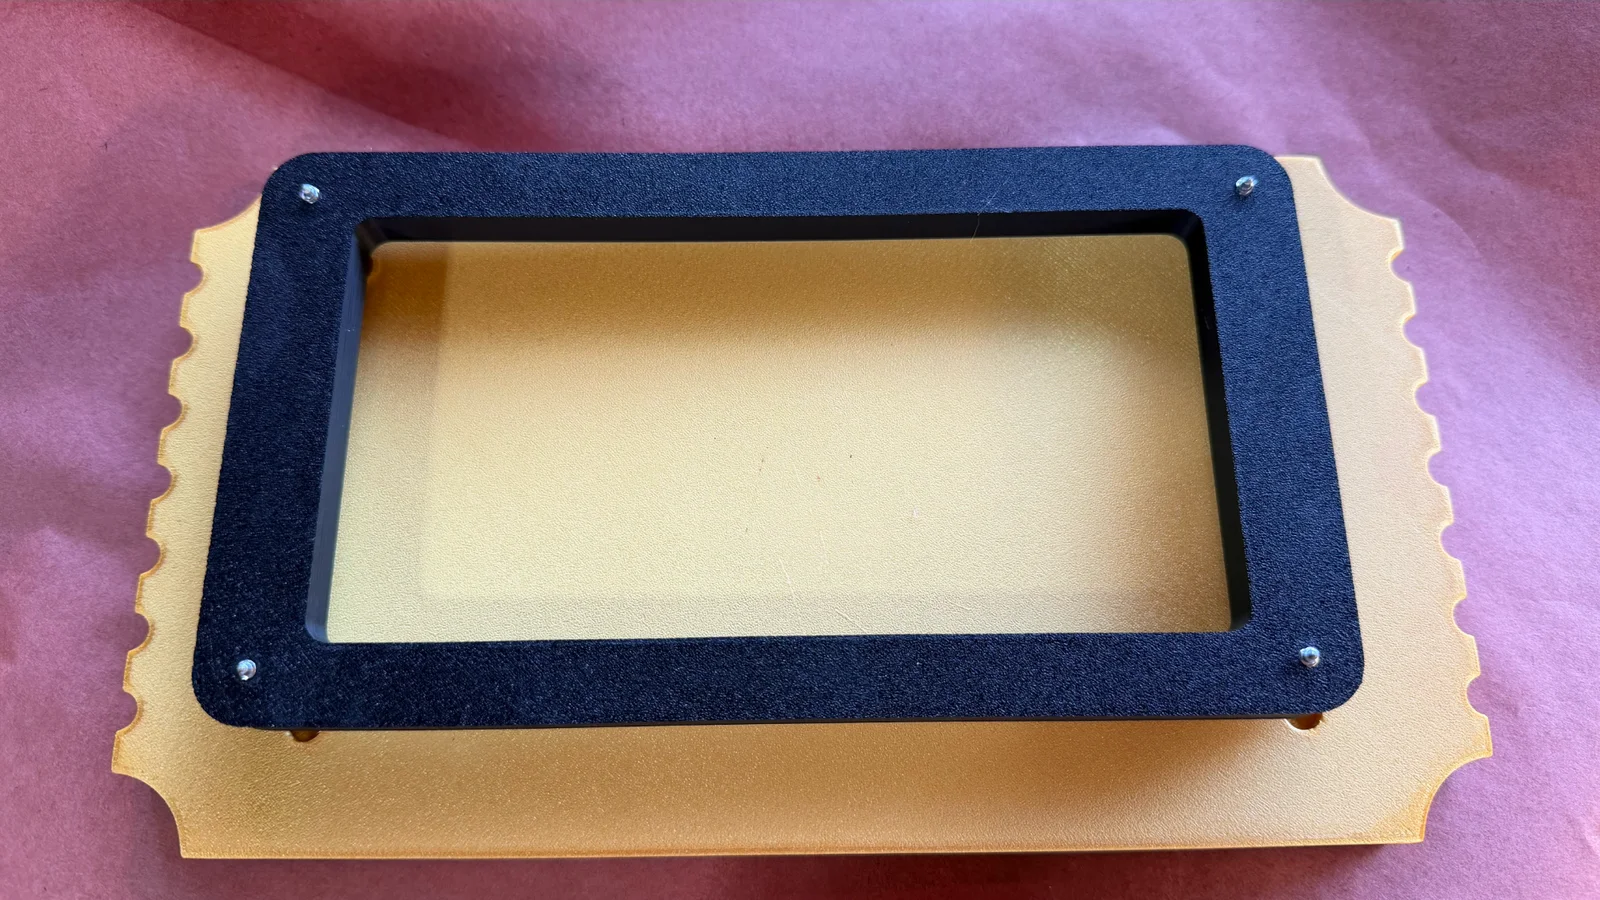
To install, screw screws into chamfered side of installation tool until about 1/8" extends out back of tool. After removing supports in the mounting slots of the sign, hold sign up to wall in desired location/orientation and gently press against the wall. (I used slim tree supports for easy removal) The screws will leave indentations in the sheetrock. Remove tool from sign. Remove screws from tool and screw them into the wall at the indented locations. Stop driving the screws just before the counter sunk head starts to touch the wall. This leaves them exposed enough to insert the screw heads into the holes in the back of the sign and slide the heads into the slots.
ByCodyMeyer_2545340Likes163Downloads724

 ByDrewmundLikes833Downloads4.6K

 ByFastRaccoon_718321Likes461Downloads1.5K

 Bykallekubinsk_3569049Likes37Downloads186

 ByMrCoolGaming_2947996Likes47Downloads175

 Byr_squared_1123188Likes89Downloads197

 Bybychr1s_568275Likes243Downloads186

 ByCederbLikes32Downloads184

 ByTomYumLikes33Downloads158

 ByvexanixLikes168Downloads1.3K

 ByIvoLikes196Downloads1.1K

 ByAllenM_581301Likes40Downloads139