



Thùng rác in Vase Mode
 BybobmakesLikes2.5KDownloads17.5K
Build another version of this model.
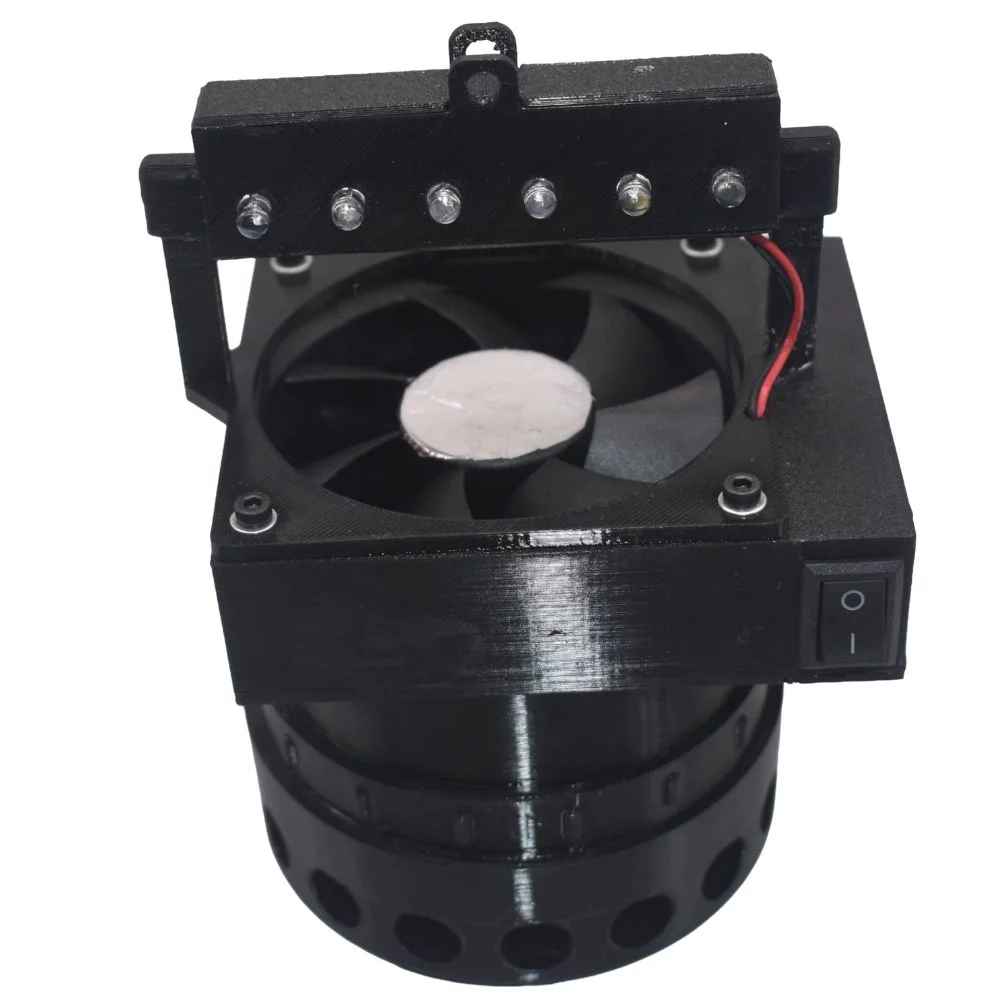
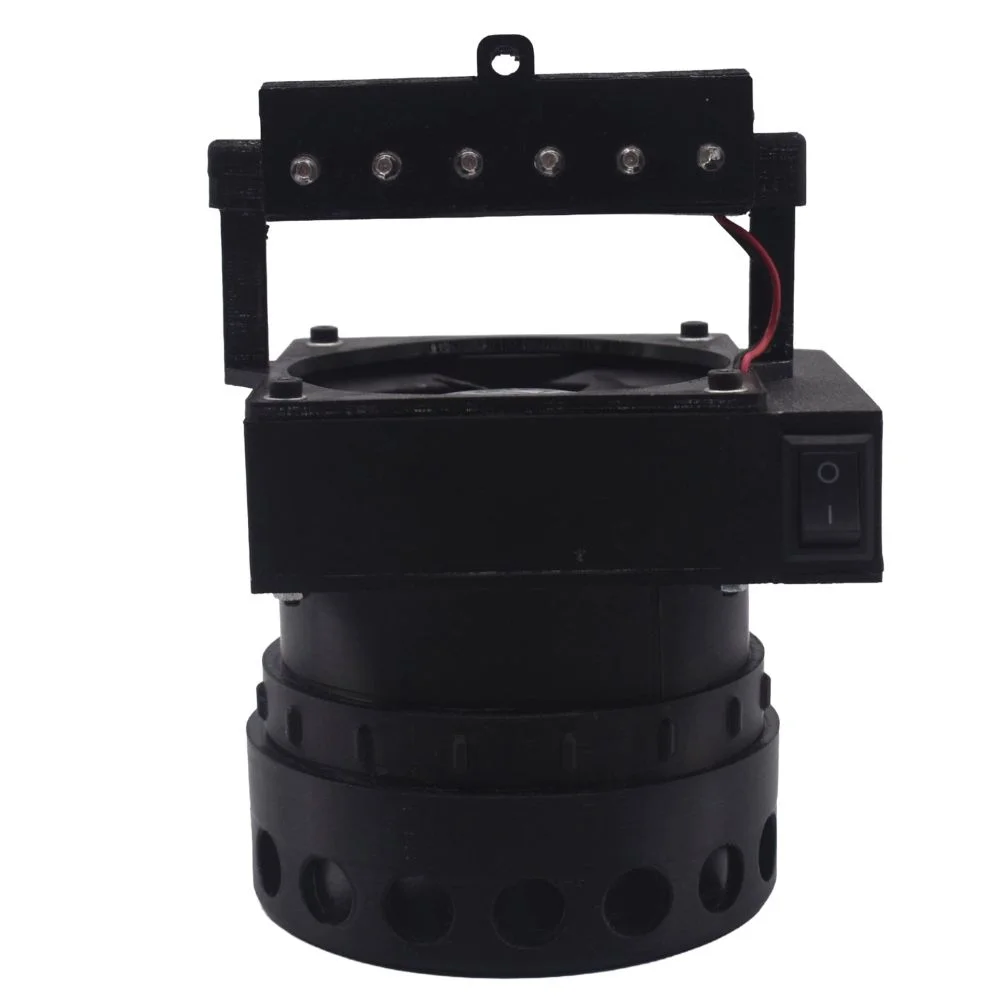
A mosquito trap – very handy and catches loads of them. It never fails: it kills them dead, hehehe. No chemicals or unpleasant smells. Give it a go and you won’t regret it, I promise.
We printed everything on the Bambu Lab A1 and the Bambu Lab A1 Mini using PLA and PETG filaments, a 0.40 mm nozzle (we tried printing with a 0.60 mm nozzle, but the threads weren’t correct) at Standard quality of 0.20 mm and had no problems at all; everything turned out perfectly.
The only part that requires supports is = Support Part Fan 80 mm.stl (see the photos above).
Instructions: (See the photos above).
1 - Assembly – solder the 12 LEDs and resistors (check that they all work) onto the parts and glue everything in place. (If the LEDs come loose or move, add a little glue). (Be careful with the LED wires, as if they touch each other, they may stop working).
2 - Cut and stick a piece of aluminium foil in the centre of the fan. Make it round, with a diameter of 32 mm.
3 - Fit the fan (be careful with the position; check that the air flows downwards – (see photo 3) and thread the cable through the hole in the part = 80 mm Fan Bracket.stl.
4 - Fit the top plate (check that the hole for the LED cables is properly aligned) and secure everything with the screws.
5 - Complete the installation of all cables and connections to the switch and the male jack connector = (it is recommended to glue it in place rather than using the nut).
6 - Close the LED housing (check that all LEDs are working) and the cable junction box using the parts. (It is recommended to glue all parts in place).
7 - Cut the mesh fabric using the washer, mark and cut the mesh fabric to size, and glue it to the piece, also gluing the washer for a perfect fit.
8 - Screw all the parts together and you’re all set.
9 - Leave it overnight or in a dark room and you’ll be amazed by the result.
Components used:
- 12 ultraviolet LEDs.
- 12 470-ohm resistors.
- 1 80x80x25mm 12V 3000rpm axial fan.
- 1 stabilised 12V 3A 36W dual-voltage P4 LED strip power supply.
- 1 black threaded DC jack connector.
- 1 KCD1-101 on/off toggle switch.
- 4 M3x35-40mm screws, plus 4 M3 nuts and washers.
- Tulle or mosquito netting.
- Wires.
- Instant glue. (We recommend Tek Bond 793).
I hope you like our project; please give it a like.
Thank you very much.
José Navarro
BybobmakesLikes2.5KDownloads17.5K

 By178222178222_2484344Likes449Downloads1.7K

 Byquibeck_3353173Likes1.5KDownloads11.5K

 ByVaclav_ZahradkaLikes181Downloads1.2K

 ByowlartLikes527Downloads1.3K

 Bytjfenwick_306961Likes385Downloads1K

 ByAWSWLikes148Downloads580

 ByfifindrLikes216Downloads604

 Bym-collectableLikes0Downloads3.9K

 Byskloter_271869Likes147Downloads425

 Byelectric_pierogiLikes37Downloads386

 ByTommy3DLab_2023125Likes636Downloads2.5K