
F3D
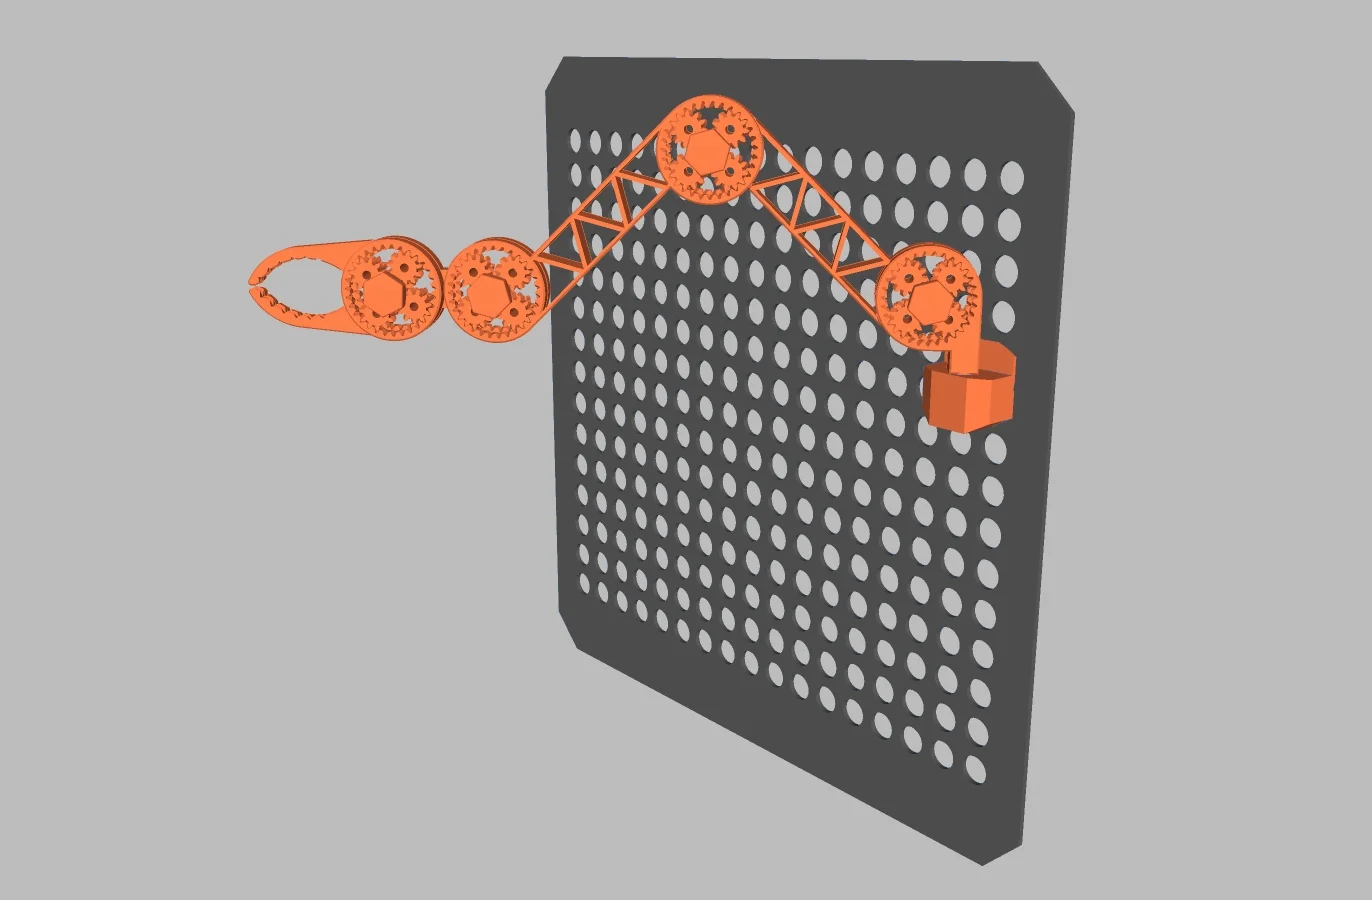
Tay đỡ Mantis Arm 1

1 image

DIY

Tay đỡ Mantis Arm

Remix of Mantis Clamp - Hệ thống kẹp bánh răng hành tinh 2 cấp in nguyên khối By zuberio

By zuberio

Downloads
236
Likes
95
Views
1,885

Files 4 47.5 MB

  • post_mount_vertical_1777832523.stlSTL · 439.1 KB
  • post_mount_horizontal_1777832524.stlSTL · 447.9 KB
  • post_mount_vertical_0.4n_0.2mm_PLA_MINI_1h8m_1777832526.gcodeGCODE · 3.4 MB
  • Mantis_Arm_0.4n_0.2mm_PLA_MINI_9h41m_1777832527.gcodeGCODE · 43.2 MB

Make a variant with AI

Build another version of this model.

Open Studio

Description

Still (mostly) Print-In-Place!

  • Supports required under for the ‘post’ portion of the clamp as well as the Qube500 mount points & post-hole. I recommend organic supports for this.
  • I've place some special voids inside the post to ensure additional perimeters are there for strength. If that isn't enough strength for you, you can also insert a M3x20 screw into the hold at the bottom of the post.

Post-Print Instructions:

  1. Remove the supports.
  2. Slid a thin metal piece (knife/scraper tool) into the groove between the outer ring of the planetary gears connected to the ‘post’. Slide the knife along the joint to separate the two rings as much as possible.
  3. Rotate the dial clockwise to move the post away from the clamp gears
  4. Rinse and Repeat above steps 2 & 3 for the remaining planetary gear systems
  5. While slowly inserting the post into the post-hole, twist the parts around the post's axis of rotation so that the two parts work each other smooth..
  6. Enjoy!

Read more Show less

Print spec

Formats
gcodestl
Model files
4
Total size
47.5 MB
Largest file
43.2 MB

0 comments

See all