

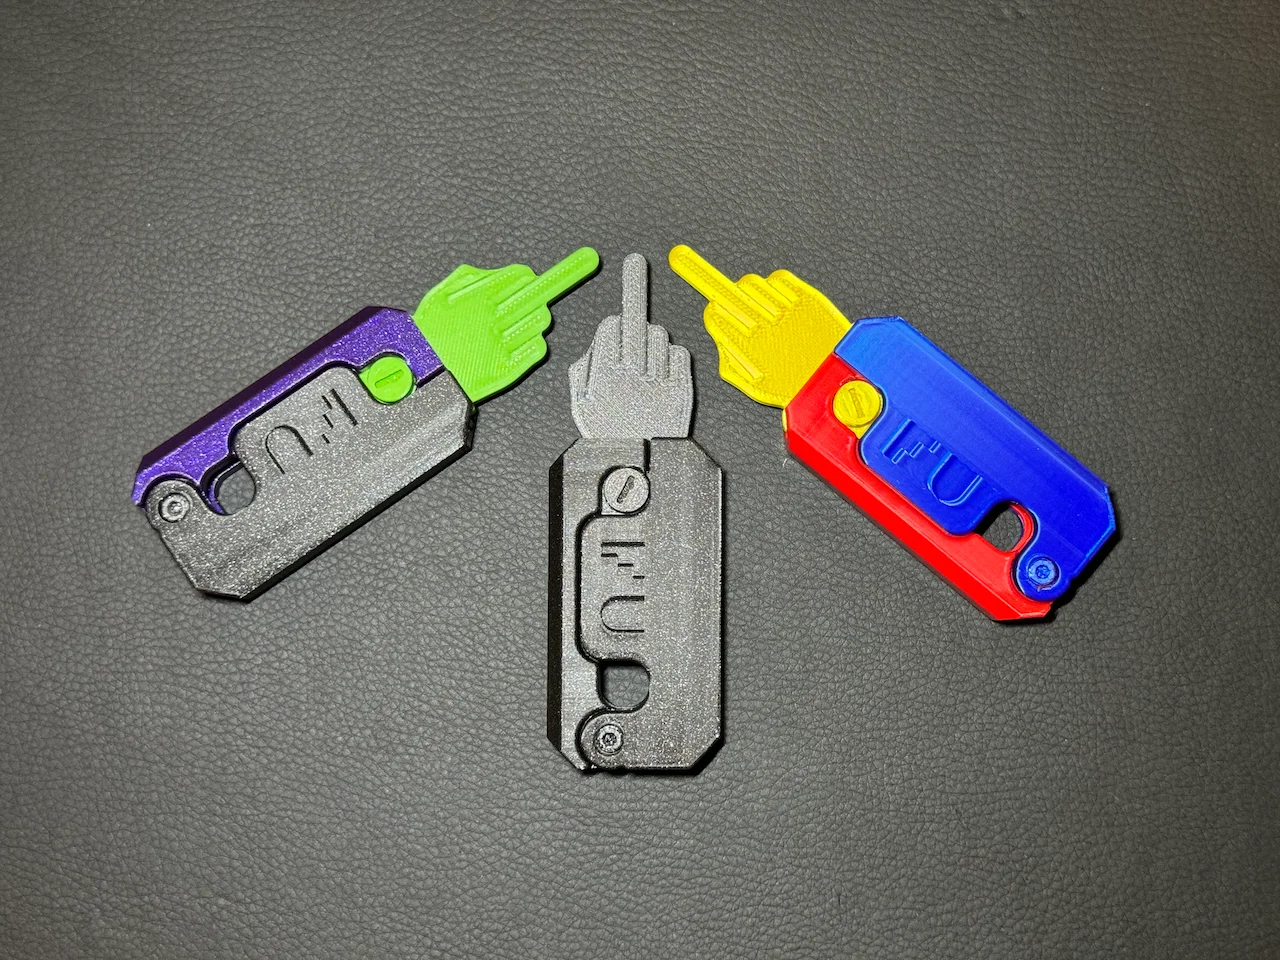
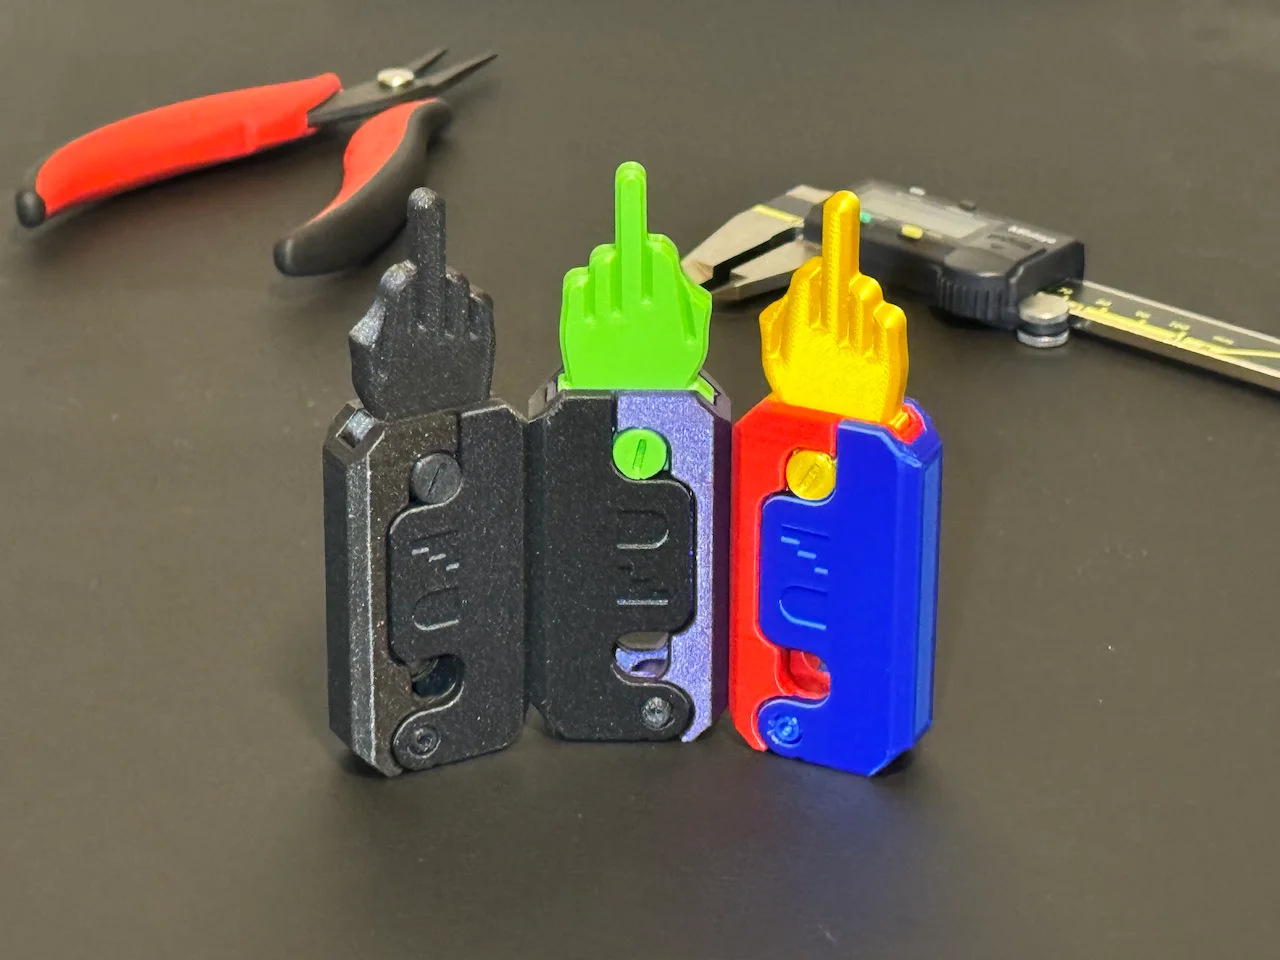


Diet Fork - Gag Gift Prank
 Bypotato-coLikes0Downloads173
Remix of Dao Găm Trọng Lực Circle Game By DanielJosvai
Build another version of this model.
A (slightly) more offensive take on the Circle Game Gravity Knife by Daniel Josvai. I printed one of Daniel's version of the gravity knife at the request of my wife. Shortly after finishing the assembly, I realized I needed one for myself to play with at my desk. A couple days later, and there are at least five of them floating around the house. Then, after my wife showed all of her coworkers, the inevitable, “can you make one with a middle finger?” request came in. A few hours of designing and a couple days worth of testing and tweaking later, and here we are!
The next time someone gets you with the Circle Game Gravity Knife, you can get them right back with the Middle Finger Gravity Knife!
Printing is largely the same as the circle game version, except I chose (and recommend) to use organic supports and I used a 0.15mm layer height for the entire print, with the exception of the screws, which were reduced to a 0.1mm layer height. I would also recommend printing with a 0.4mm nozzle (or smaller).
Recommended global settings:
Part specific settings:
Blade
Handle & Blade Screws
Orient the parts as you see in the screenshots above. Use paint-on supports on the inner handle in the areas indicated.
Enjoy! And… Try not to offend too many of your friends.
Bypotato-coLikes0Downloads173

 BystinovlasLikes125Downloads478

 Bycream110_291842Likes924Downloads7.7K

 ByOnemoredaveLikes861Downloads6.9K

 BySzvmkn_3779340Likes231Downloads1.4K

 Byne-3d-x-f-f-3dLikes0Downloads297

 Byfluffytails37Likes184Downloads775

 Byjs14581_2767550Likes118Downloads3.3K

 Byquibeck_3353173Likes351Downloads2.1K

 ByTheMakerStuffLikes315Downloads1.9K

 ByGoolow_295072Likes598Downloads1.6K

 ByMikWantecLikes264Downloads1.5K