

Kẹp giữ sợi Filament
 Bytinx_1344834Likes1.2KDownloads6K
Build another version of this model.
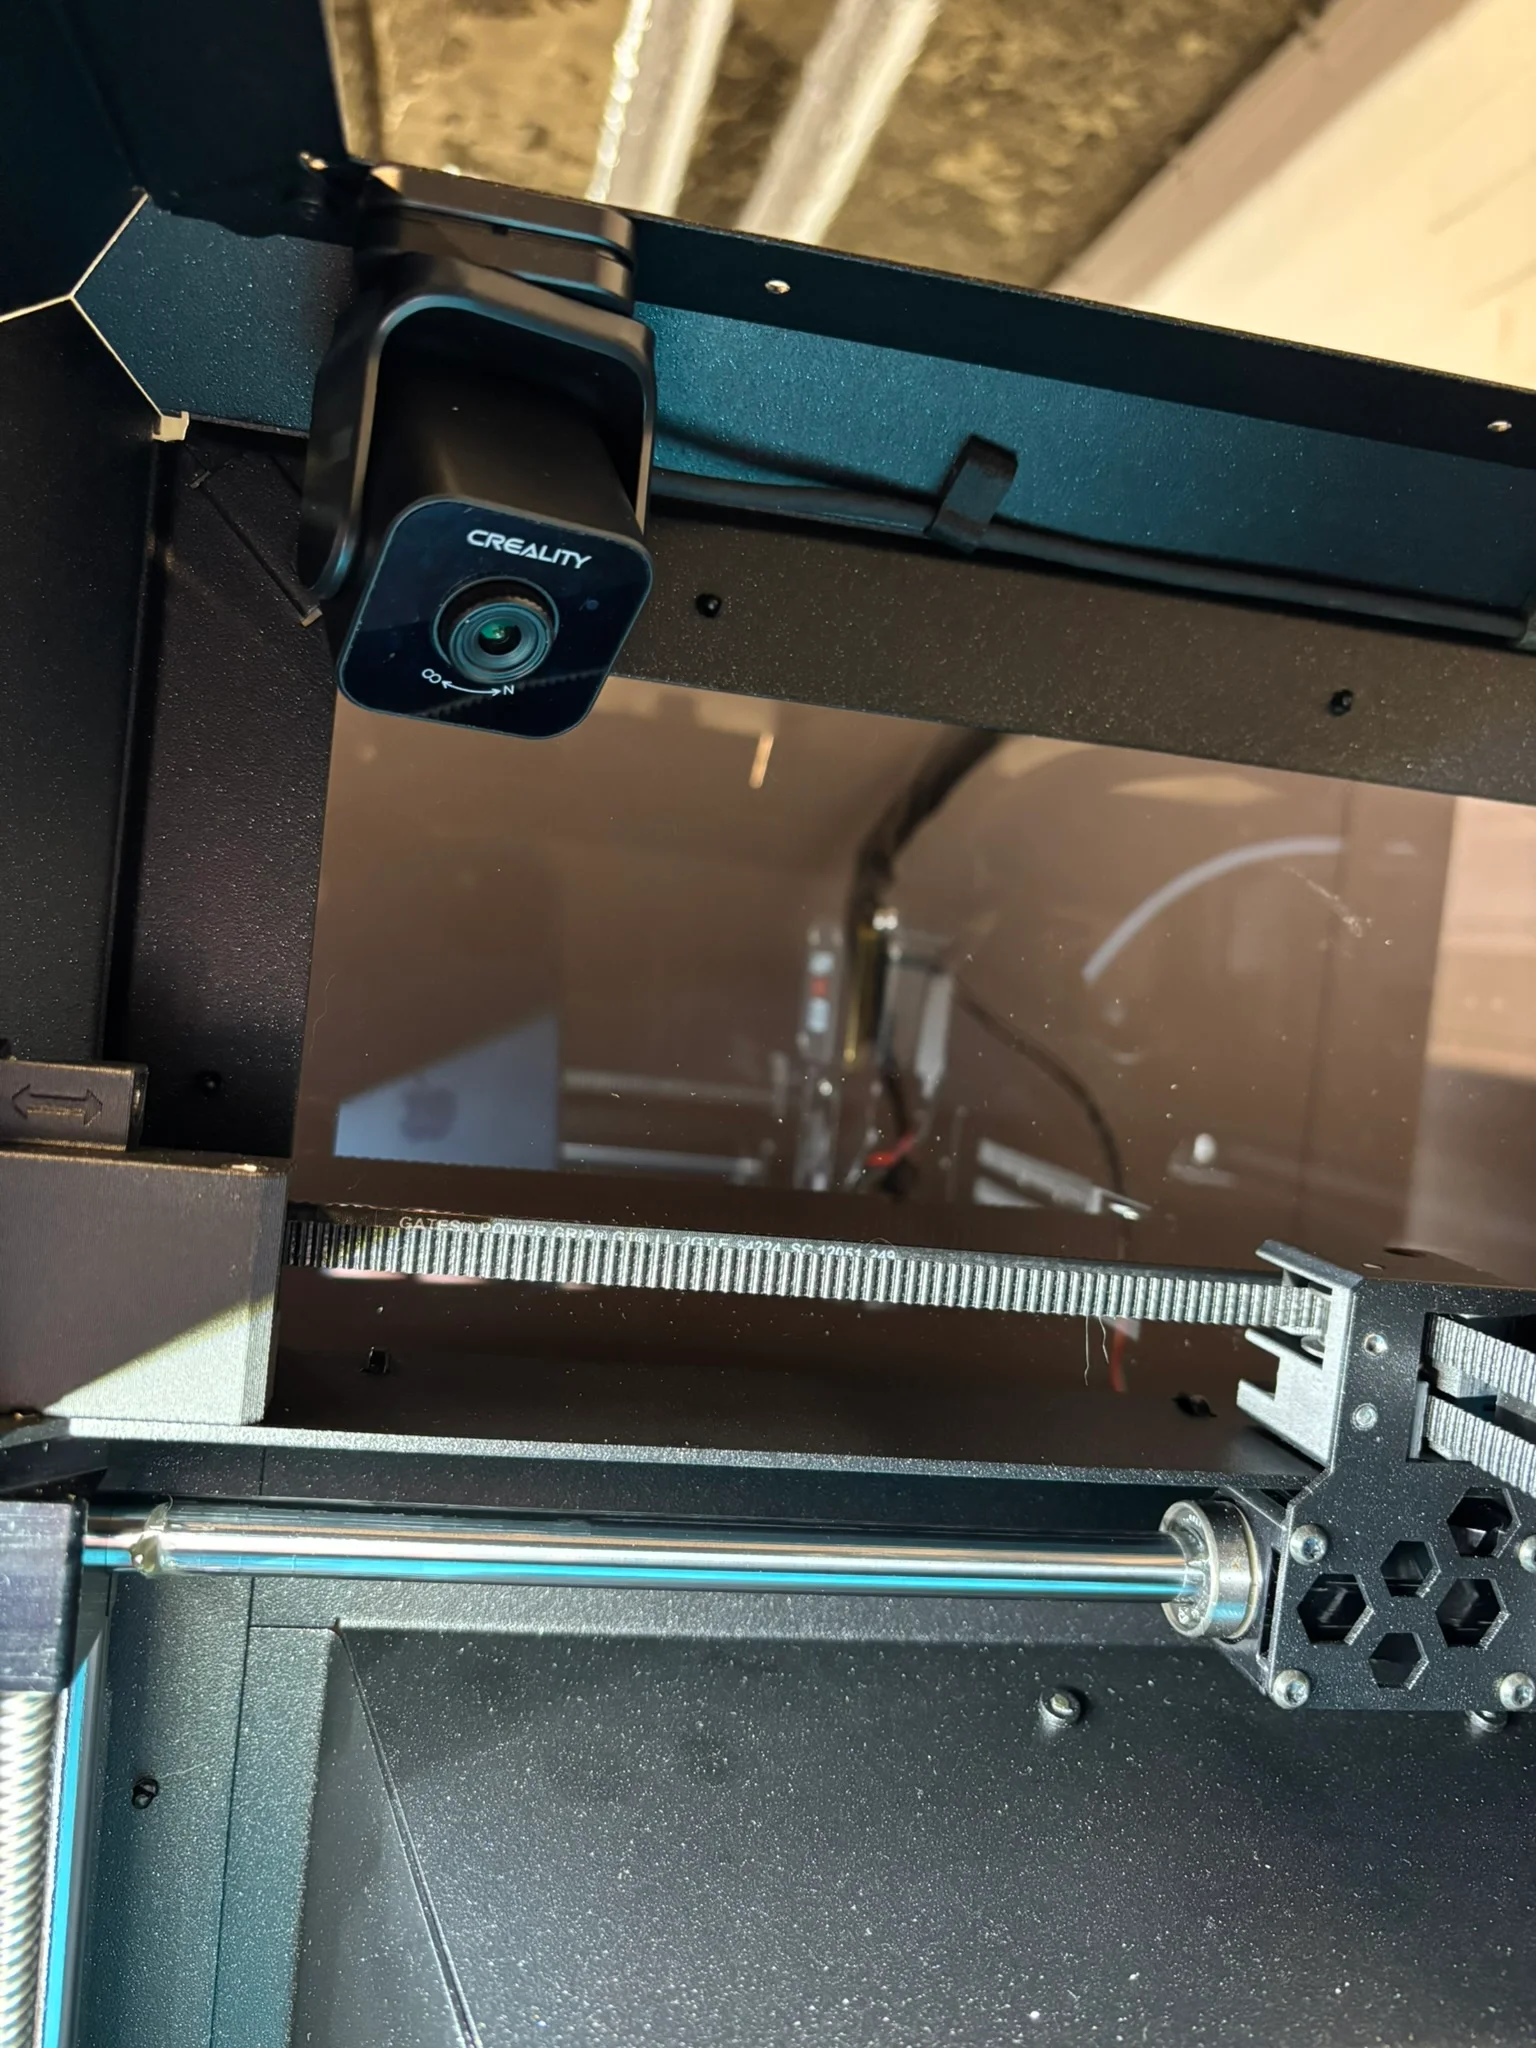
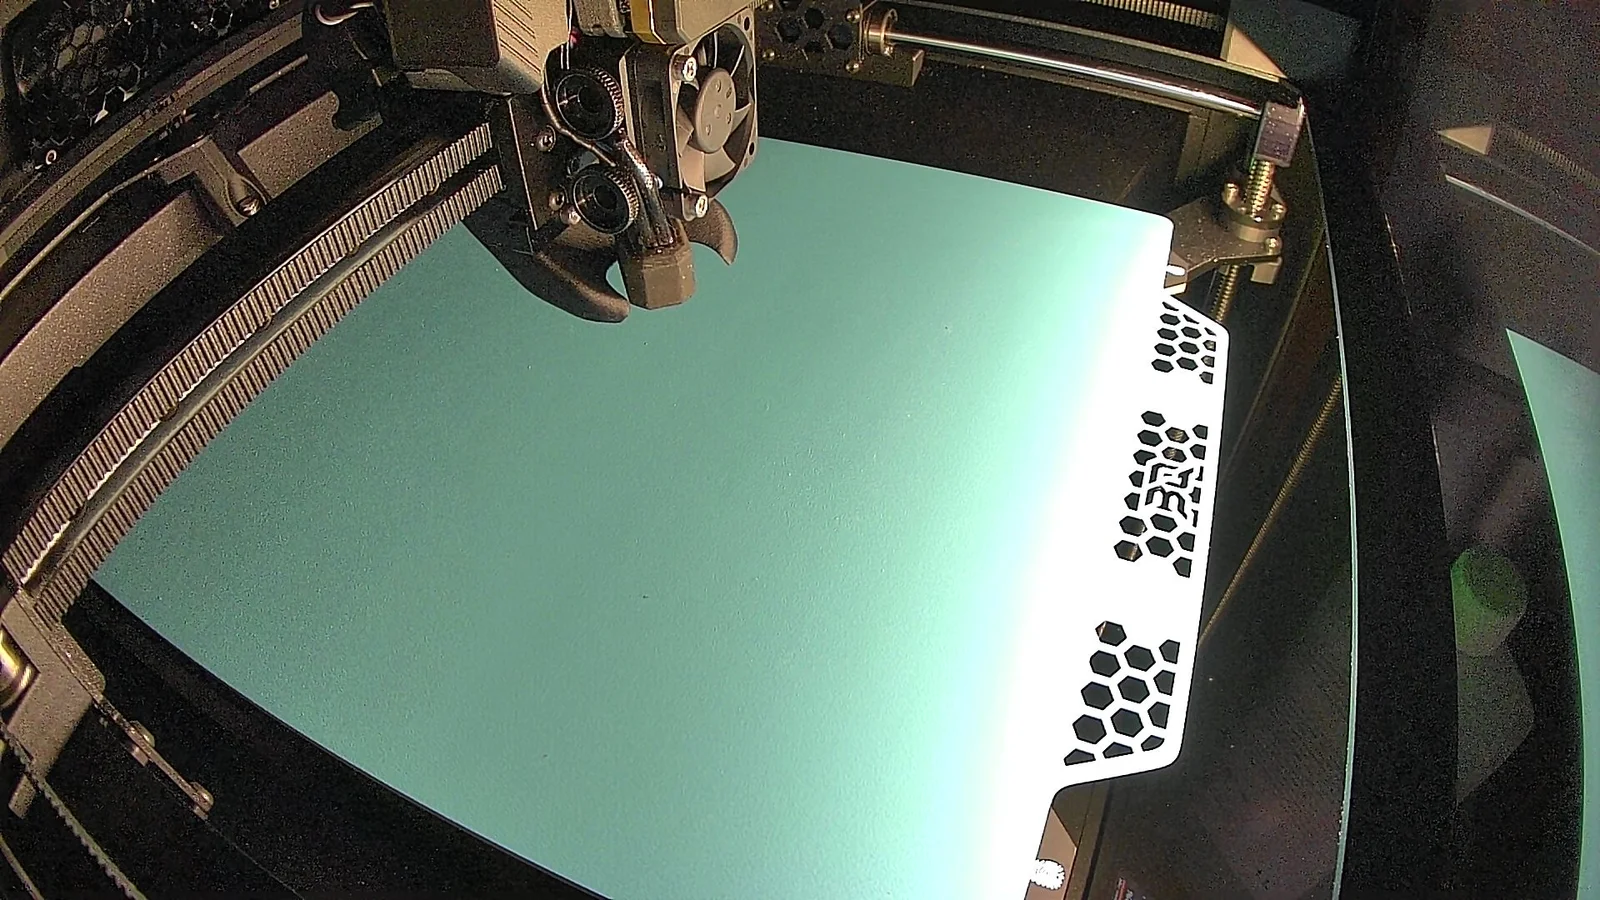
This is a pretty simple mount for the Creality Nebula Camera so that it can mount inside the CORE One. It can function as webcam in Prusa Connect as well as a live stream camera.
I am aware of the Buddy3D for the CORE One and it's a wonderful first party solution, but at the time of writing it's 5 weeks waiting time. It's also not a live stream of the inside the printer, which I prefer. I also have a Nebula cam, so it's always great when you can use what you have laying around.
A word of warning, this is a very DIY route and you'll need to setup the camera on a raspberry pi / SBC.
I used Prusa Connect Camera Script which I will not cover here as their documentation is pretty good. They have a guide to set up mediamtx, but I used µStreamer and the curl function to grab screenshots of the webcam stream. My .env for Prusa Connect Camera Script ended up looking like this:
PRINTER_ADDRESS=[Your Printer's IP]
PRUSA_CONNECT_CAMERA_TOKEN=[Your Printer's Token]
PRUSA_CONNECT_CAMERA_FINGERPRINT=[Your Printer's Fingerprint]
CAMERA_DEVICE=/dev/null
CAMERA_COMMAND=curl
CAMERA_COMMAND_EXTRA_PARAMS="http://[Webcam Pi's IP]:8080/snapshot -o"
Bytinx_1344834Likes1.2KDownloads6K

 Byprusa-researchLikes0Downloads2.7K

 Bypeter-van-der-waalLikes0Downloads254

 BykingnothingLikes0Downloads179

 Byp3rr1ff3ryLikes0Downloads148


 By3DSourcererLikes48Downloads377

 Bydominik-chuchlikLikes0Downloads120

 ByBrokentooth_designsLikes17Downloads147

 Byarhi_585078Likes64Downloads541

 ByfilamentalistLikes71Downloads110

 ByPengLordLikes32Downloads112