



Vải In 3D Cấu Trúc Hình Bát Giác (Octagon Fabric)
 ByDrewmundLikes833Downloads4.6K
Build another version of this model.
Hey everyone!
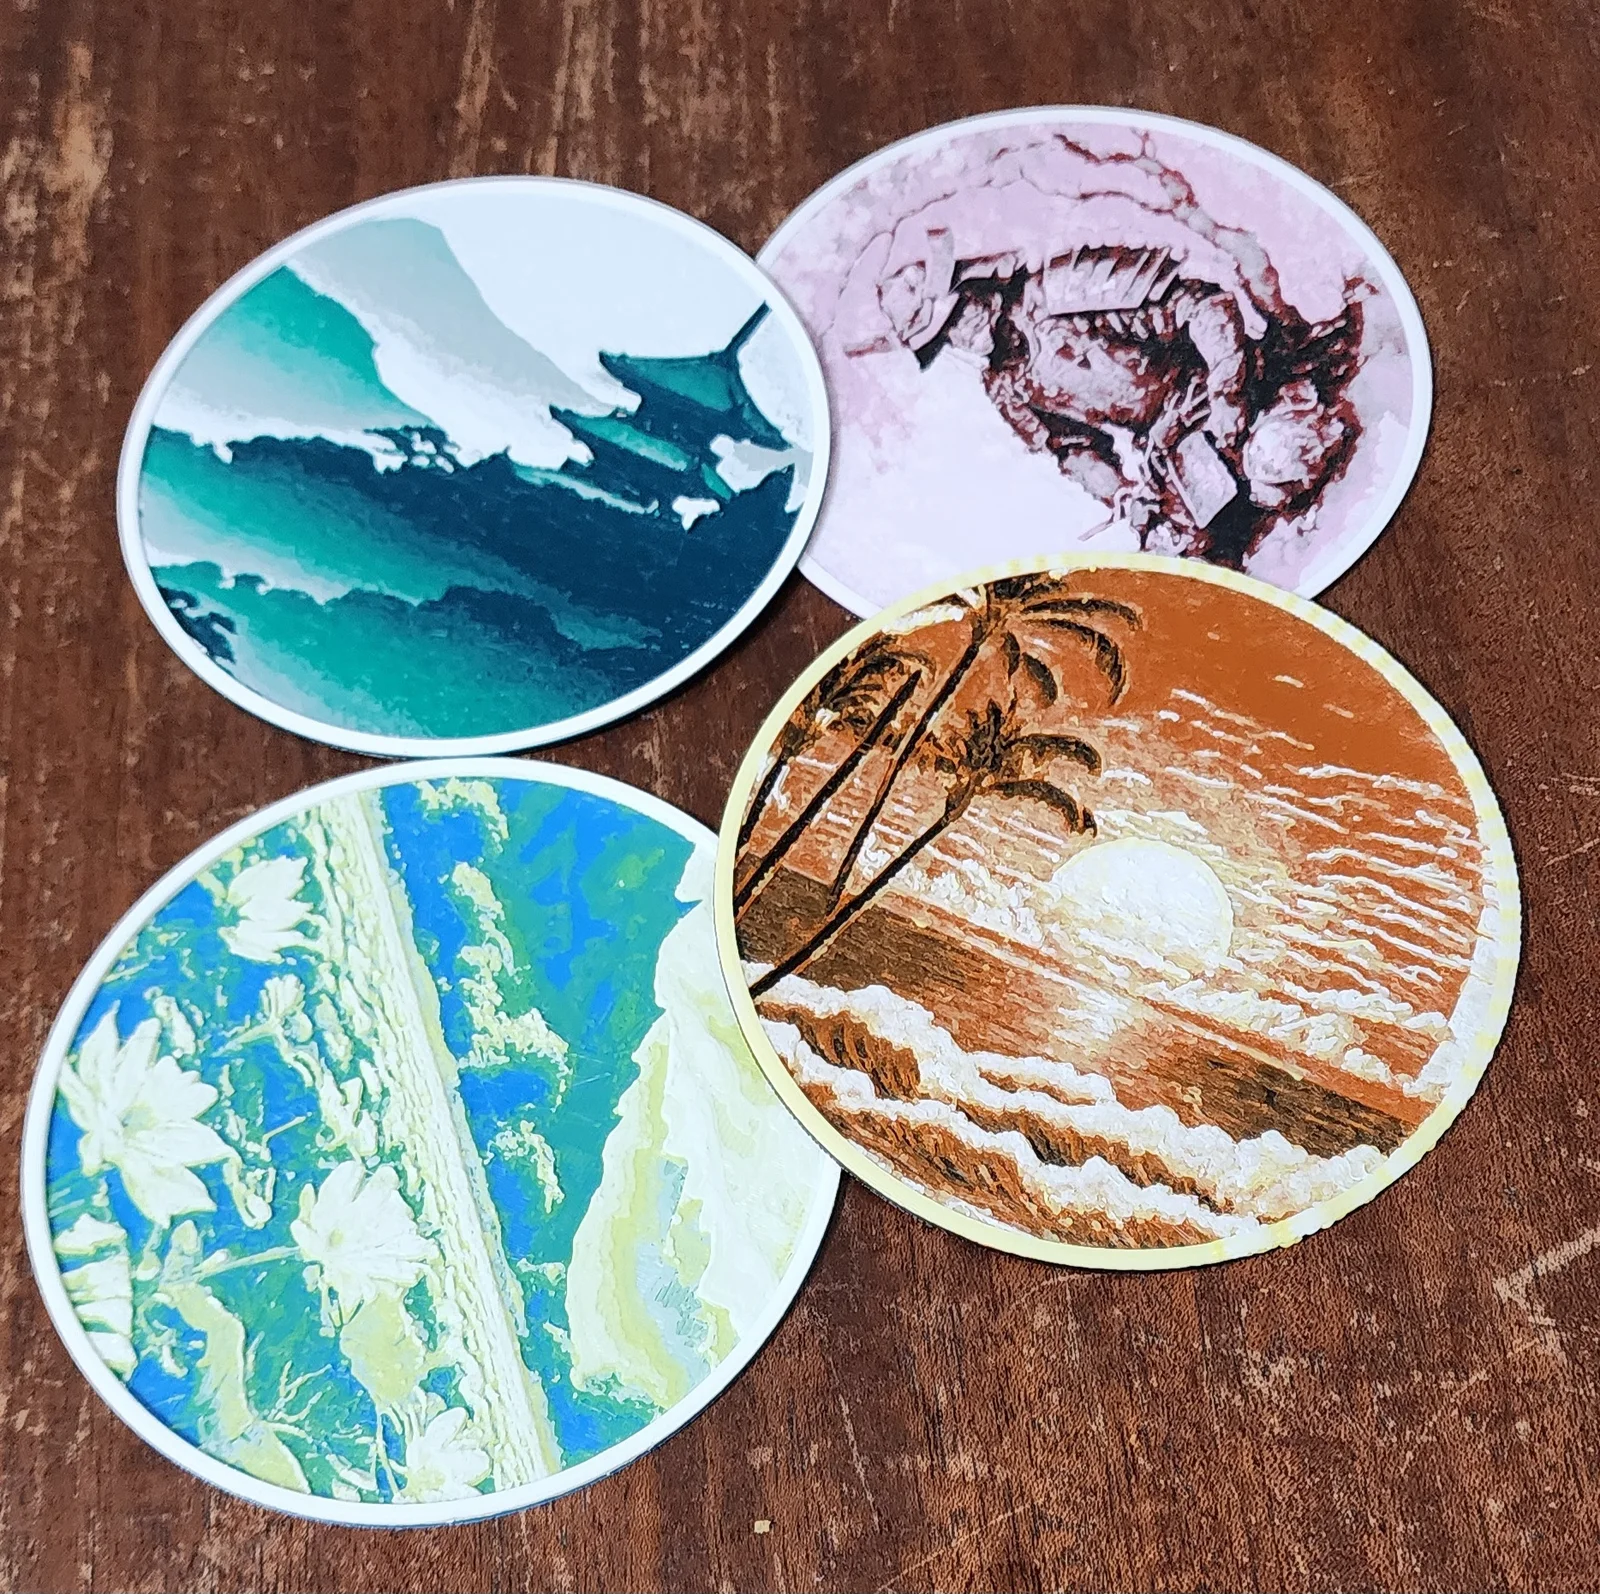
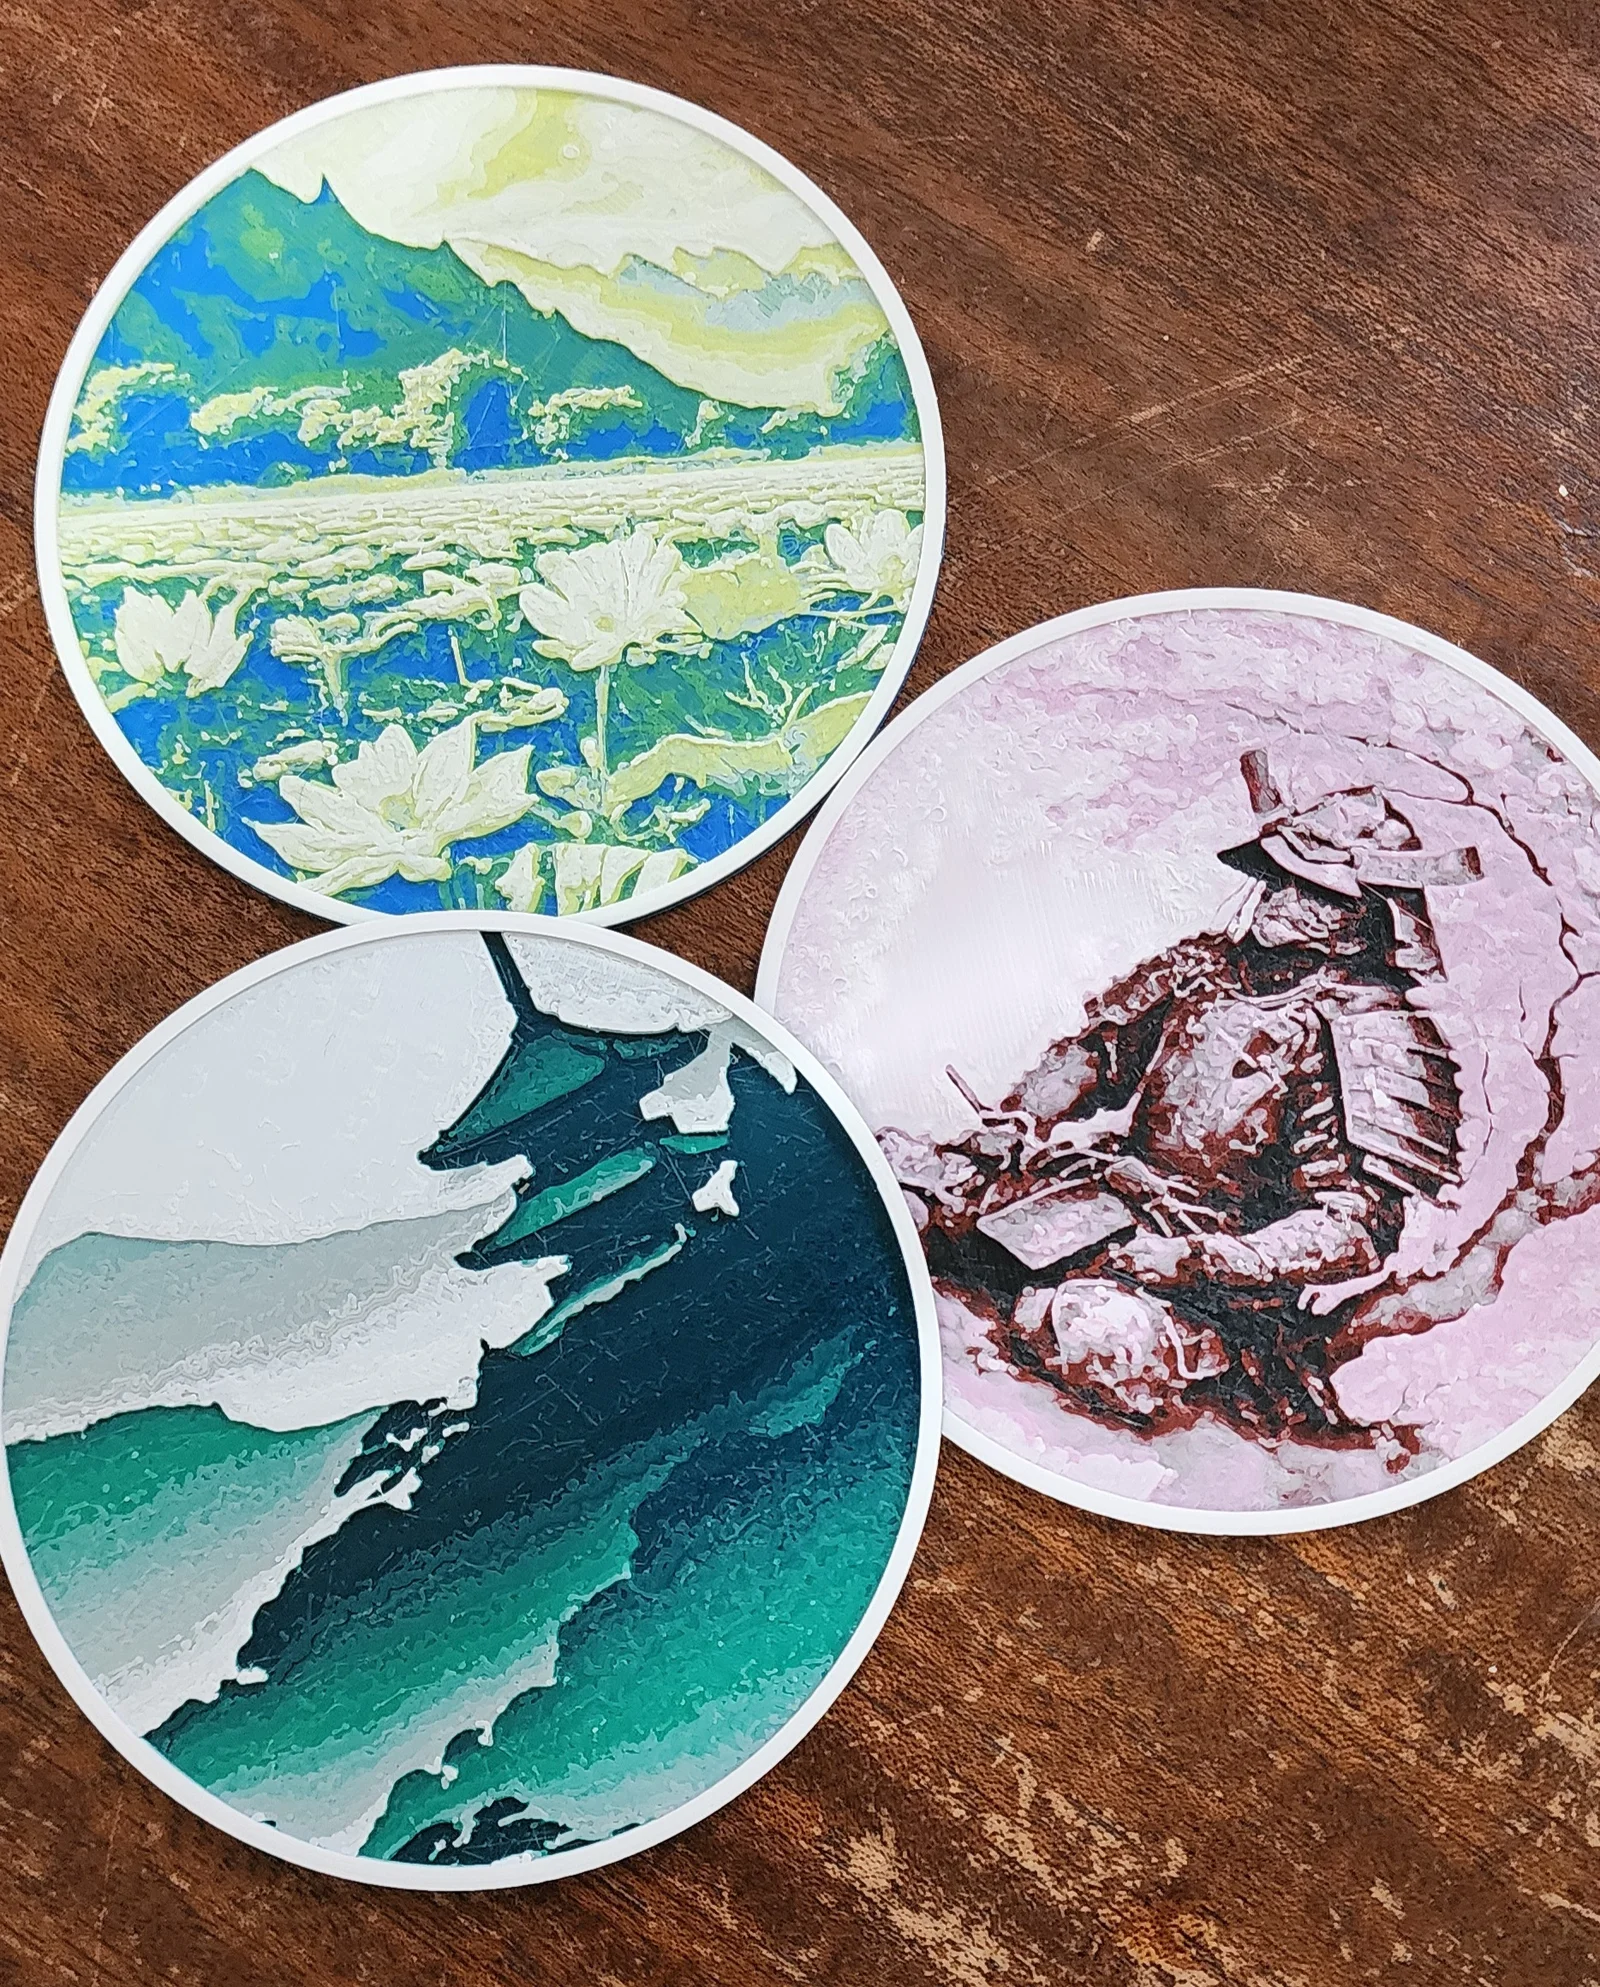
I recently jumped on the Hueforge train and thought I'd make usable coasters with AI generative art.
These are relatively easy to print, only use 4 to 5 colors per disk, weigh around 15g, and are a great way to use your leftover filaments.
For those of you who have never used Hueforge before, it's an awesome program to slice images into printable pictures by blending thinner layers of filaments to get the desired effect. You can check them out on their website here:
Printing Instructions:
100% infill
Initial Layer Height: .16mm
Layer Height: .08mm
To get the blending effect, you will have to pause the printer at certain layers and swap out the filament. If you have an AMS set up like a Bambu lab, you can do it right in the slicer.
Each STL is labeled in this format: Name 1.2.3.4.5. The numbers are the layers you will have to pause to change the filament and the color AFTER the number is the color your changing into.
Example: Mountain Coaster DarkGreen.8LightGreen.12Gray.16White
Start with Dark Green, pause at layer 8 and change to Light Green, pause at layer 12 and change to Gray, then pause at layer 16 and change to White
ByDrewmundLikes833Downloads4.6K

 ByCodyMeyer_2545340Likes163Downloads728

 ByFastRaccoon_718321Likes461Downloads1.5K

 Bythecodedkid_388190Likes219Downloads264

 ByvexanixLikes168Downloads1.3K

 ByIvoLikes196Downloads1.1K

 Bynonoobybut_3307010Likes364Downloads1K

 ByvojtagrecLikes289Downloads902

 Bykallekubinsk_3569049Likes37Downloads189

 ByMrCoolGaming_2947996Likes47Downloads177

 Bykarma-artLikes0Downloads156

 Byelizabeth3dLikes0Downloads152