



Bộ xúc xắc khổng lồ (Complete Giant Dice Set)
 BybobmakesLikes4.3KDownloads16K
Build another version of this model.
Premium version of this model with two kinds of brick patterns available on my Gumroads Store.
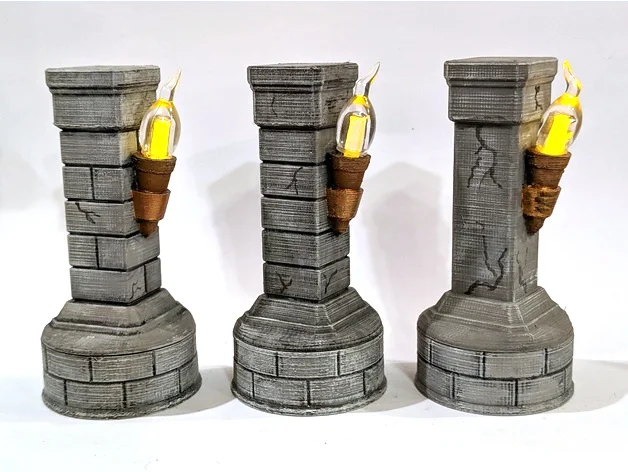
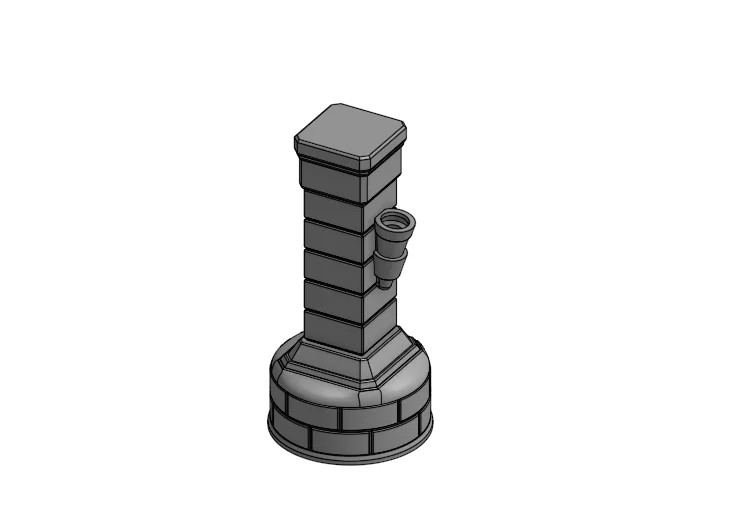
Cheer up the gloom with some stone pillars/columns with real flickering torches for all your dungeon adventures. No soldering necessary!
The base of a flickering orange tealight and a section of acrylic rod, acting as a light pipe, are used to bring the torches to life. The plastic flame cap for the tea light is also used for the torch flame.
The base printed piece is designed to fit the guts of one of the tealights listed below. Any of the three columns can fit on top and be glued or just set on top. There is an alignment notch in the printed base so pay attention when assembling with the tea light.
These are scaled up slightly from the original pillars they were remixed from with the base coming in at a little bit larger that 1.5in (38mm).
Inspired by GrimfieldGames' Gloomhaven Brick Column (hollow, room for LED-light)
This model got some press, checkout the HACKADAY article HERE.
Tea Lights:
1/8" Dia. Acrylic Rod:
BybobmakesLikes4.3KDownloads16K

 ByKNfLrPnLikes45Downloads221

 Byewr2sanLikes208Downloads819

 ByMZ4250Likes147Downloads916

 ByFishManooo_1312296Likes172Downloads589

 Byrezips_533396Likes52Downloads394

 ByRT3DLikes14Downloads101

 BySascha_LB_581517Likes87Downloads484

 ByJoe_84156Likes38Downloads243

 ByGabrielGuaran_808519Likes22Downloads145

 BytwintailLikes56Downloads228

 ByJuanVLikes22Downloads308