

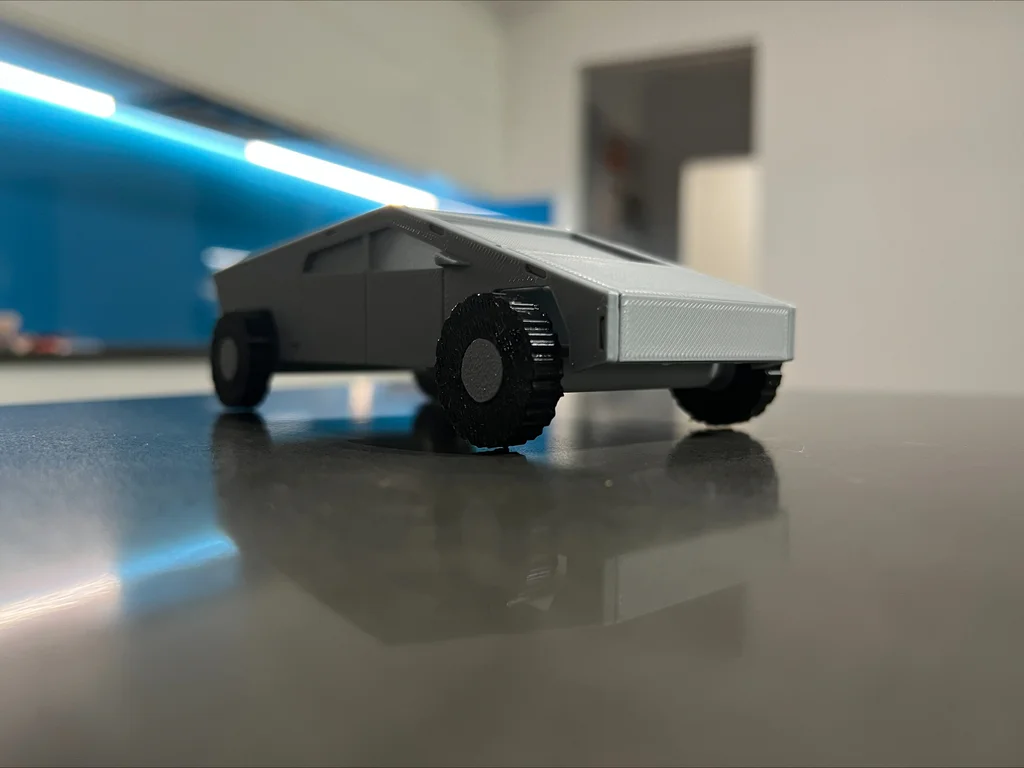
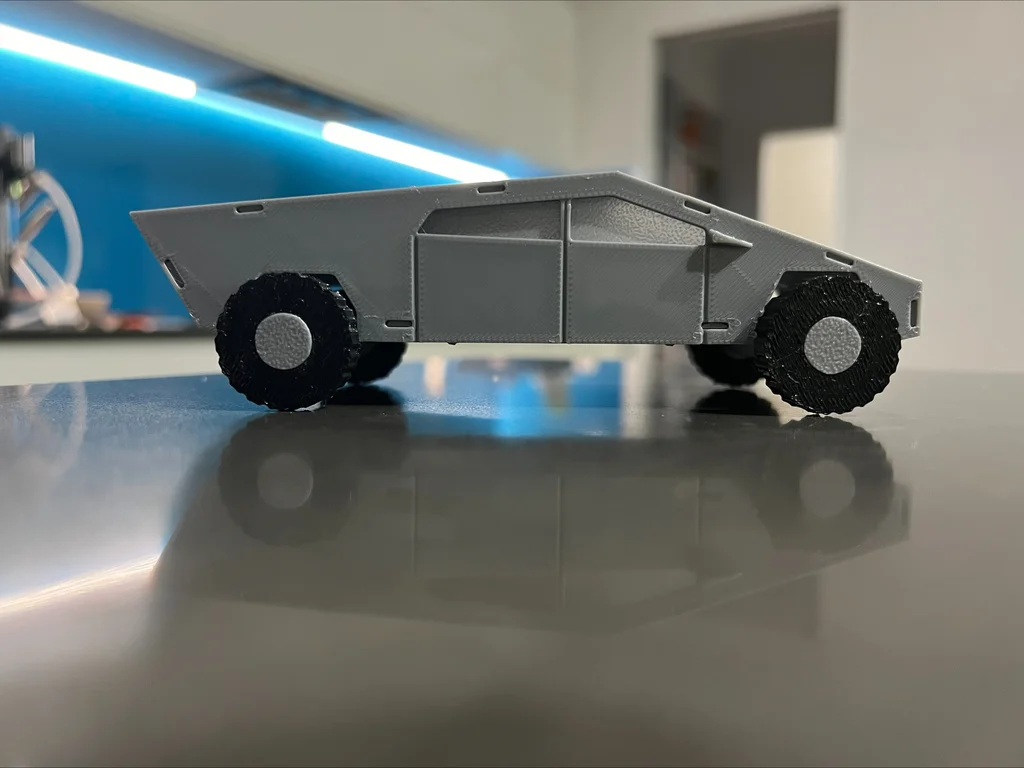


Tesla CYBERTRUCK / CYBERCAR
 BySoarpixLikes168Downloads561
Build another version of this model.
I am new to 3D Printing and trying to learn how to create my own models. I thought the MakerWorld kit card contest would give me a nice project to learn and practice. I decided to go with the Tesla Cybertruck for its unique look while still only having fairly basic shapes. It took a lot of trial and error to get to this point, below is just a small selection :-) I was initially trying to have it as a folding model but I gave up on that pretty quick, one day I'll probably try again.
I have supplied the tyres as a separate card incase you want to print it in another colour or material. I printed the tyres using TPU.
When printing the main Cybertruck card use an initial layer height of 0.1mm so the windscreen and side windows print correctly.
If you try this let me know what you think and if there are any changes you would like to see.
Printer Brand:
Bambulabs
Printer:
Bambu P1S
Rafts:
No
Supports:
No
Notes:
Initial layer height of 0.1mm so the windscreen and side windows print correctly.
Assembly
You will need flush cutters/hobby knife to detach the parts. The parts slot together with pressure but a fair bit of pressure is needed. I recommend using pliers for attaching the bonnet/windscreen section. On the parts that need orientation there is an arrow on the underside that points to the top of the truck. I have found the following order the easiest for putting the truck together.
BySoarpixLikes168Downloads561

 Byancilod142_2166504Likes320Downloads1.6K

 ByMartinLikes2.4KDownloads8.8K

 ByMonomoLikes357Downloads3.7K

 ByWanderingJui_3925173Likes39Downloads1K

 ByJerryieLikes0Downloads131

 Byplasmarob_300405Likes252Downloads2.1K

 ByG33kt3chstudioLikes114Downloads393

 ByPariDot_92080Likes71Downloads1.1K

 Bybazzar701Likes0Downloads115

 ByAlMonLikes103Downloads980

 ByGameFan_195116Likes78Downloads332