



Còi Tàu Hơi Nước Mini
 ByfifindrLikes500Downloads4K
Remix of Hộp Cứng Có Khe Cắm Mô-đun (Tham Số) - Chiều Cao Thường By Whity
Build another version of this model.
I bought a Pinecil v2 to replace my trusty Ersa Tip 260 as it became bulky and unwieldy.
Especially when I just need to solder 4 wires to a ESP32 that will get stuffed in a tiny 3D printed enclosure.
As I wanted to dip my feet into heatset inserts, I remembered the Pinecil and changeable tips.
I bought the Pinecil and Heatset inserts from CNC Kitchen but realized that I needed a solution to not lose everything when I don't use it for 3 month at a time.
Sifting through countless designs and ideas, I began to realize that I need my own solution.
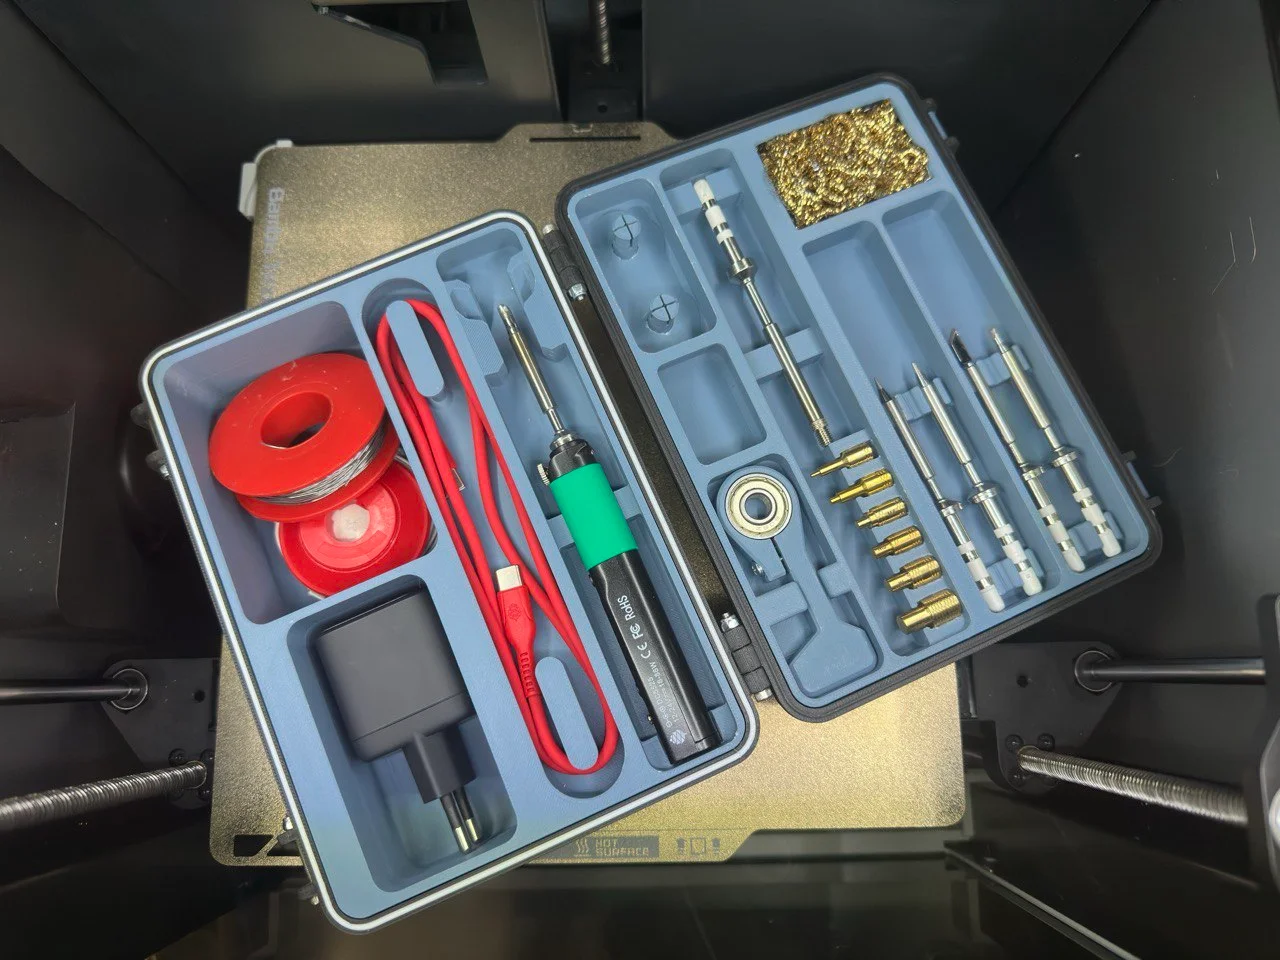
So I remixed everything that I liked into this box.
The box holds the following items:
This allows me to have everything in one place without losing bits and pieces over time.
Requirements
The Insert for the Heatsets was made by irwtdvoys and fits CNC Kitchen Inserts and tip perfectly. Beware if you have other inserts. Slice a section for testfit before printing the whole insert if you are unsure!
Required hardware besides Filameent and your printer:
Print instructions
Print as you like. I chose Aligned Rectilinear Infill as the parts don't need to hold a car from falling off a cliff and it saves my Bambu Lab X1C from rattling itself to shreds when using Gyroid. Chose whatever infill combination creates best results for you.
My settings were: 3 Walls, 10% Rectilinear Infill. 4 Top & 4 Bottom Layers
For everyone that is not using the Bambu-Project file:
The bottom Insert has a huge area that is just infill (Area below the Soldering Iron). I placed a negative-modifier there with the dimensions of 48x172x27mm in order to hollow that section out. Saves a bit of material and gives you the option to stash replacement-wool or screws in there in case you need them. Just make sure the bridging direction and capabilities of your printer are up to speed as this is quite a big section.
The Lid has the Pinecil Logo in it. If you have a MMU-capable machine, you can color it accordingly and enjoy a flat color inlay.
The Gasket is printed in TPU. Adjust your settings accordingly. You can leave it out if you don't have TPU at hand. Works totally fine without it.
Assembly
For assembly you must use bolts and nuts (as per usualy with Whitey's rugged boxes).
I chose M3x25 bolts and paired them with M3 lock-nuts that use the nylon locker. You can use regular nuts if you like but I recommend a bit of Loctite on them so they don't fall apart.
Glue the Top insert into the top lid so it won't fall out when you open the case.
Get a bit of painters tape around the bottom insert (1-2 layers in total) to get the piece snug fit but not too tight as this allows you to access the hidden storage compartment below the soldering-iron. If you did not print this section hollow, feel free to glue that insert in aswell.
Drill out all holes for the latches with a wood-drillbit as needed so the bolts fit in great without splitting any layer lines. Assemble the latches accordingly and don't overtighten the bolts.
Put the optional TPU-Gasket in and fill your box with all your soldering-needs.
Enjoy!
Please check out all the creators of the amazing models that I remixed and tell them that they did a great job!
ByfifindrLikes500Downloads4K

 ByVC_DesignLikes679Downloads3.6K

 ByDan Schwartz SchwartzLikes744Downloads3.4K

 Bychubbs8697_2027893Likes585Downloads1.7K

 Byquibeck_3353173Likes965Downloads1.9K

 ByRungeKuttaLikes229Downloads1.2K

 ByEadubsLikes228Downloads1.3K

 ByWolf_115355Likes513Downloads8.4K

 ByJeremyVillalo_760366Likes68Downloads760

 ByZED4EverLikes313Downloads5.2K

 Bykjus_448782Likes314Downloads671

 BySchmitzBertLikes95Downloads625