F3D
SOYUZ – Model tên lửa Nga tỉ lệ 1:200 (STL) dễ in, dễ lắp 1

4 images

Large file collection Giáo Dục

SOYUZ – Model tên lửa Nga tỉ lệ 1:200 (STL) dễ in, dễ lắp

By Kmobrain

Downloads
1,427
Likes
405
Views
8,870

Files 32 2.1 MB

  • I_Jonction_1_x4_1777330975.3mf3MF · 1.7 KB
  • I_LOX_Tank_White_x1_1777330976.3mf3MF · 31.3 KB
  • I_RP-1_Tank_Grey_x1_1777330977.3mf3MF · 38.3 KB
  • I_RD-0110_Engine_Orange_x1_1777330977.3mf3MF · 77.7 KB

Make a variant with AI

Build another version of this model.

Open Studio

Description

You can also have access to the multi-material version of Soyuz.

Updates

  • 01/01/2024
    • Updated parts A_LOX_Tank_Grey_x1 and A_System_Bay_White_x1 (Thanks @dimarca).

Description

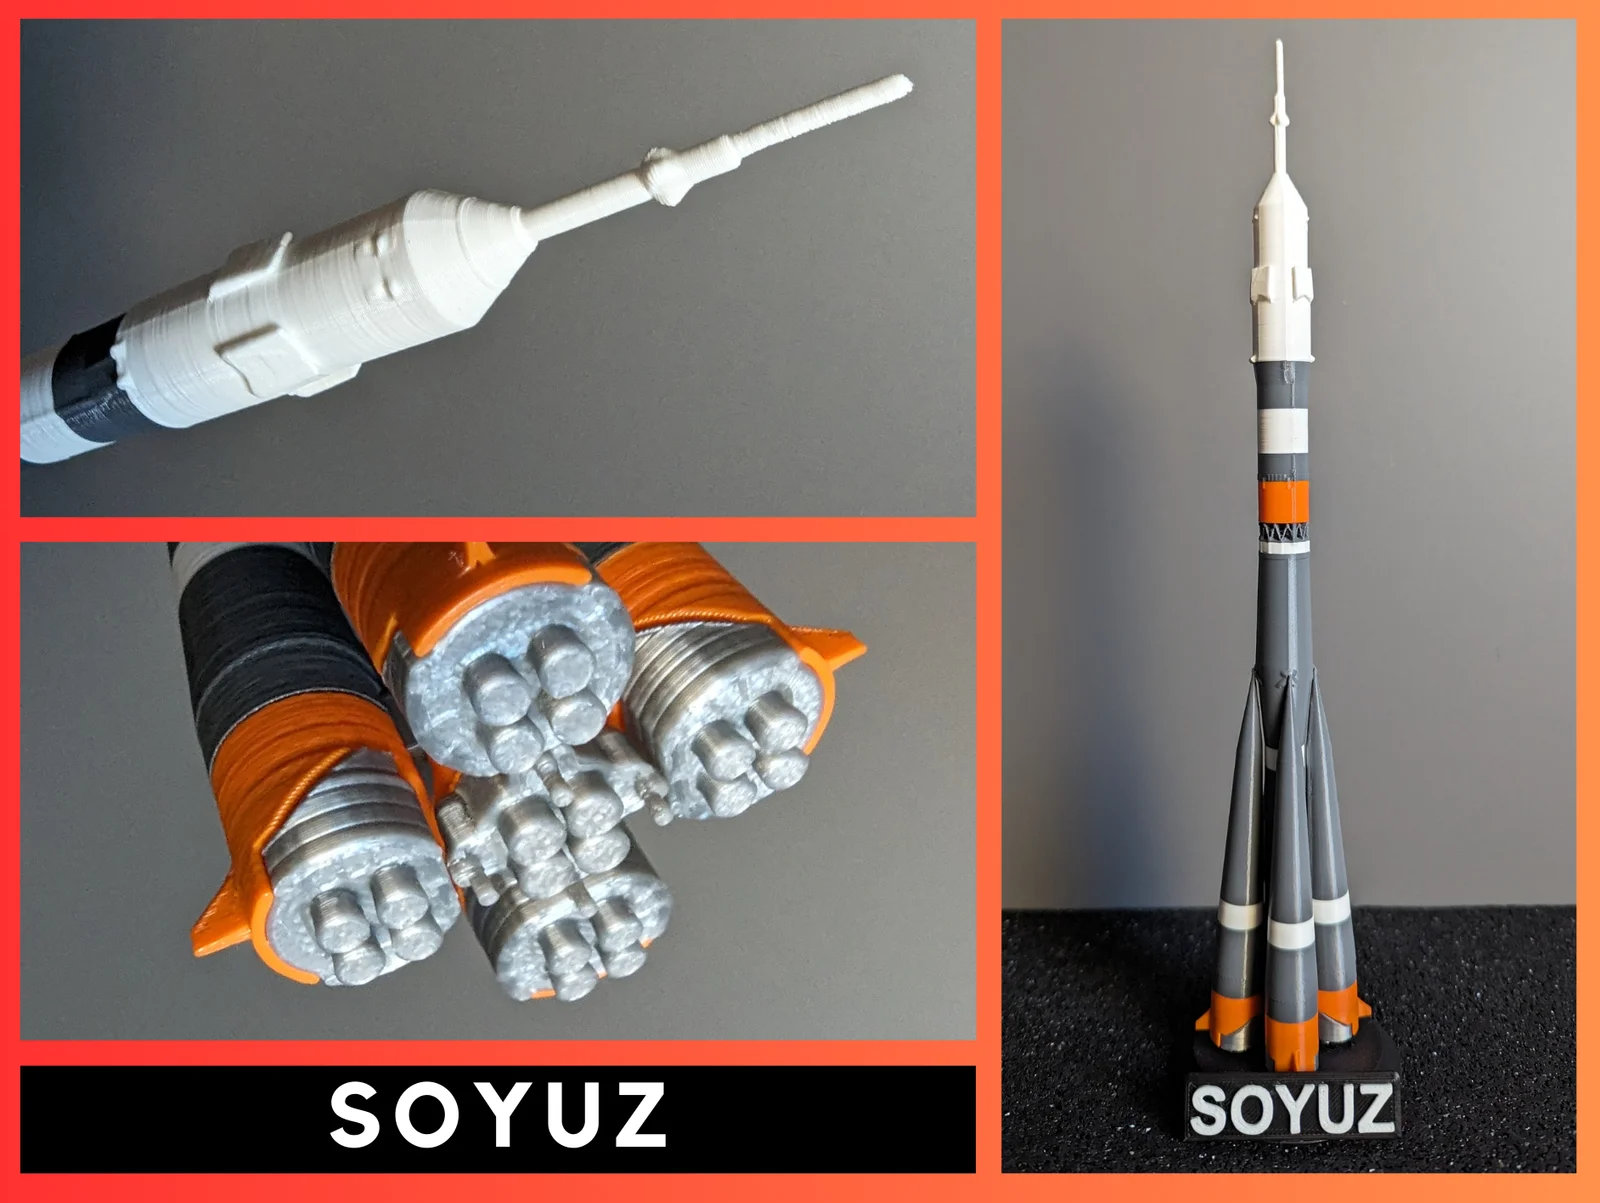
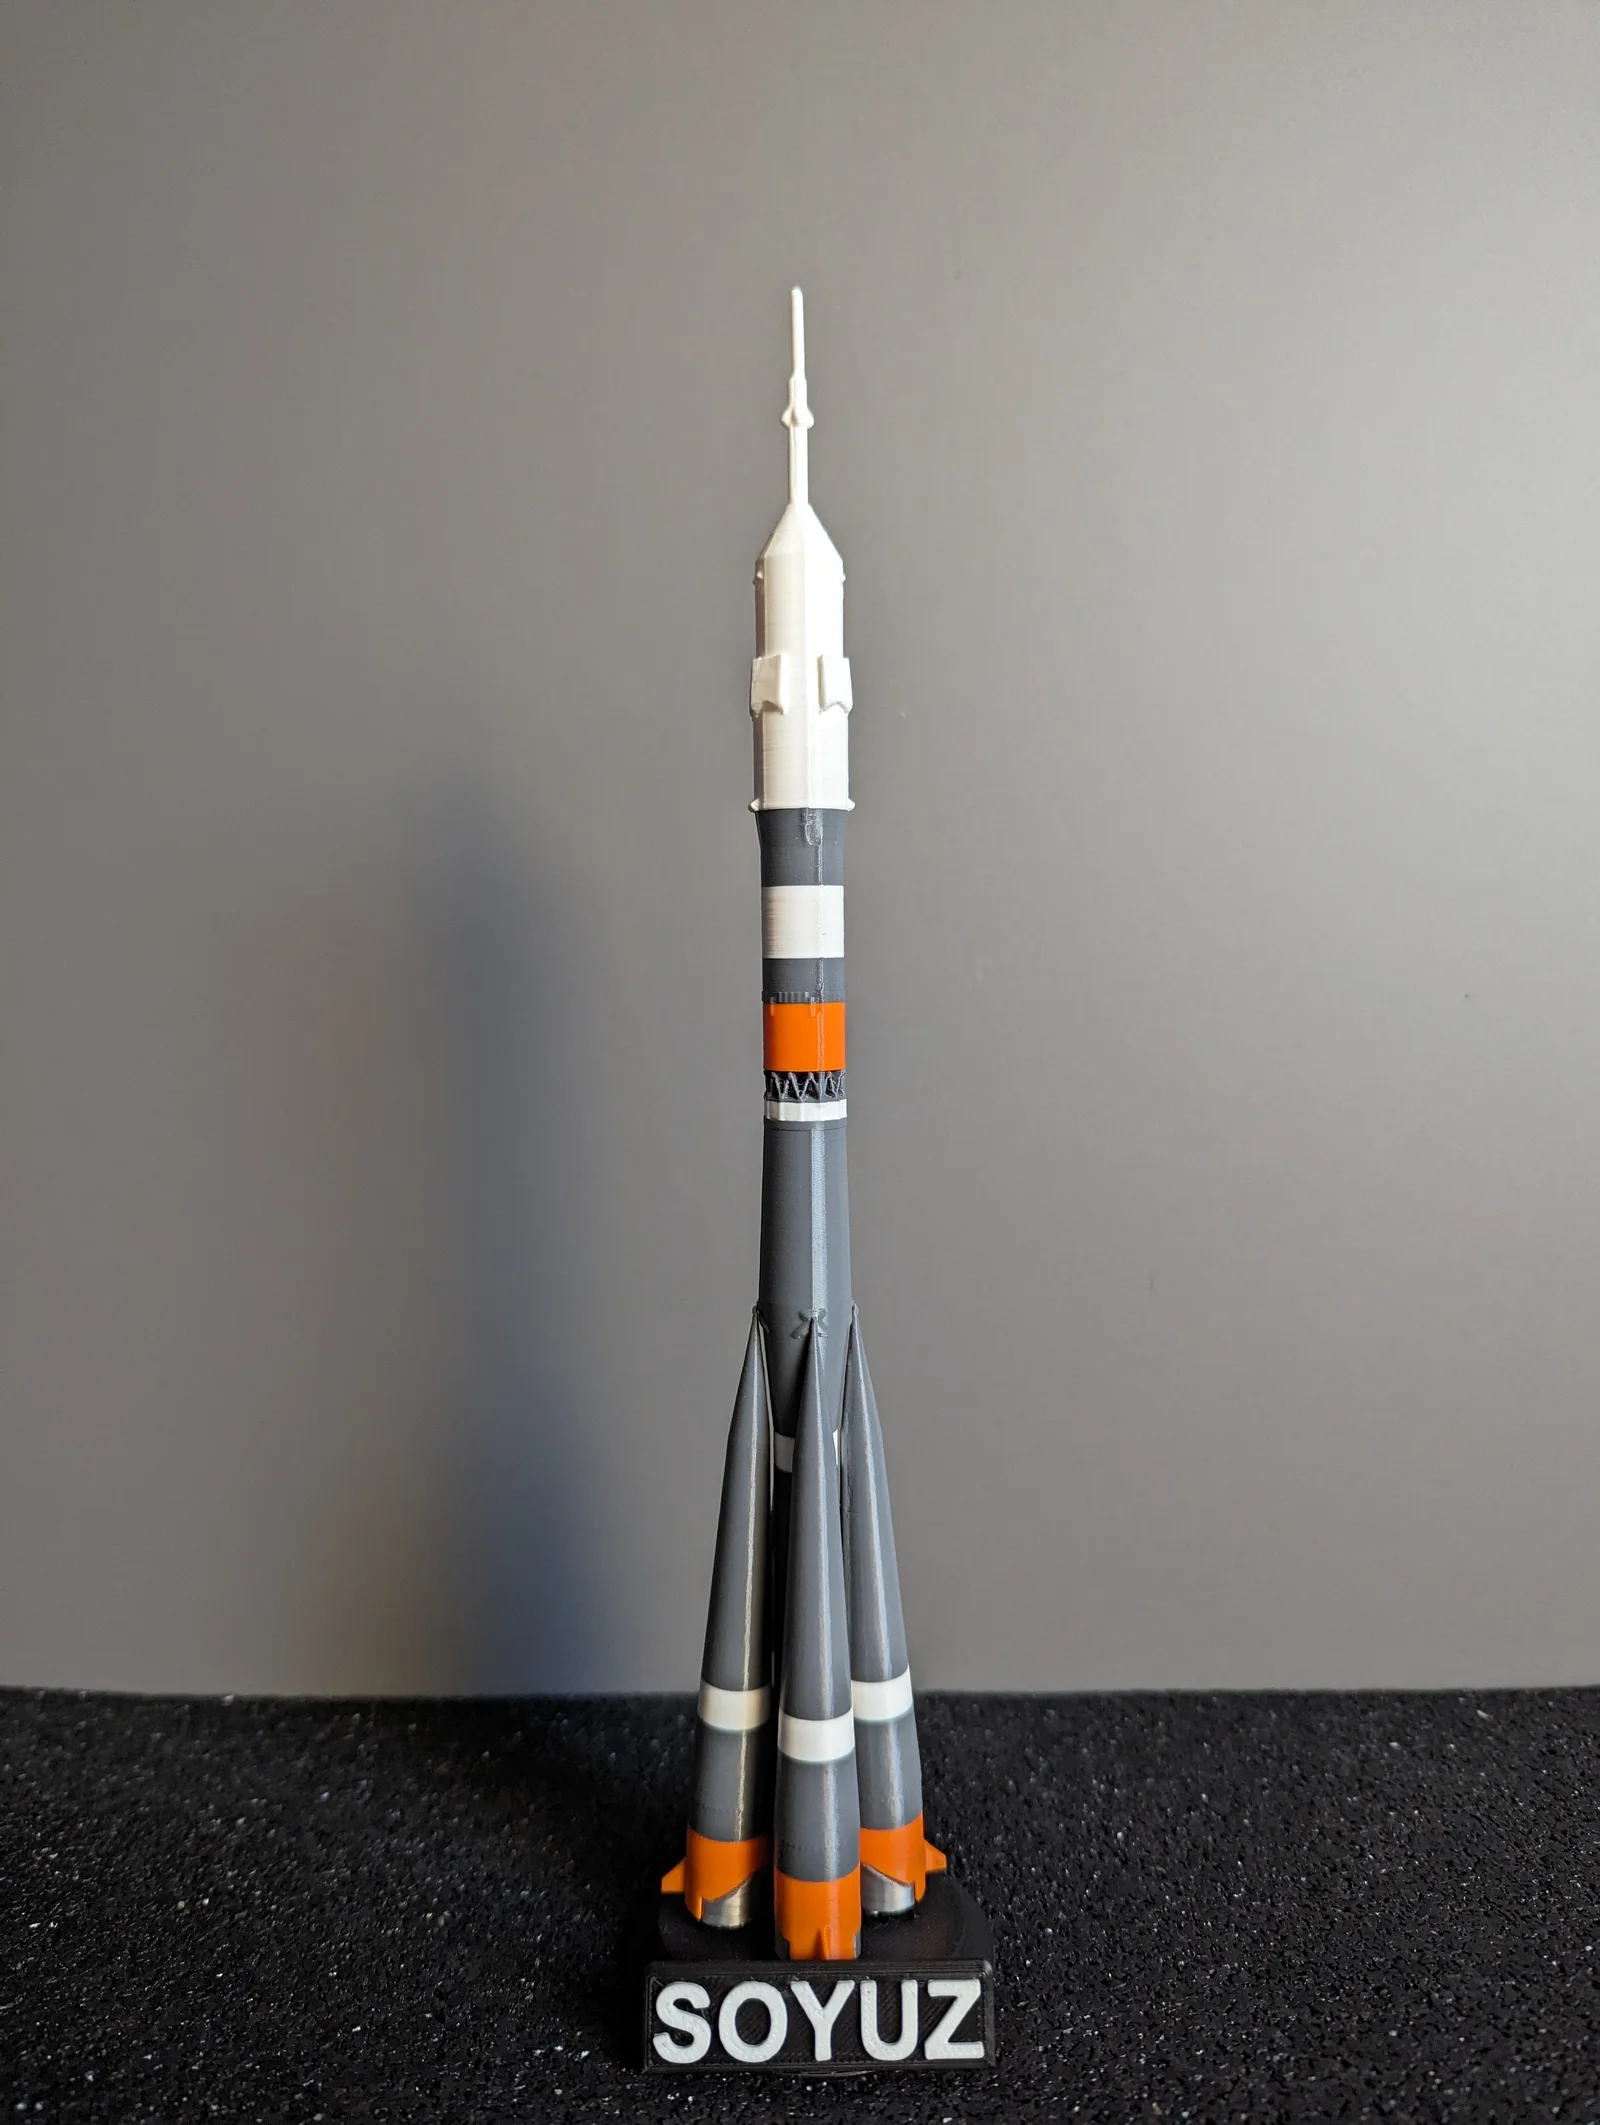
     The Soyuz model is a highly detailed 1:200 scale reproduction of the historic Russian rocket that has made over 150 flights. The model consists of several pieces printed separately, which are easy to print and assemble.

     The finished model dimensions are approximately 28cm high and 6cm wide.

Printing

  • There are 56 parts to print**,** the total printing time for the entire model is approximately 6 hours.

Choosing your configuration kit.

    There are multiple configuration kits available for this model, depending on your printing and assembly preferences. (The download files contain what is needed for each configuration.)

     We offer 2 assembly configurations: 

Full Truss

  • 🔼Easy to print
  • 🔽Not identical to reality

Truss

  • 🔼Identical to reality
  • 🔽Difficult to print

Assembly and Printing Guide

  • You can use the assembly guide published on Instructables to help you assemble the Soyuz.

Tips

Settings

  • For infill, 10% is sufficient for a decorative object, and you can also use PrusaSlicer's "Lightning" infill settings. 
  • For some parts the supports will be necessary, see the assembly guide and impressions.
  • For the base, it is recommended to print with 3 perimeters to avoid visible infill.
  • If some parts are loose or don't fit, you can change the scale by +/- 1% in the slicer to get a better fit. 

Printing

  • For a better final result, I recommend printing the Jonction_Block last so that you can adjust their size according to your print and have a better fit during assembly. 
  • Follow the printing guide published on Instructables.

Post Printing

  • You may need to sand the junction areas between the parts for a smoother finish.
  •  Additionally, I recommend using glue for better strength and durability.
  • Follow the assembly guide published on Instructables.

Read more Show less

Print spec

Formats
3mf
Model files
32
Total size
2.1 MB
Largest file
294.3 KB

0 comments

See all