



Mô hình 3D dao Karambit CS:GO
 Bybonzai000Likes716Downloads16.8K
Build another version of this model.
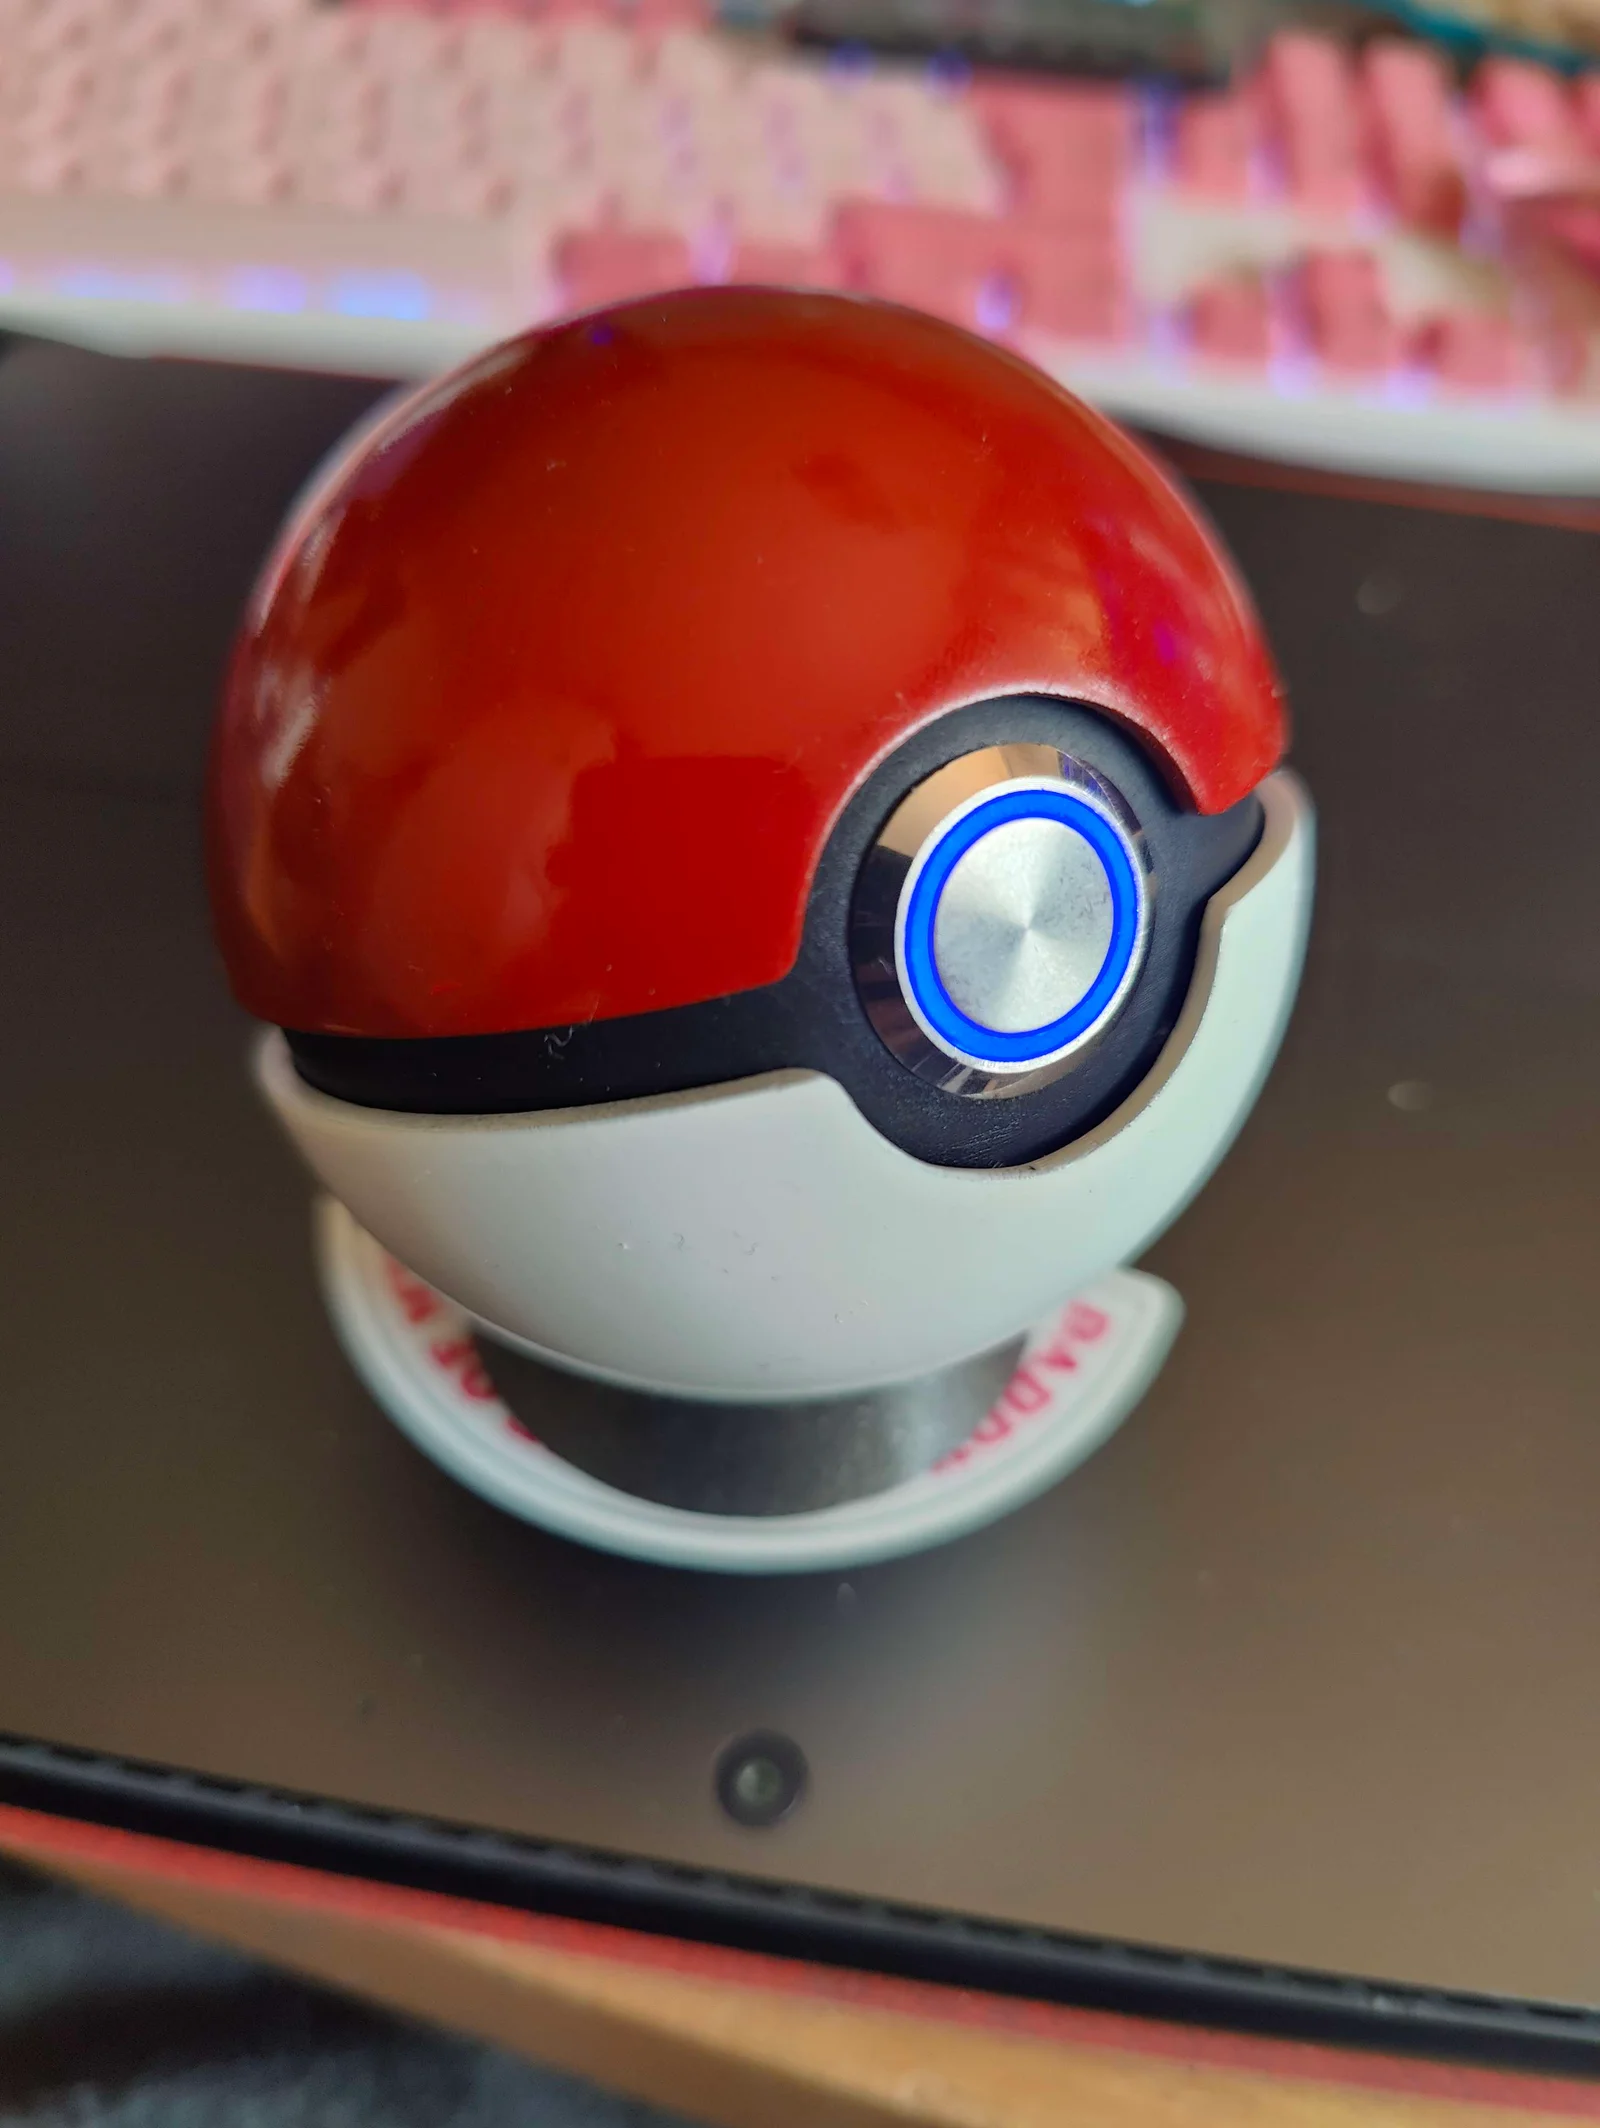
Pokeball that looks great and works equally well as a decoration on your shelf or a prop for cosplay!
Fair warning, it does require some soldering knowledge to wire up the electronics!
Print Settings used:
0.15mm Layer height
15% infil (I used rectilinear for speed)
Organic Supports ON
35 Degree Support Overhand Threshold
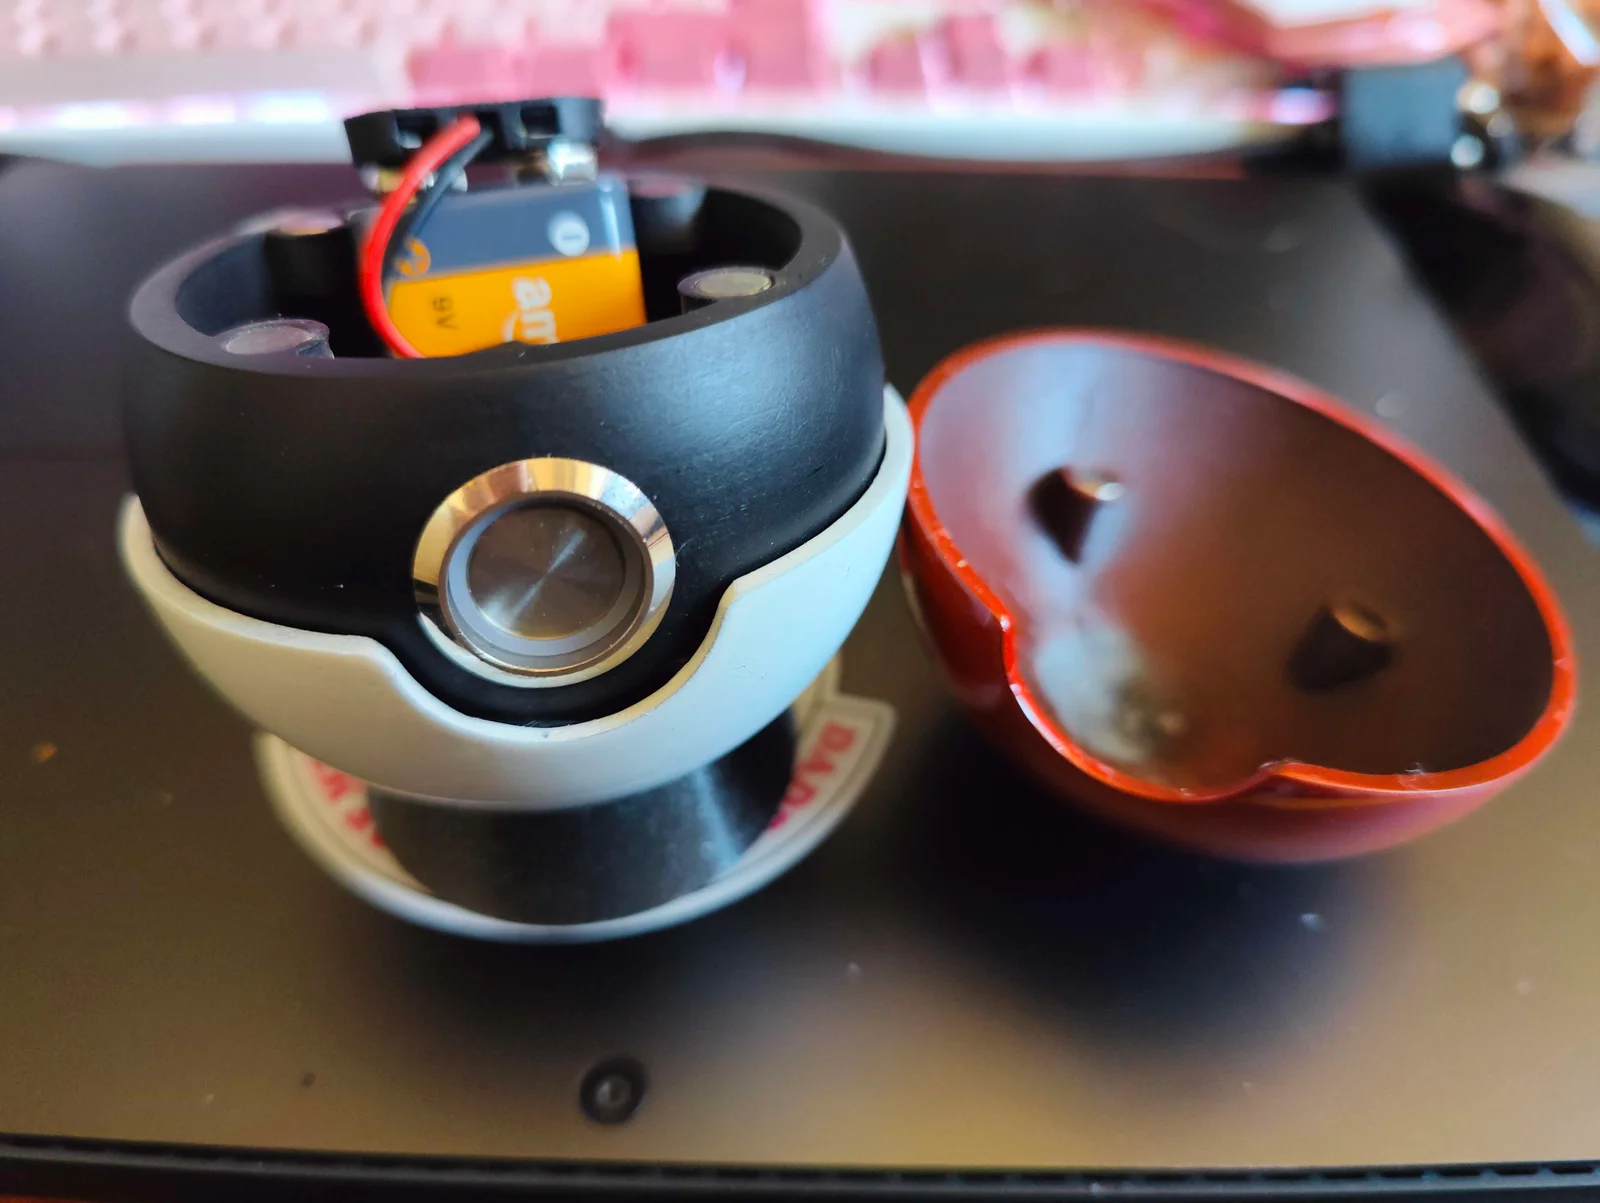
Required Components:
8 x 6x3mm magnets for the cap (I used the following magnets: https://www.amazon.co.uk/dp/B07GFK5XFC?psc=1&ref=ppx_yo2ov_dt_b_product_details)
1 x Locking waterproof LED button with a 16mm shaft (I used the following switches: https://www.amazon.co.uk/dp/B09Z61114Y?psc=1&ref=ppx_yo2ov_dt_b_product_details)
1x 9V Battery (I used the following: https://www.amazon.co.uk/dp/B0774D64LT?ref=ppx_yo2ov_dt_b_product_details&th=1)
1x 9V Battery Connector(I used the following: https://www.amazon.co.uk/dp/B07HD3PBDT?psc=1&ref=ppx_yo2ov_dt_b_product_details)
1x 1kOhm Resistor (I already had some lying around but really any will do)
Finishing Process:
This is just the process I followed to get the finish in the above pics (mainly because I always wish people would include them haha), you can ignore this is you don't plan on doing any sanding/painting
Wiring Diagram:
If you're using the button I used then you can follow this wiring diagram (I followed the bottom left diagram, using a resistor in place of the light)
Bybonzai000Likes716Downloads16.8K

 ByFotisMintLikes340Downloads2.5K

 ByjaztermarealLikes127Downloads458

 Bypokon_nurdspaceLikes429Downloads1.8K


 Bymagic-3d-printingLikes0Downloads452

 Bypapyskull_3946746Likes152Downloads506

 ByPaulsenik_287591Likes20Downloads38

 ByElLosteaux_2411981Likes40Downloads77

 ByZabricot200_1688175Likes8Downloads186

 ByGizmoThrillLikes124Downloads102

 BybobmakesLikes37Downloads287