

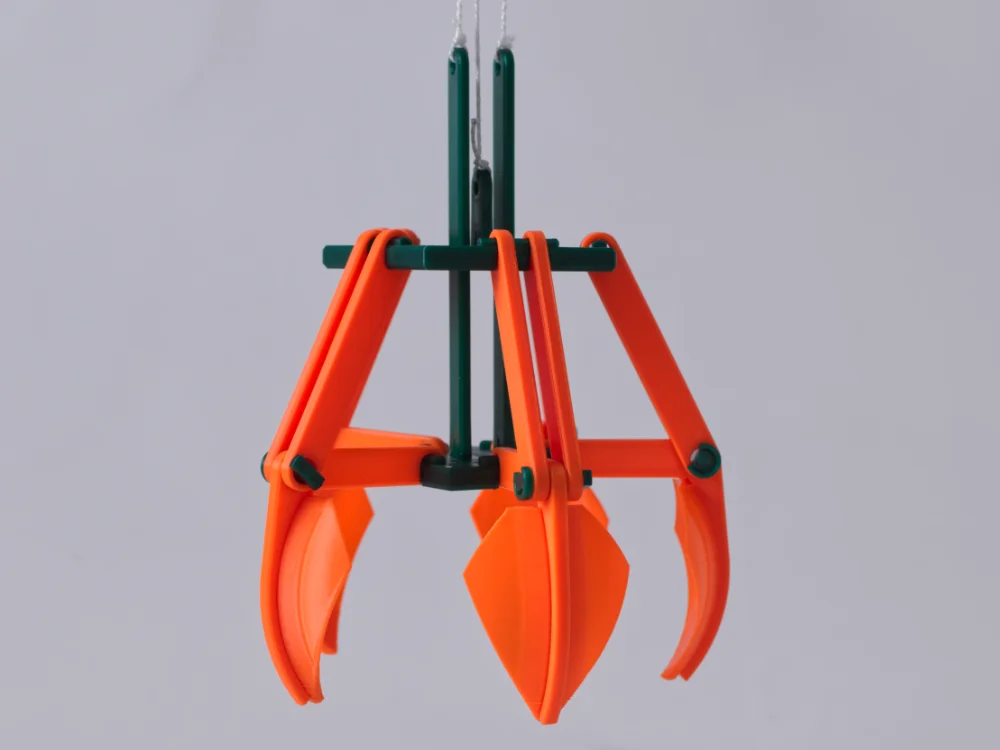
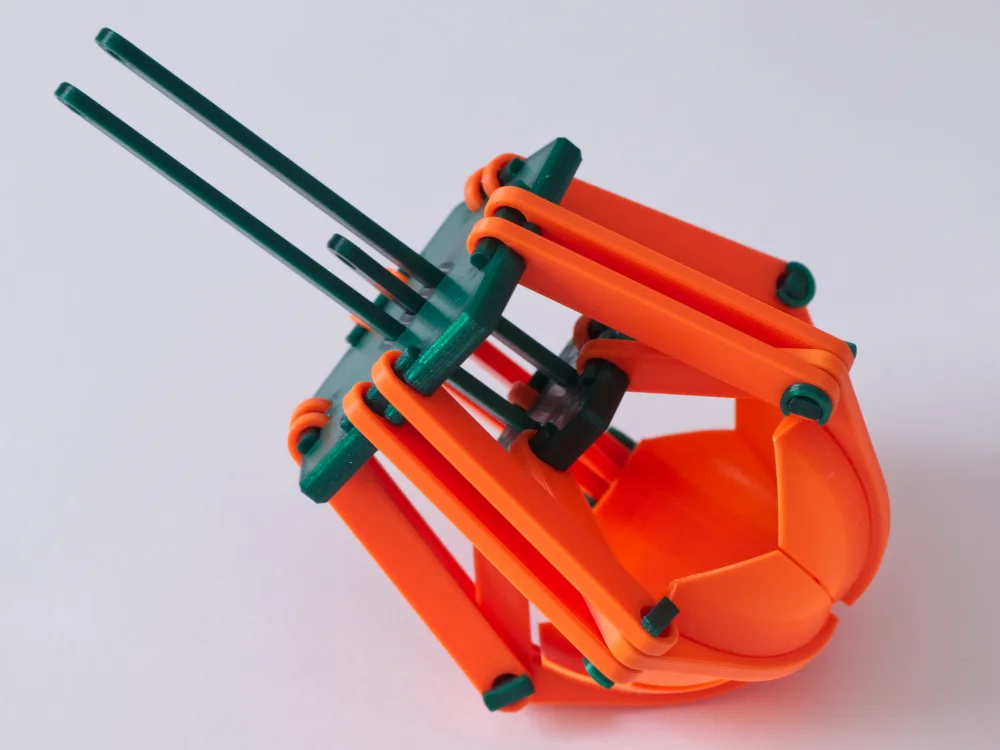


Fidget Mini Claw Machine - Mô hình máy gắp thú nhỏ gọn
 ByRedfully_1701430Likes717Downloads3.3K
Build another version of this model.
Print the parts as listed down below. All STL files are in their respective print orientation! I used the default 0.20 mm QUALITY preset on an Original Prusa MINI+.
Bucket Segment
Activate 'brim' and consider decreasing print speed. Print all five buckets at once, place them further apart than usual, or tweak the minimum-layer-time -setting to reduce cooling issues at the tips. Increase the perimeter count for the bucket segments to get a more even structure (as compared to grid/gyroid infill).
Quantity
Item
1x
upper-plate.stl
1x
upper-plate-rod.stl
2x
lower-plate-rod.stl
10x
upper-arm.stl
5x
upper-plate-pin.stl
1x
lower-plate.stl
5x
lower-plate-pin.stl
5x
connecting-pin.stl
5x
connecting-pin-clip.stl
5x
lower-arm.stl
5x
bucket-segment.stl
ByRedfully_1701430Likes717Downloads3.3K

 ByChristianS_2237751Likes502Downloads3.7K

 Bymtakashi_164009Likes176Downloads489

 ByHugoS_588209Likes108Downloads1.4K

 ByLimitSwitch_4355441Likes102Downloads291

 ByKT3DprintLikes109Downloads120

 ByDennisMLikes189Downloads1.7K

 BySnityLikes29Downloads139

 ByJona32u4Likes82Downloads678

 Bythall72Likes30Downloads522

 ByGhostmanta_3143708Likes187Downloads339

 Byderek-j-sLikes0Downloads144