



Mô hình 3D dao Karambit CS:GO
 Bybonzai000Likes716Downloads16.8K
Build another version of this model.
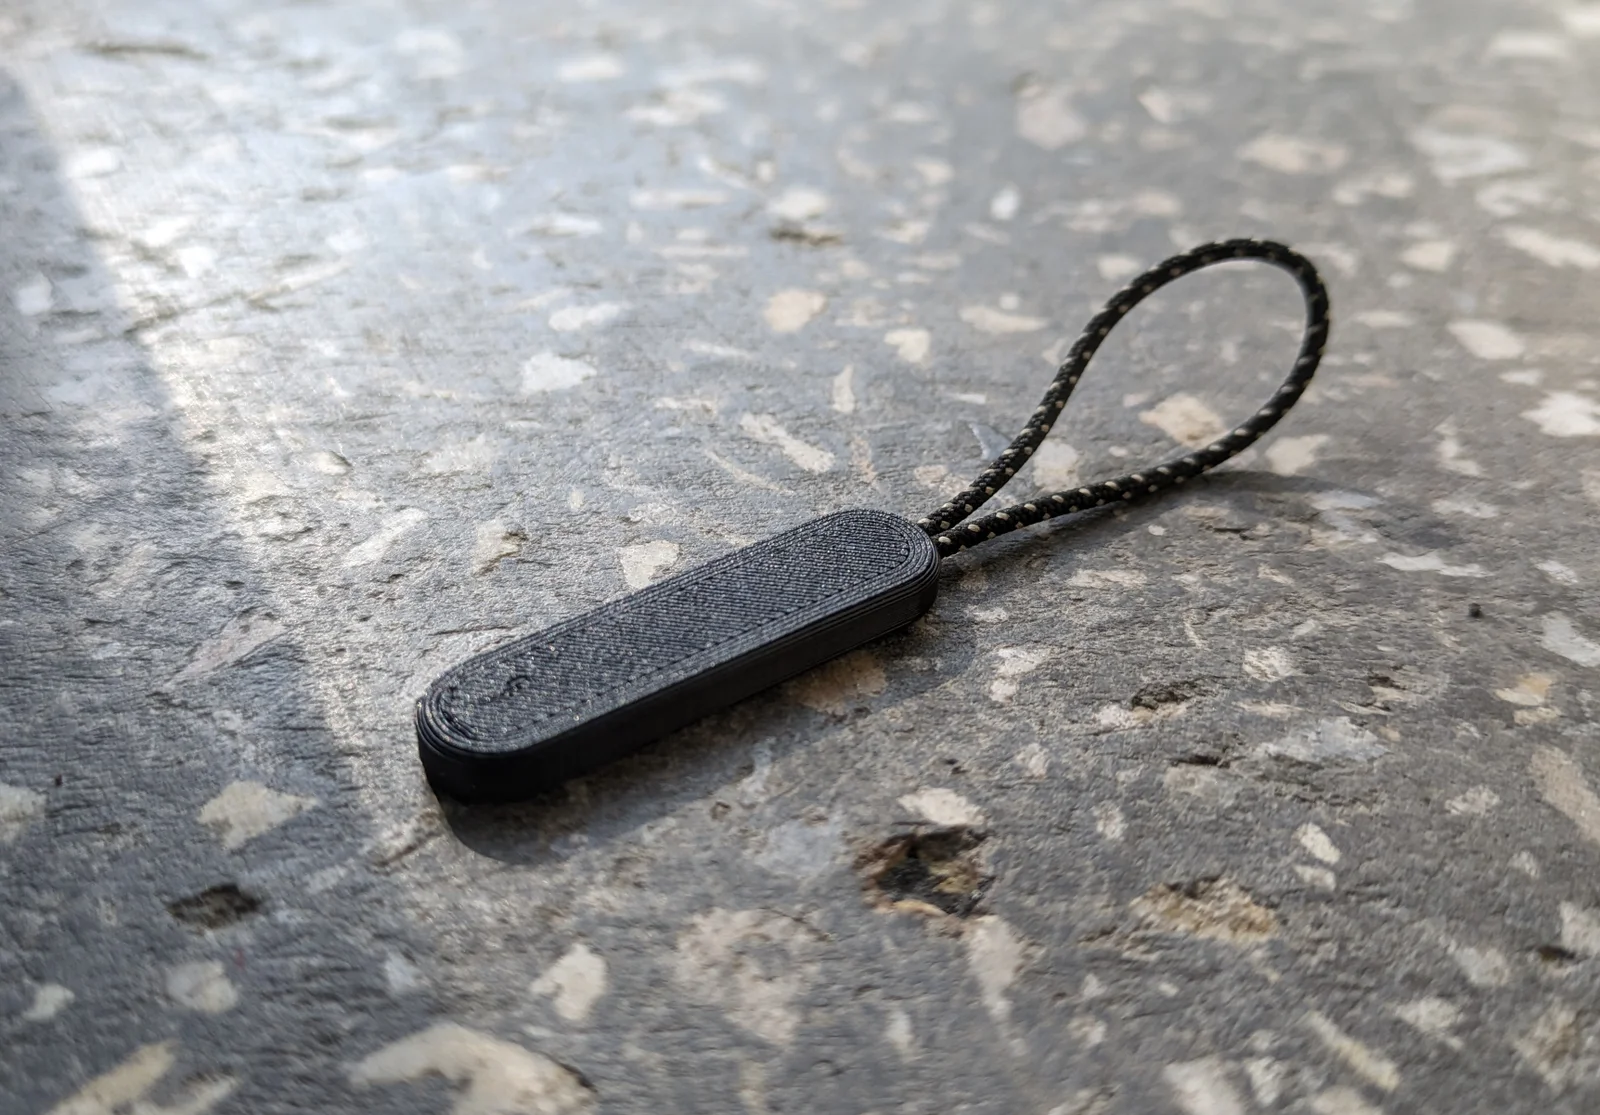
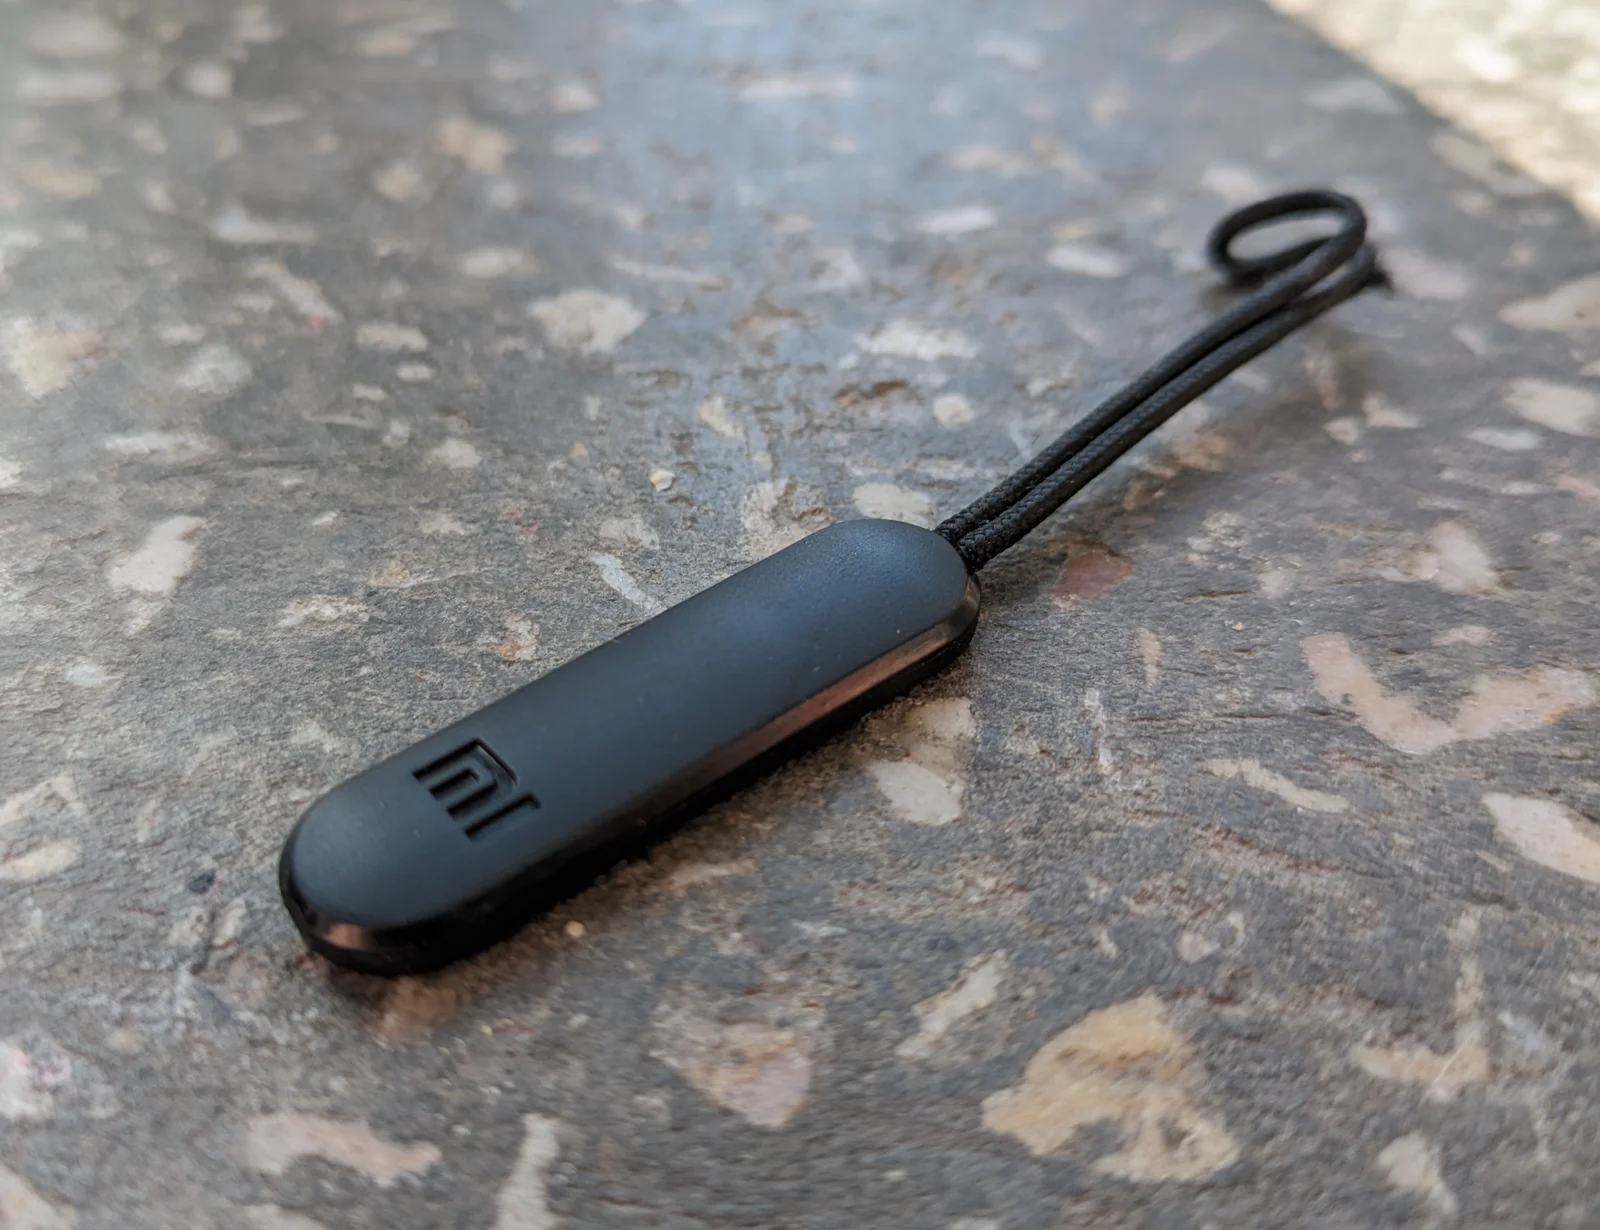
My wife lost one zipper puller on her backpack, cord just pulled of it, so I printed replacement.
Initially I created two part piece with idea to put cord and assemble afterwards. But after some tests I realized that solid piece will be better. Helpfully 3d printing is the right tool for the job.
You need a cord which will be melting when heated (to be able flatten the knot). Use a cord of 1-1.5mm in diameter. Tight a knot in such way so loop will be approximately 15mm longer that length of the loop on original puller. Heat knot with lighter and flatten it with pliers.
I use 100% infill.
When slicing model you need to insert pause command before layer which will enclose cavity (for 0.2mm layer height it's 15th). You need to knew appropriate command for your printer.
See https://help.prusa3d.com/article/insert-pause-or-custom-g-code-at-layer_120490
You can use “Pause at height” script.
For some reason my printer just resume printing immediately after pausing when I use M0 command, so I use M0 S3600; Do the actual pause for hour
Start print and wait until printer will pause. Insert cord into cavity:
Make sure that knot was flatten enough and is no higher then printed piece:
Resume print
Attach new puller to your zipper and you're done!
Bybonzai000Likes716Downloads16.8K

 ByDC_8576Likes454Downloads1.8K

 Byjorge-cano-gorrachateguiLikes0Downloads409

 ByFotisMintLikes340Downloads2.5K

 ByJasonMastersLikes52Downloads529

 Bypokon_nurdspaceLikes429Downloads1.8K

 Bysuspicious-scoobyLikes0Downloads160

 BydaklLikes0Downloads136

 Byondrus-czLikes0Downloads264

 ByFranticwareLikes0Downloads121

 Bypapyskull_3946746Likes152Downloads506

 BybobmakesLikes23Downloads106