



Thùng rác in Vase Mode
 BybobmakesLikes2.5KDownloads17.5K
Build another version of this model.
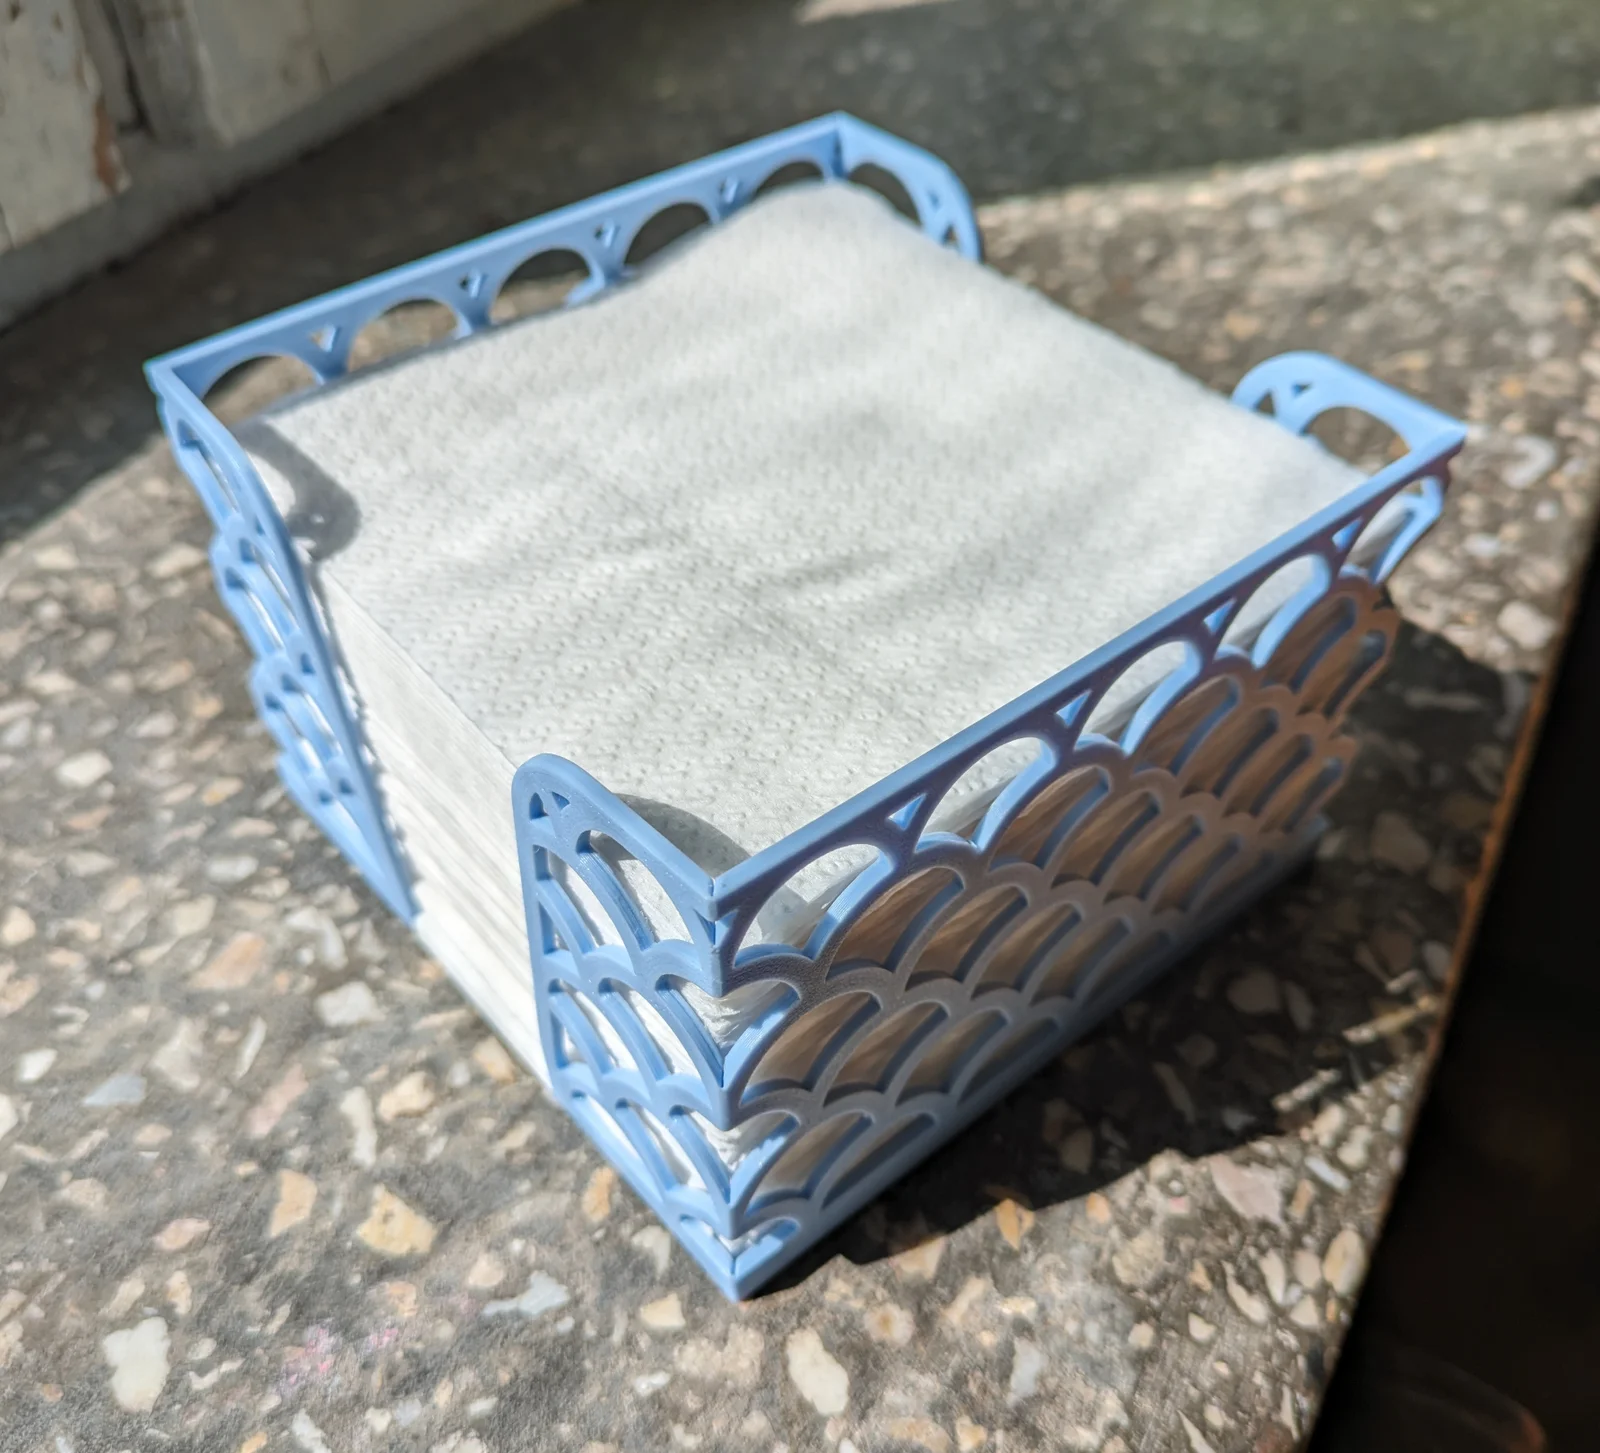
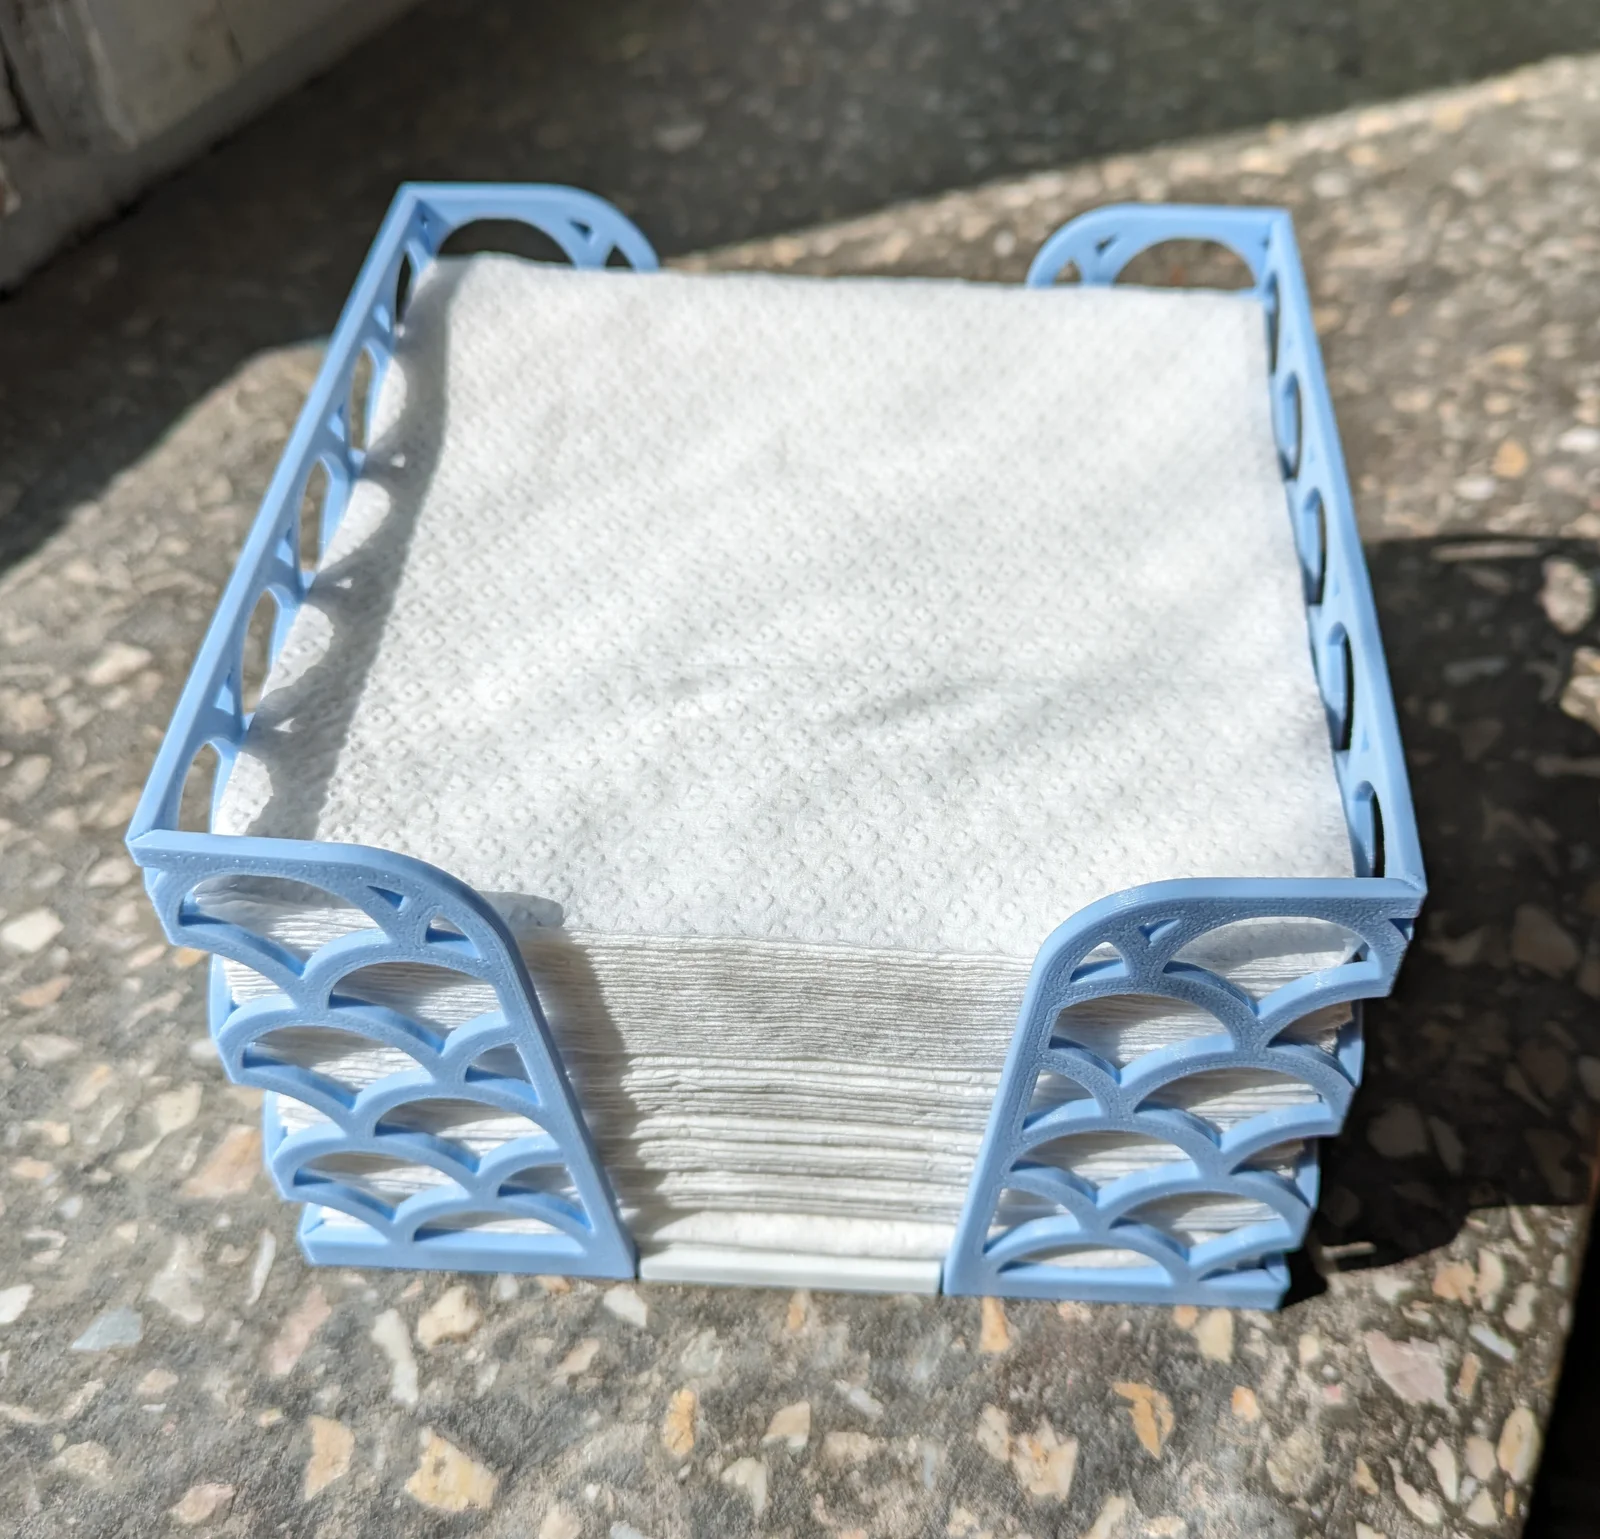
I didn't like that printing napkin holder in one piece introduce limitation to the pattern and even if pattern is possible to print in such orientation I didn't like how it looks. So I decided to experiment with foldable design.
.step files without any pattern included, so you can modify them and add your own!
Files with additional bodies to use as modifiers included. You can configure slicer to expose infill as a pattern. Example in PrusaSlicer:
Main requirement is layer height should be at most 0.2mm so bendable parts has at at least 2 layers. In case of bad bed adhesion first layer 0.28mm and following layers 0.2mm.
Also I printed with ironing and 2 perimeters to improve final look of both sides, but it depends on your printer and filament.
After printing “Side” part, you need heat bends (see below) and fold it, so from this:
it become this:
To achieve best results you need pre-heat bends. I started from bending bottom flaps and only then side one.
I found following options are suitable:
You try can use lighter to do that but I would not recommend open flame, because it can easily overheat plastic and also it can cover it with soot (ask me how i know).
Now when you fold both “Sides”, you need match and press fit “Base” into “Side” one by one, so you will have this:
It should keep together without any glue, but if you not confident, our your printer tolerances is better than mine, you can use cyanoacrylate glue to fix all parts in place.
BybobmakesLikes2.5KDownloads17.5K

 By178222178222_2484344Likes449Downloads1.7K

 Byquibeck_3353173Likes1.5KDownloads11.5K

 ByVaclav_ZahradkaLikes181Downloads1.2K

 ByowlartLikes527Downloads1.3K

 Bytjfenwick_306961Likes385Downloads1K

 ByAWSWLikes148Downloads580

 ByfifindrLikes216Downloads604

 Bym-collectableLikes0Downloads3.9K

 Byskloter_271869Likes147Downloads426

 Byelectric_pierogiLikes37Downloads386

 ByTommy3DLab_2023125Likes636Downloads2.5K