



Móc khóa bánh bao chibi (Bao Bun Dumpling Keychain) dễ thương
 ByFC2M3DLikes200Downloads1.3K
Build another version of this model.
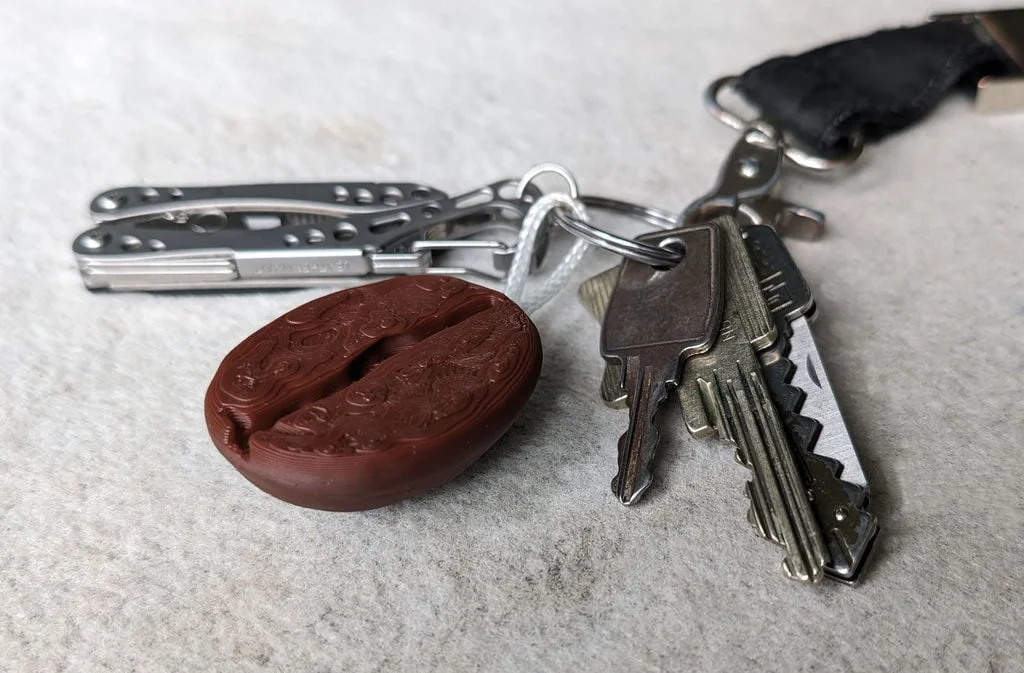
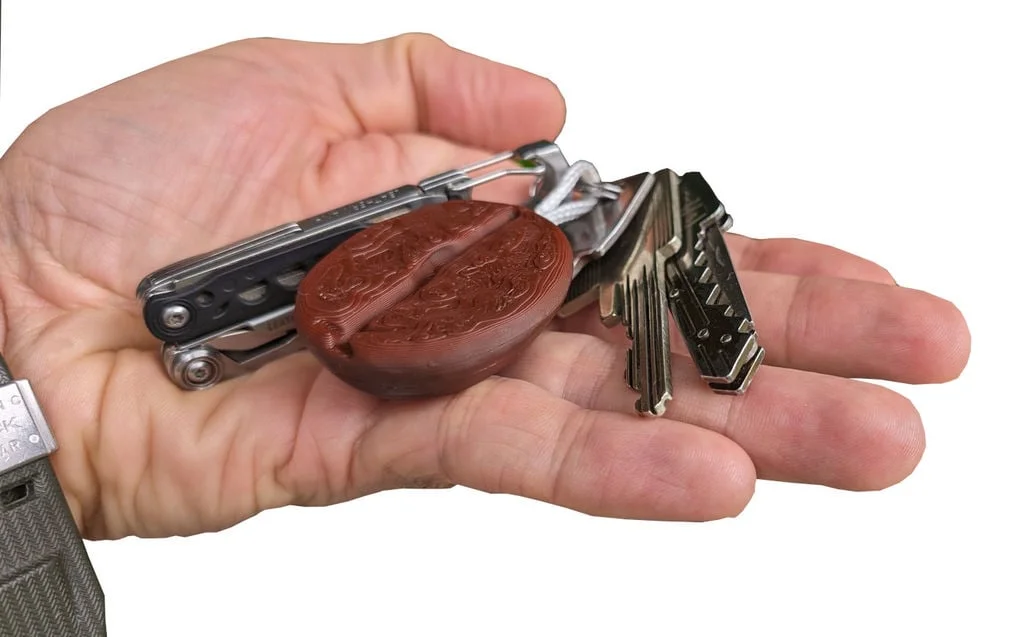
In my opinion the coffee bean did not get as much attention on Thingiverse as it should get. Therefore I have created a coffee bean keychain for you. The perfect accessory for coffee lovers.
This is an easy print. Some glue work is required after the print. The two pins help you to align the parts for the perfect assembly. Some string is needed to make it a keychain. I have used a 2 mm white string.
If you like the coffee bean keychain, checkout the coffee bean clip: https://www.thingiverse.com/thing:6655185
Enjoy printing this object.
Printer Brand:
Flsun
Printer:
Flsun V400
Rafts:
No
Supports:
No
Resolution:
0.2 mm layer heigth
Infill:
20 %
Filament: RED PETG
Coffee
Notes:
RED really has a PETG in color "Coffee" which looks great for this object.
All STLs are already in the correct orientation and should print without any problems.
Print the upper and lower part of the coffee bean once. Print the pin twice.
Coffee bean keychain assembly part 1
After the print you have 4 parts as shown on the picture.
Coffee bean keychain assembly part 2
Add a knot to your string. Test fit it into the lower part of the coffee bean to check if you are happy with the length of the loop. Pull the knot tight.
Coffee bean keychain assembly part 3
Cut the two ends so that the knot and the loop remain.
Coffee bean keychain assembly part 4
Put plenty of glue onto the knot so that it will never open once glued into the coffee bean.
Coffee bean keychain assembly part 5
Glue the two pins into the insets. They will help you to align the top part in the next step. Put glue onto the surface of the lower part of the coffee bean. Also put glue again onto the knot.
Coffee bean keychain assembly part 6
Add the upper part of the coffee bean. Let the glue dry. Your coffee bean keychain is now ready for use. Have fun with it.
The coffee bean keychain was designed with Blender. The sculpt tool is perfect for this type of non-linear object.
Category: Keychains
ByFC2M3DLikes200Downloads1.3K

 ByVinors3DLabLikes949Downloads2.1K

 ByOldLadyLikes876Downloads2K

 ByDevis_1367119Likes416Downloads2K

 Bylukethemaker_237853Likes67Downloads173

 ByremingtonLikes162Downloads555

 By2viewsLikes391Downloads388

 ByeplamosLikes23Downloads158

 ByTperroneDesignLikes60Downloads142

 ByNorkkon_252760Likes76Downloads209

 ByMAVERICKLikes67Downloads180

 ByL1arParadoxLikes0Downloads180