



Khuôn Vẽ Sơ Đồ Mạch Điện Tử (Kích Thước Thẻ ATM)
 ByBoonby_1059917Likes659Downloads1.2K
Build another version of this model.
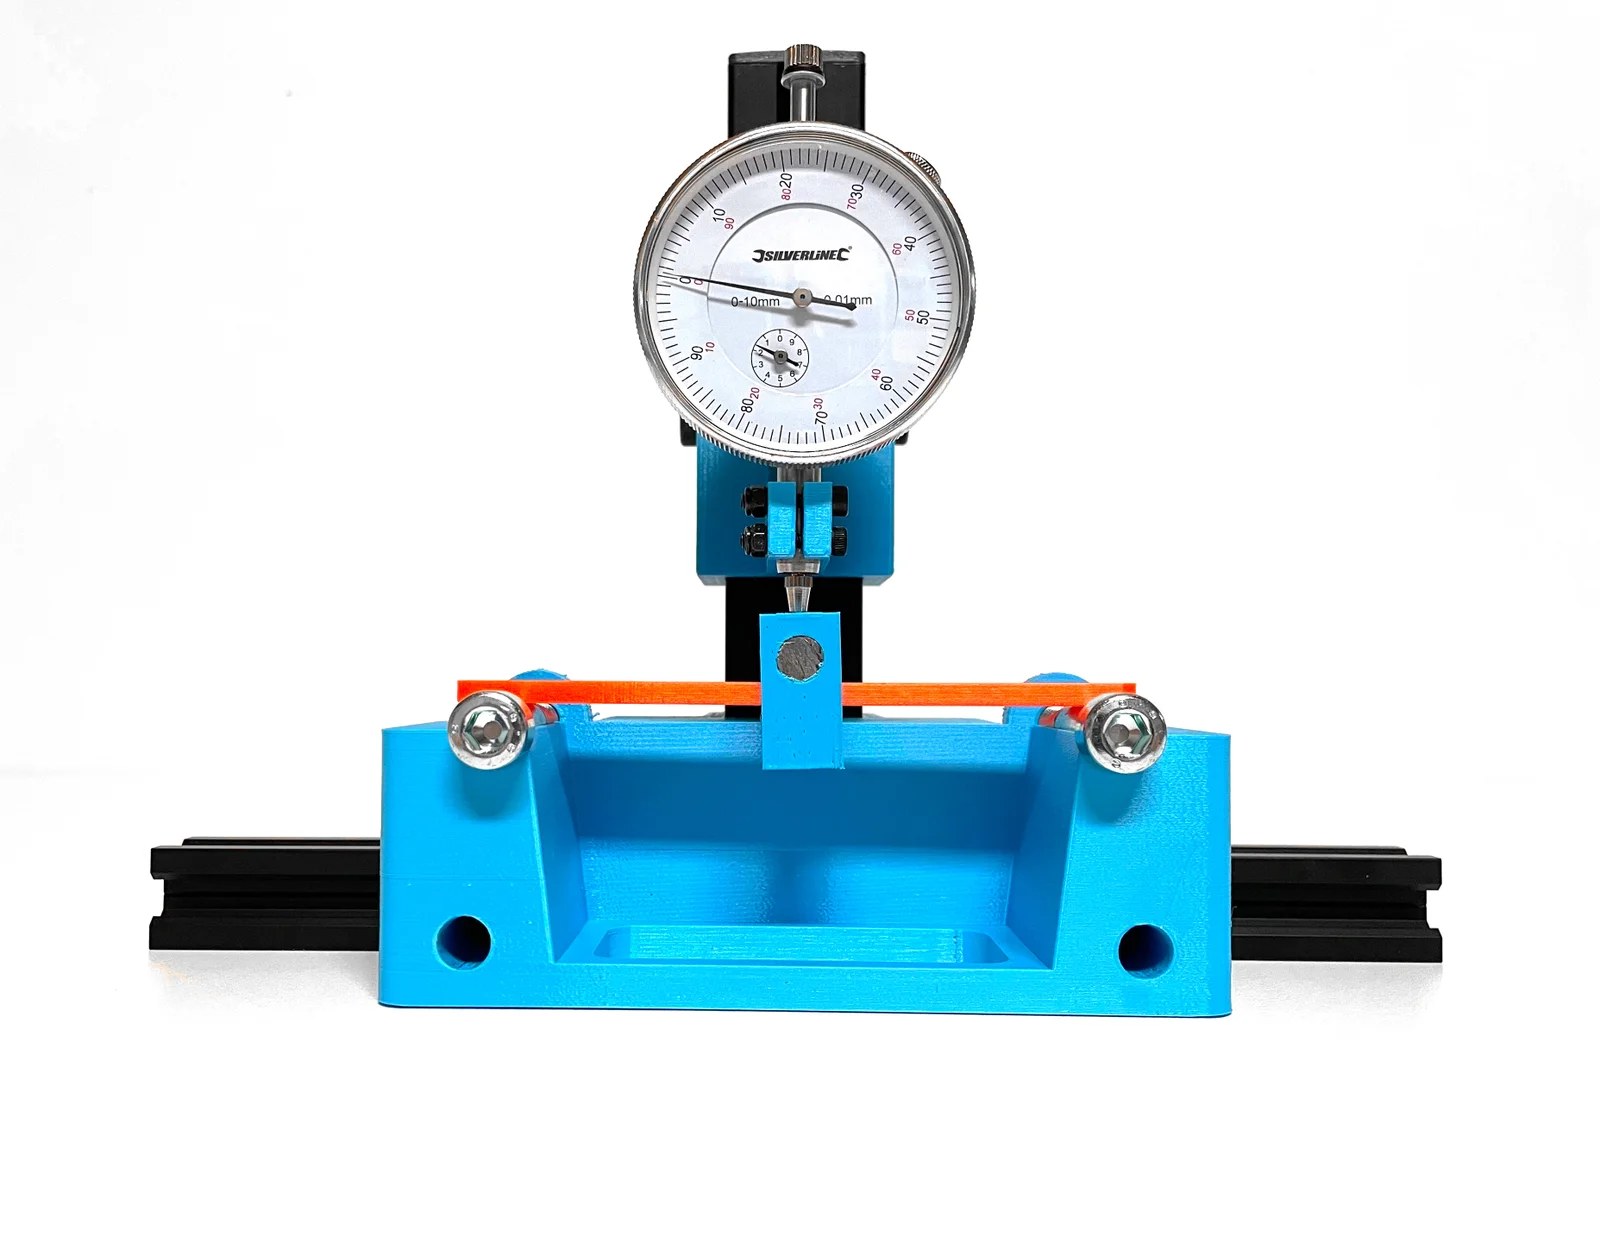
If you have ever seen a video from CNC Kitchen or are interested in materials testing, you have probably heard of a 3-point bending test (see Wikipedia).
It can be used to analyse the stiffness of materials.
For this, a sample is placed between two points. If you now apply a force to the sample in the middle (i.e. at the third point), it deforms elastically. The goal is now to measure this bending as accurately as possible. For example: how far does a sample made of PETG bend with a force of 12 N?
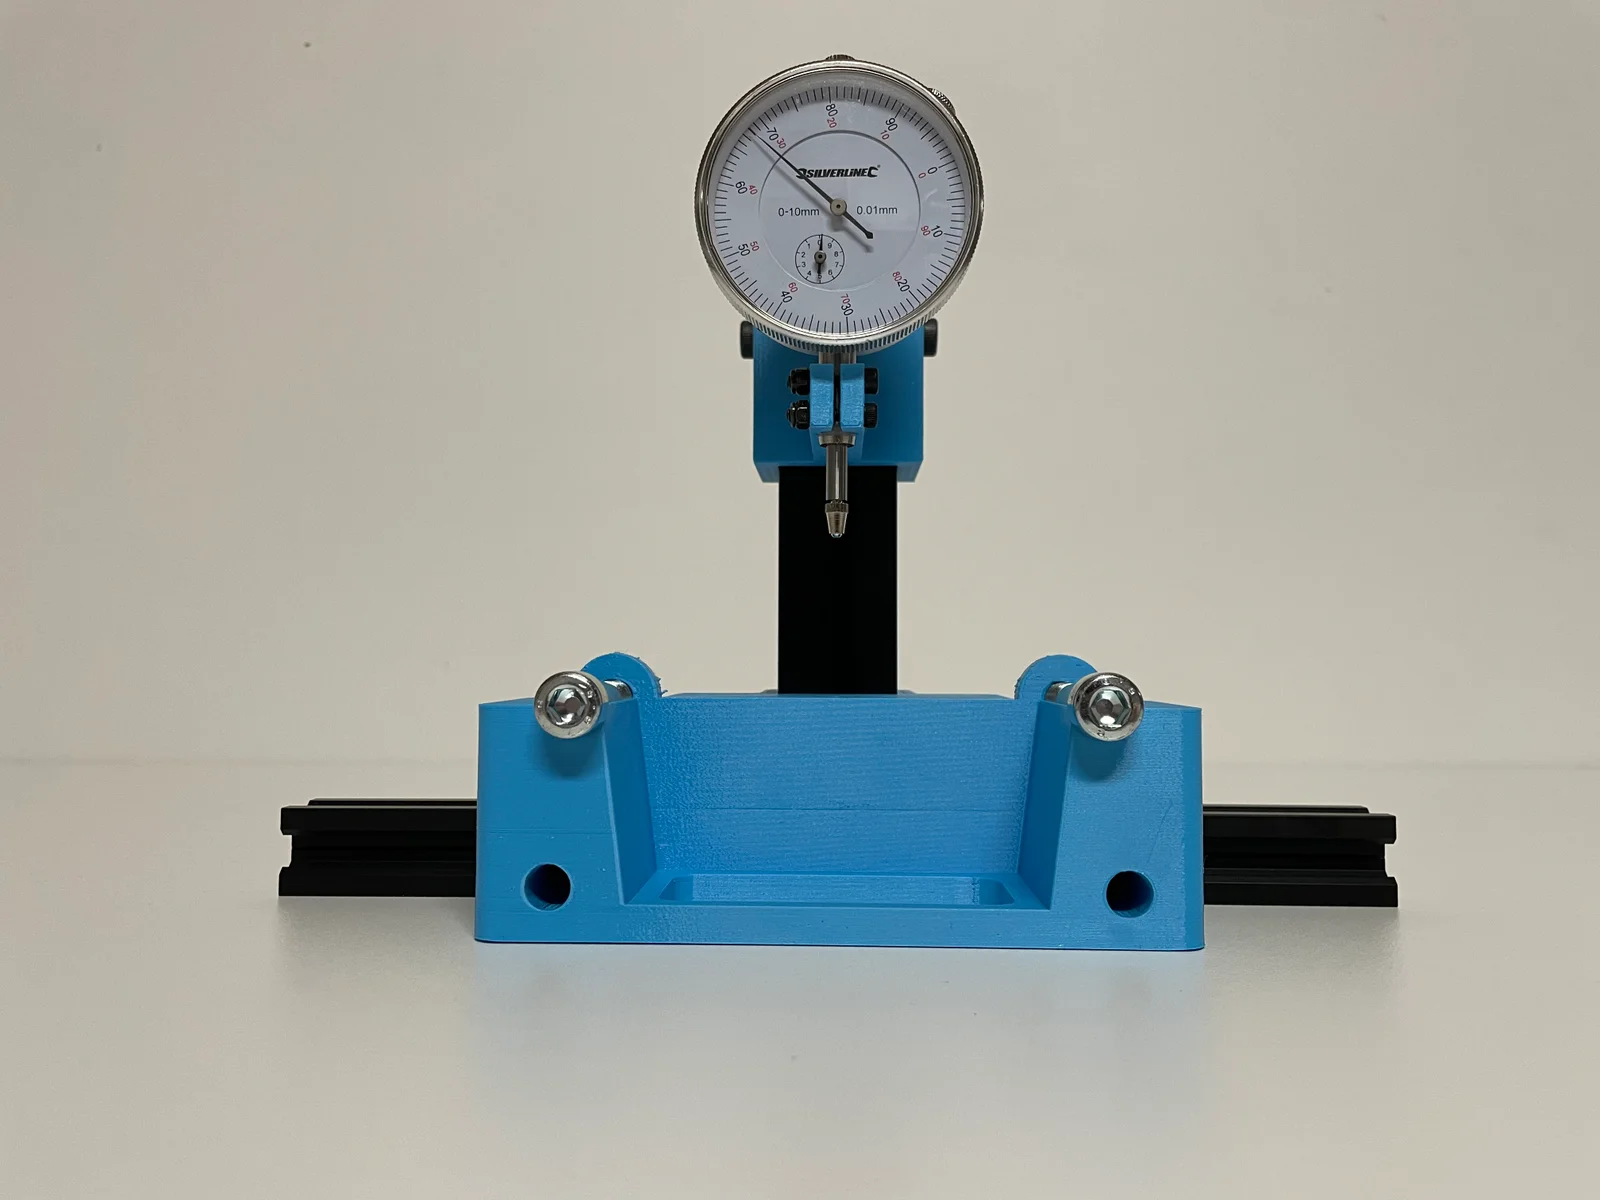
With this design, the force can be applied to the specimen by attaching weights or pulling by hand. The deformation is measured by a precision dial indicator that can be adjusted in height on the 3030 T-Slot profile.
Want to see it in action?
Check out one of my videos:
In the following list you will find everything that is additionally required in terms of screws and profiles.
Parts
Quantity
Cap Head Screws
M3 x 16 mm
2
M5 x 20 mm
3
M6 x 12 mm
3
M8 x 50 mm
2
(T-) Nuts
M3 self securing nut
2
M5 T-Nut for 2020 T-Slot
3
M6 T-Nut for 3030 T-Slot
3
M8 nut
2
Aluminium profiles
2020 T-Slot 250 mm (can also be longer)
1
3030 T-Slot 160 mm (min 100 mm)
1
Others
8 mm thick rod x 18 mm
1
Optional
2020 Endcap
2
3030 Endcap
1
A precision dial indicator and weights are also needed. For the weights, a bucket and beverage cans, sand, etc. can be used.
Use 15 Perimeters.
To be continued soon
ByBoonby_1059917Likes659Downloads1.2K

 ByFabianVeileLikes414Downloads1.5K


 BynleinadLikes56Downloads181

 ByTheWallArtGuyLikes36Downloads108

 BygillisLikes121Downloads2.1K

 ByMarciLikes87Downloads294

 Bystrifu_4061046Likes151Downloads1.3K

 ByThanhtacles_252886Likes27Downloads44

 ByzoltanfLikes73Downloads272

 ByHonzalLikes246Downloads176

 ByZachBaird_29692Likes16Downloads40