Dragonball Z Vegeta Scouter - Máy đo scouter của Vegeta
- Downloads
- 287
- Likes
- 58
- Views
- 1,950
- Remixes
- 0
- Comments
- 0
Files 19 43.9 MB
- PCB_1776777463.STLSTL · 1.6 MB
- Speaker_Grille_1776777464.STLSTL · 6.7 MB
- Scouter_Body_1776777465.STLSTL · 7.1 MB
- Scouter_Cover_1776777467.STLSTL · 4 MB
Make a variant with AI
Build another version of this model.
Details
- Model ID
- #322836
- Category
- Cosplay
- Published
Description
I remixed this model from https://www.thingiverse.com/thing:2272830 by https://www.thingiverse.com/Cronos-FDM
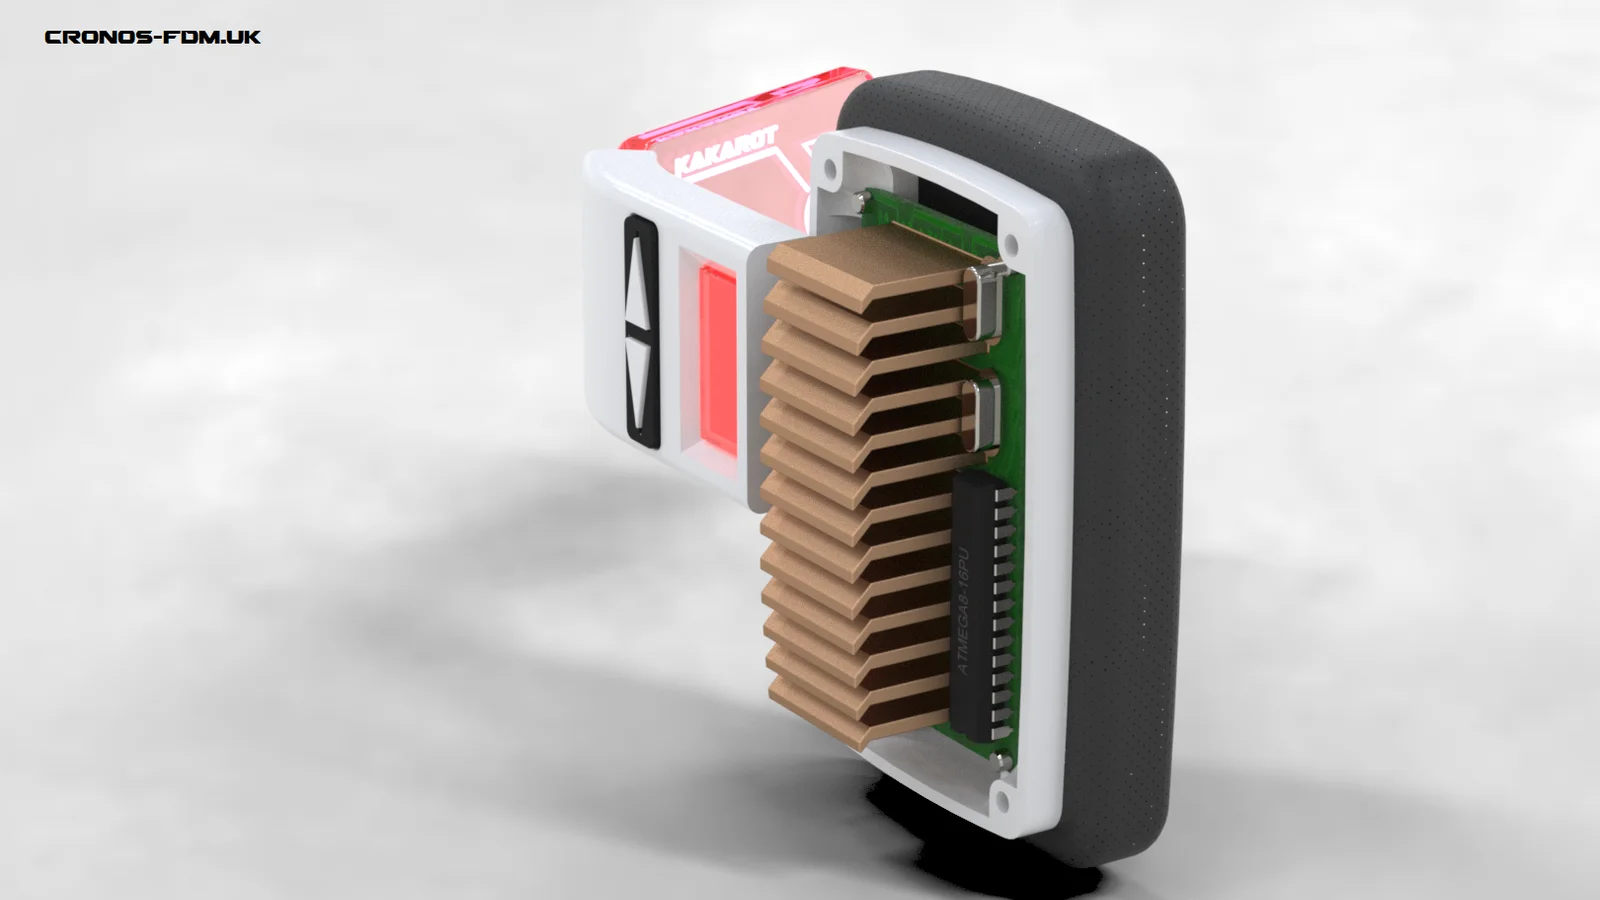
- The first few renders have additional detail not captured in the 3D models
- The PCB is more simple than the renders
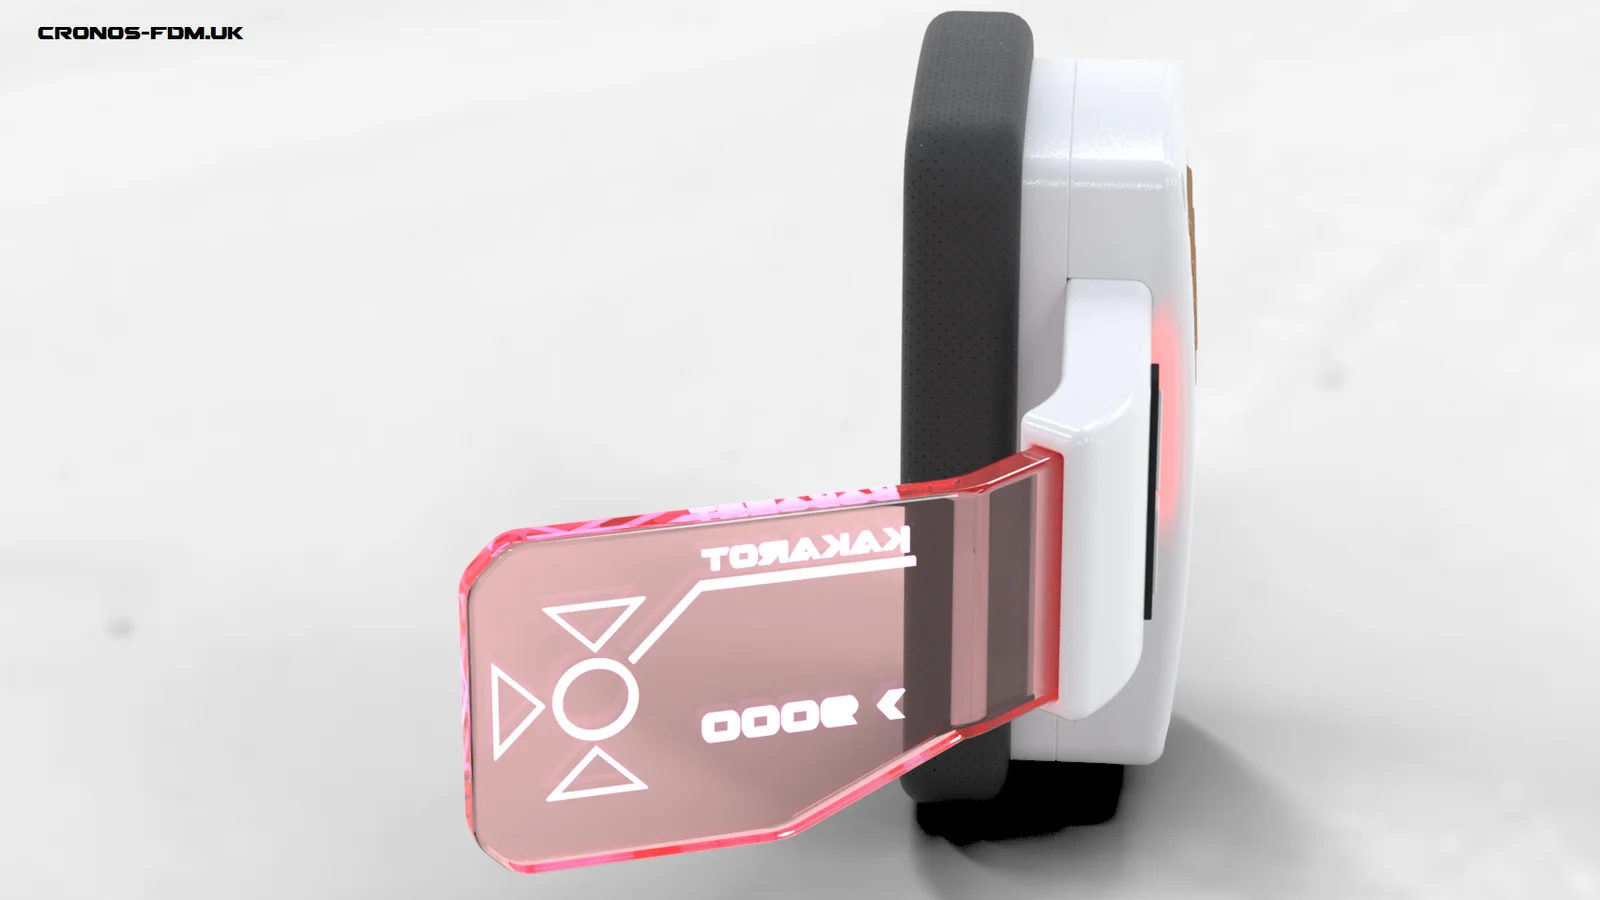
- The words on the display do not print
- The speaker grill was changed by the author as the tiny holes did not print well
Notes:
- When I sliced the PCB in Orca Slicer the speaker grill mounting holes were incomplete. I was still able to attach it as the nuts covered enough to clamp it down.
- I painted the PCB a textured silver, but I would have printed it in a bronze filament if I had it available.
- My modeling skills are nearly non-existent and this was accomplished through trial and error in Fusion.
- I was unhappy with the multi-piece design of the original and decided to combine the cover and the display arm together.
- I also changed the display arm to be more accurate to the show. Removing the arrows and remaking the button.
- I changed the button to allow it to be printed separately as well so I could make it in red.
Printing:
-
PLA for all pieces is fine. PETG was used for the display and the button as it is what I had on hand.
-
Infill: I did 15% for all pieces except the button and display can be printed higher. I would print the button at 50% or higher to make the pegs more durable. I also printed the button at 50% speed for my printer. (Flashforge Adventurer 5m)
-
Supports are needed for the following parts.
- Scouter_Body
- Print with the ear piece hook up and off of the bed
- I was unable to print this piece with the ear piece hook on the bed
- Scouter_Display_Arm_Cover_Combo_Improved
- I painted supports myself, but you only need them on the bottom edges and bottoms of screw holes (auto generated should work fine)
- Scouter_Body
-
The parts are all oriented as they should be printed within the plated files.
-
Please use the plated files to print or at least look at them to see the proper orientation.
-
I print on a Flashforge Adventurer 5m with a .4 nozzle
- PLA
- 220 C nozzle
- 55 C Bed
- PETG
- 260 C nozzle
- 70 C Bed
- PLA
Materials for assembly:
- 3d Printed Parts
- 4x Countersunk M3 x 12
- 4x Round Cap M3 x 16
- 4x M3 nuts
Assembly Instructions:
- Use the M3 x 12 screws to attach the speaker grill to the scouter body.
- Attach the PCB to the opposite side of the scouter body on the M3 x 12 screws using the M3 nuts.
- Attach the Scouter cover and display arm combo to the Scouter body over the PCB using the M3 x 16 screws. Go slow to make sure you don't strip the plastic in the body.
- The speaker pad, button, and display can all be push fit together.
Print spec
- Formats
- 3mfstltxt
- Model files
- 19
- Total size
- 43.9 MB
- Largest file
- 7.1 MB