




Khuôn Vẽ Sơ Đồ Mạch Điện Tử (Kích Thước Thẻ ATM)
 ByBoonby_1059917Likes659Downloads1.2K
Remix of Động cơ phản lực turbofan 2-spool in 3D By CATIAV5FTW_1217083
Build another version of this model.
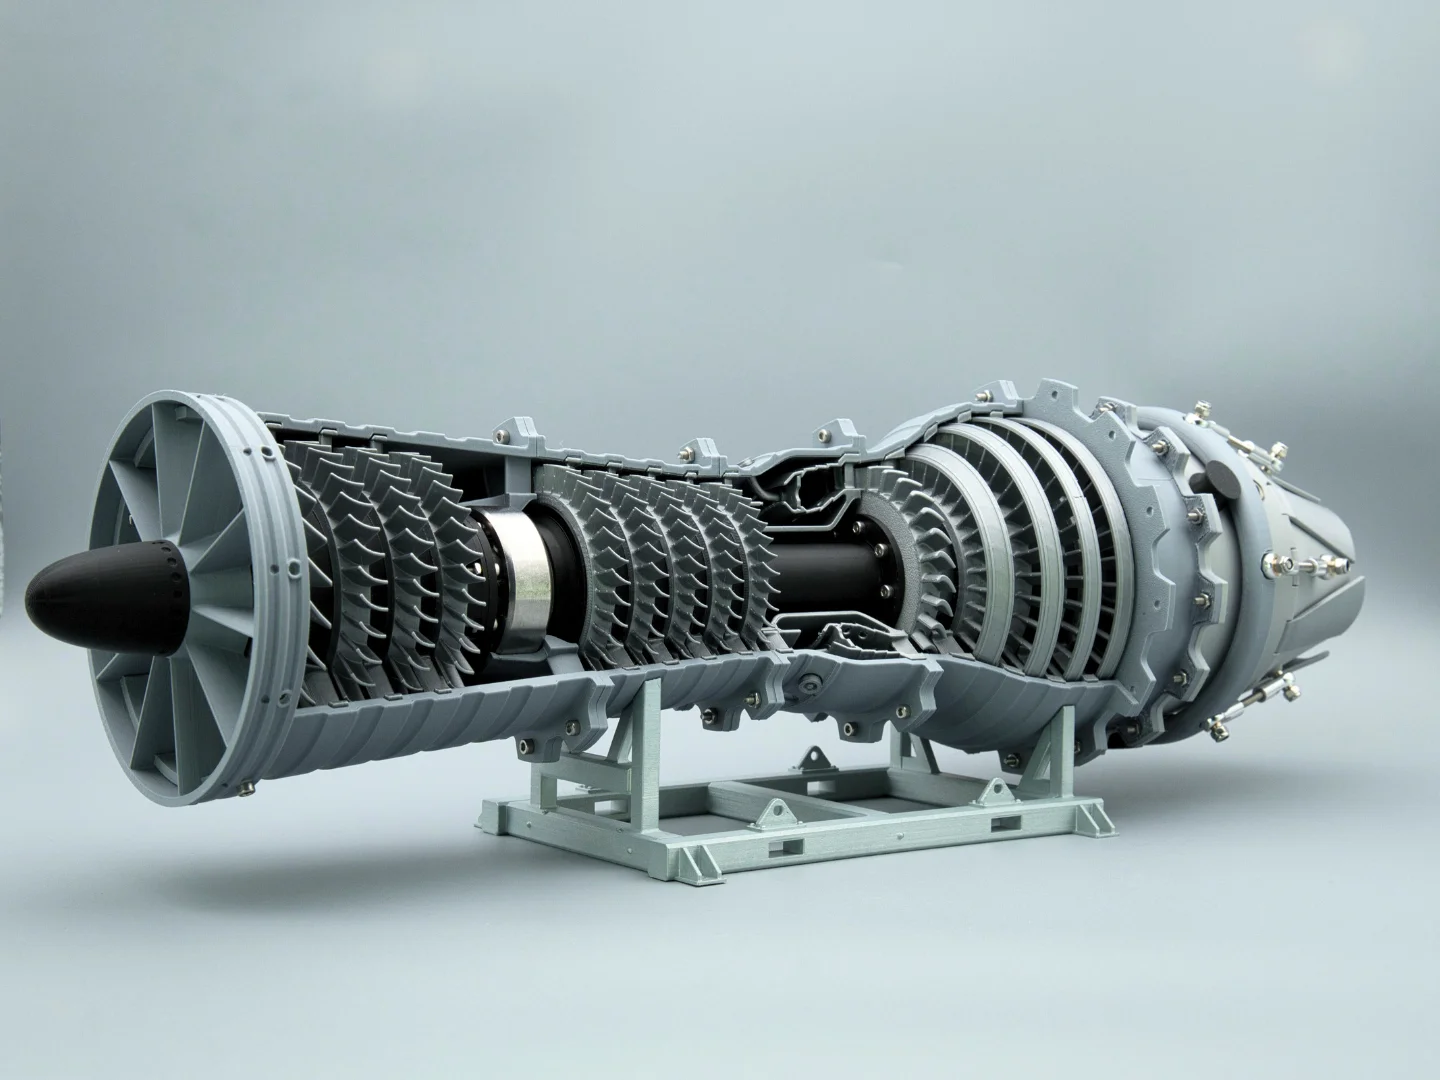
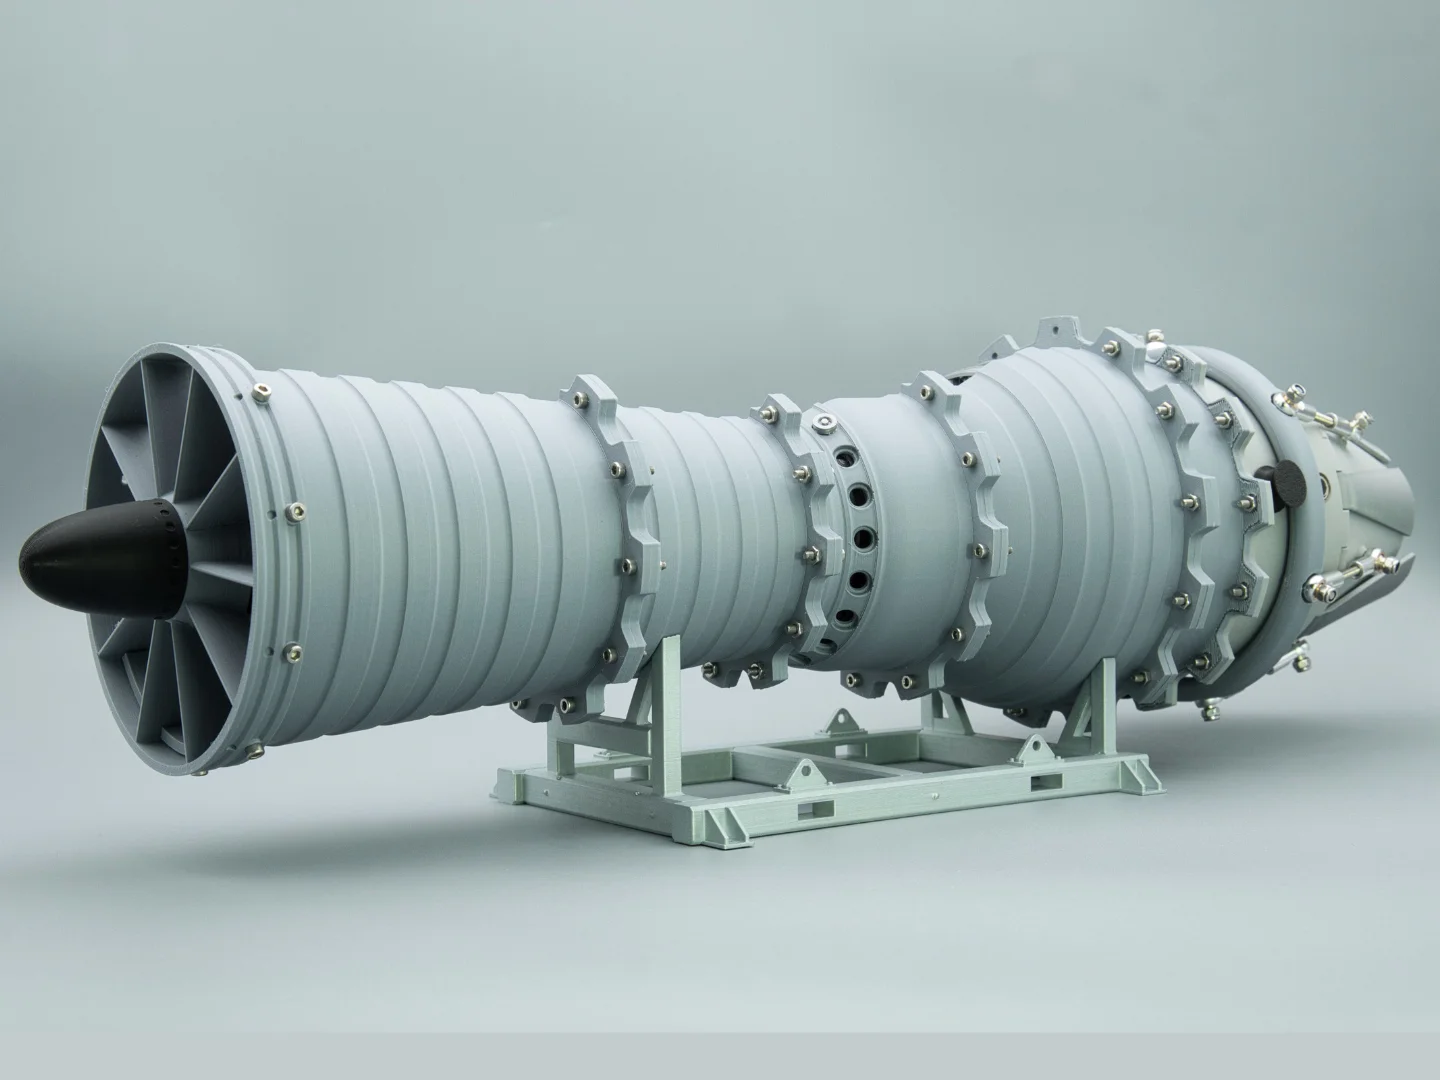
The 3D Printable Jet Engine is great! However, I wanted a turbojet or low bypass turbofan to complement the original. So, I got to work designing the turbojet, afterburner and variable exhaust nozzle.
This conversion uses fewer screws than the original! It adds an additional compressor stage, making the model longer and thinner. The design philosophy matches the original, with hints of the GE J79 visible in the inlet.
I designed a stand. Making the jet sit low to the ground. It works great!
I made a video and written instructions for assembly. ( Video is more thorough).
My print profile (Bambu Studio) uses three colors, but feel free to unleash your creativity.
If you don't yet have the hardware for the Jet Engine, I offer a great kit on my website. It provides better hardware at a lower cost and greatly supports my work. Thank you.
Check out the Afterburner & Variable Nozzle!
Happy printing and great success! Message me with any questions! (The tolerances are optimized for BambuLab Printers.)
Pliers aren't needed for this step. Drop the nuts into the slots and screw in the bolts.
Use plastic glue. I let the glue dry properly before installing into casing.
Don't glue them in place yet! :)
Easy…
The bearing will also snap into place.
Easy…
Don't tighten to much. You want even spacing around the inlet.
Easy… (I don't use glue)
Last step… Make sure everything works. Congratulations! Thanks for printing!
Placement of the engine on the stand
Designed by linus3d
My website: https://linus3d.de/
ByBoonby_1059917Likes659Downloads1.2K


 ByFabianVeileLikes414Downloads1.5K

 ByactualnameLikes0Downloads381

 BynleinadLikes56Downloads185

 ByMaking Singularities SingularitiesLikes0Downloads7

 ByTheWallArtGuyLikes36Downloads111

 ByZachBaird_29692Likes16Downloads42

 BygillisLikes121Downloads2.1K

 ByordinaryairLikes0Downloads140

 ByIbot_3DLikes10Downloads39

 By3dfoundryLikes0Downloads112