
F3D
P-51 Mustang Wind Spinner (Chong chóng gió) 1

10 images

DIY

P-51 Mustang Wind Spinner (Chong chóng gió)

By GEAR

Downloads
735
Likes
263
Views
4,039

Files 12 106.1 MB

  • BODY_1776718853.stlSTL · 31.7 MB
  • TAIL_1776718855.stlSTL · 29.8 MB
  • WINGS_1776718857.stlSTL · 17.3 MB
  • ELEVATORS_1776718858.stlSTL · 3.4 MB

Make a variant with AI

Build another version of this model.

Open Studio

Description

LAST UPDATES

  • The PINS are renamed.

PRINT SETTINGS

  • INFILL = 5%
  • WALL LAYERS = 2
  • TOP/BOTTOM LAYERS = 2
  • SUPPORTS = NO
  • BRIMS = NO

ASSEMBLY

  1. Paint the parts before assembly (DO NOT paint TABS, ROD, and ROTOR)
  2. Insert 3 small tabs into the back of the BODY part
  3. Connect the TAIL to the BODY
  4. Insert the ROTOR part into the PROP part
  5. Connect the PROP to the BODY
  6. Insert 1 large tab into the TAIL
  7. Connect ELEVATORS to the TAIL
  8. Insert 2 small tabs to the WINGS separately
  9. Connect WINGS to the BODY
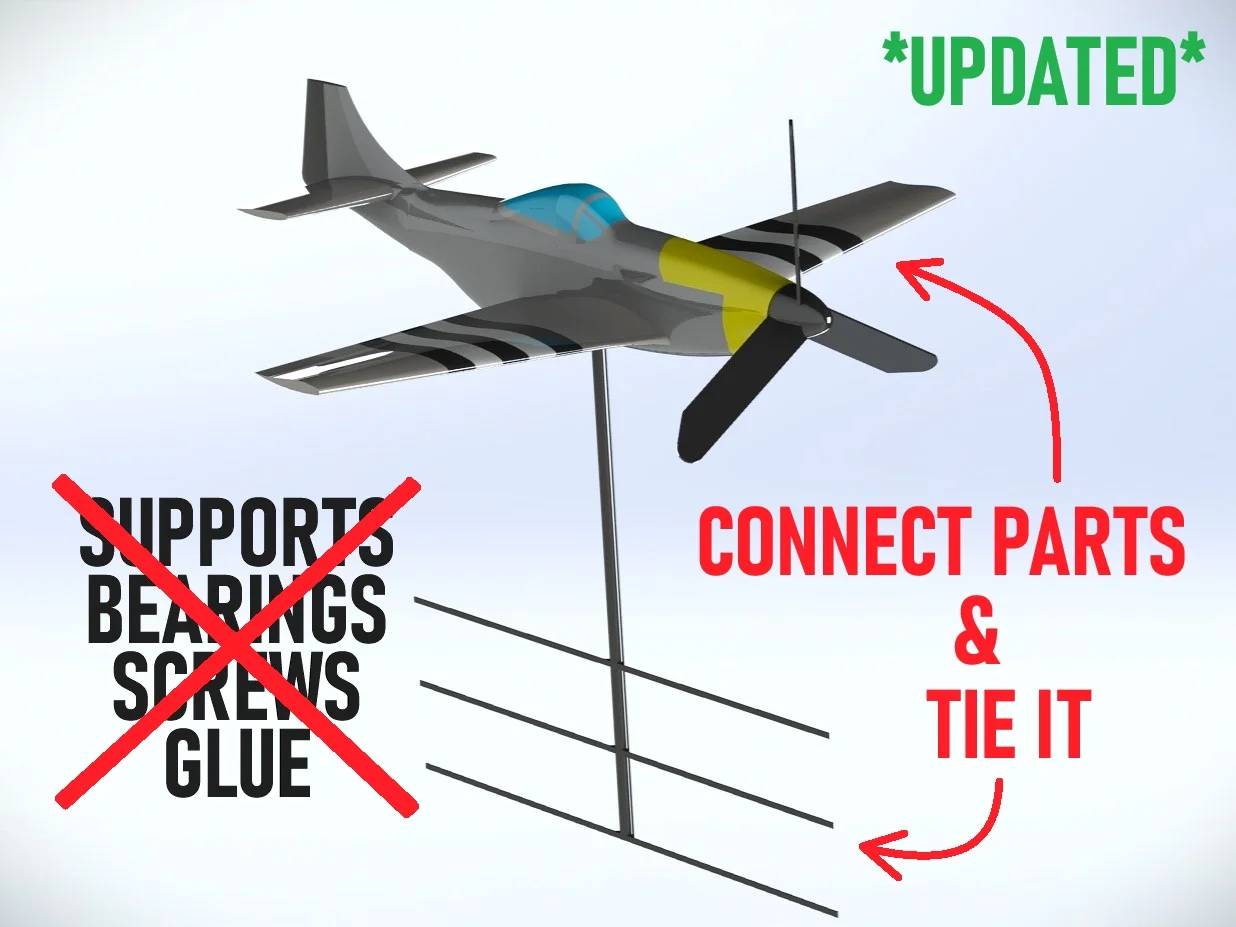
  10. Tie the TIE_POLE anywhere you want by using its extensions
  11. Connect the whole assembly to the TIE_POLE

SUGGESTIONS

  • Please leave a review
  • You may print all the parts at the same time, it needs at least 200x200mm print bed
  • You may use a different pole with a 3mm or 4mm diameter
  • You may use the simple pole and zip ties instead
  • You may use super glue to make the assembly stronger

Read more Show less

Print spec

Formats
stepstl
Model files
12
Total size
106.1 MB
Largest file
31.7 MB

0 comments

See all