


Đèn trang trí Minecraft Ore tùy chỉnh
 BydmtinkdevLikes74Downloads292
Build another version of this model.
https://www.patreon.com/SEREV3d
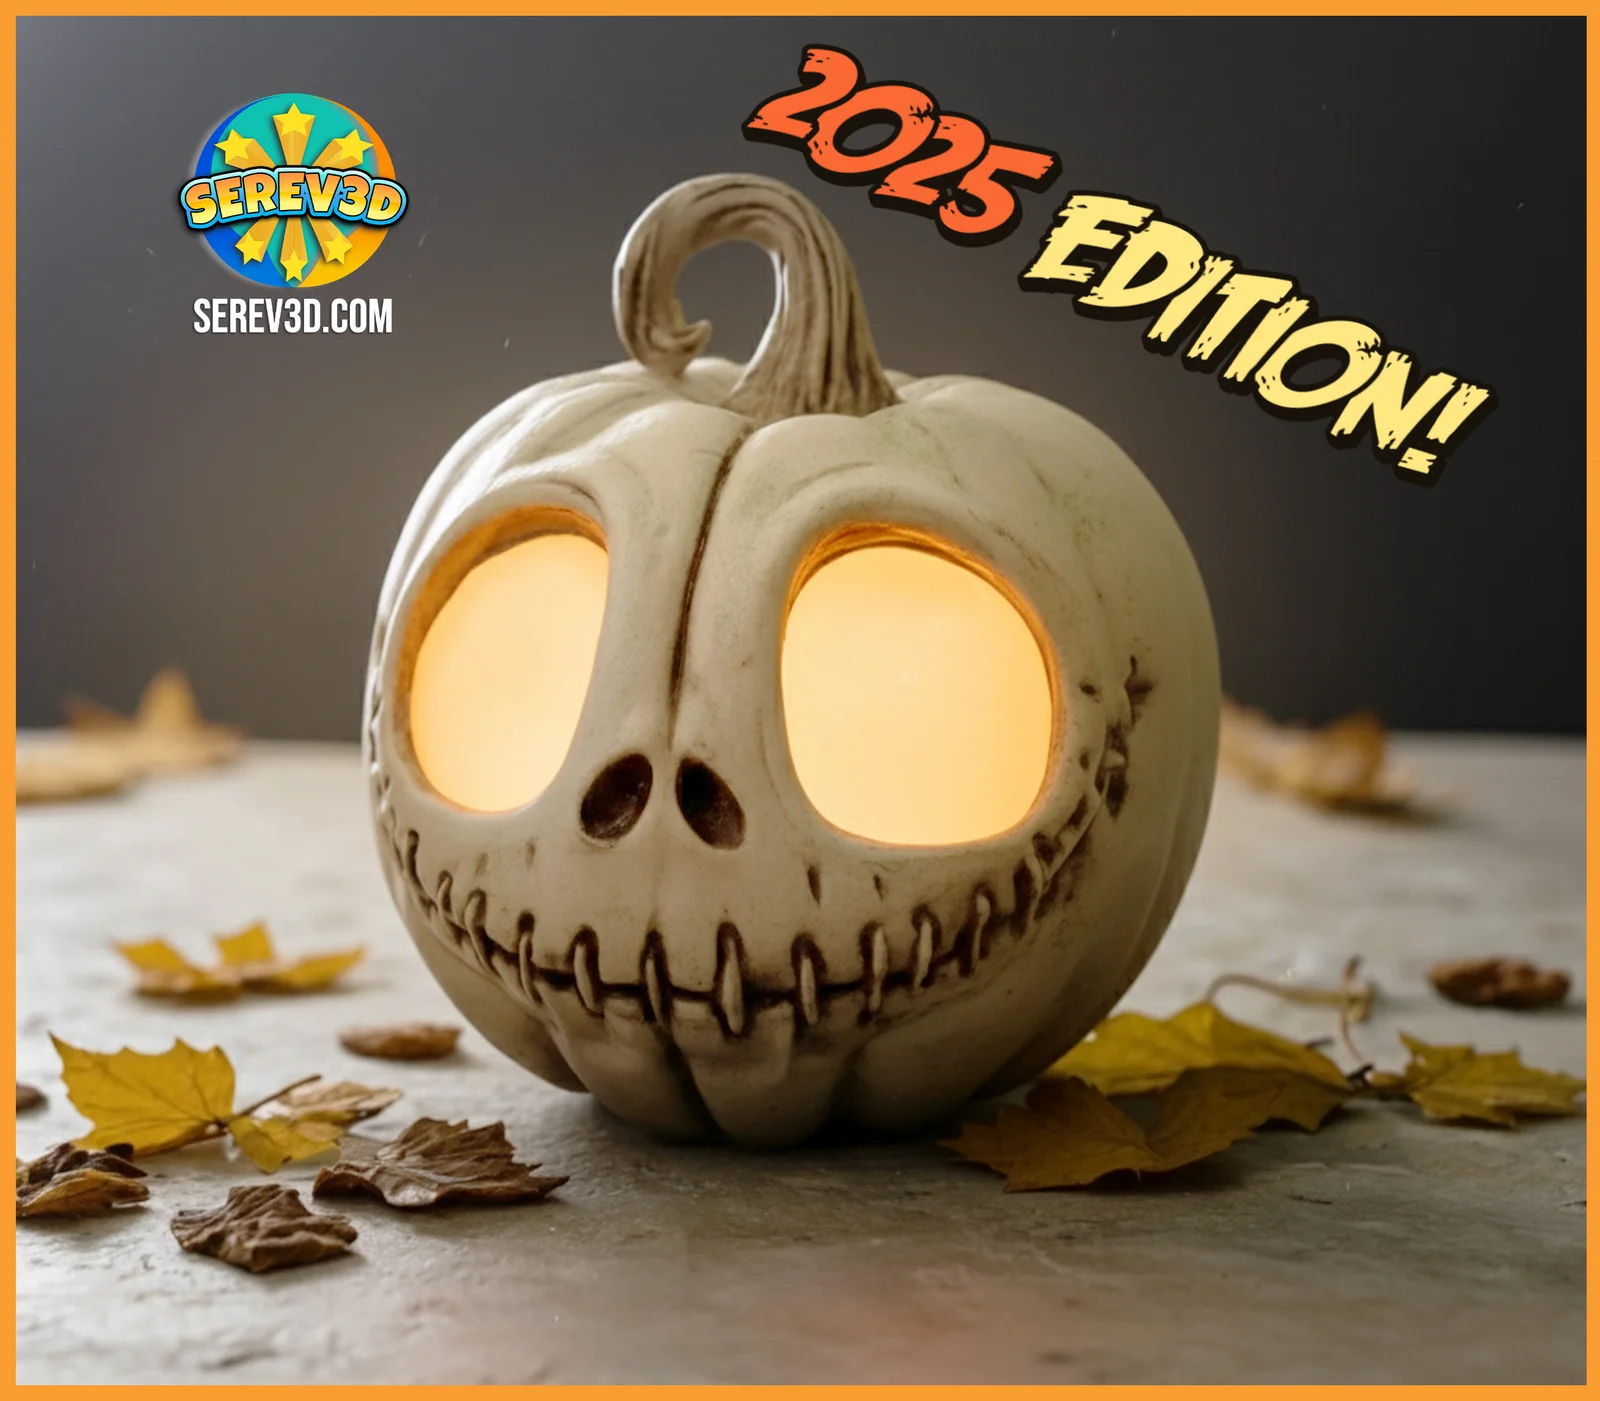
We reworked the inside structure completely:
✅ The big lantern Prints in under 8 hours (compared to +11 hours of the 2024 edition!)
And that’s not all, this year’s release comes with extra versions:
⭐ Big lantern size ~8hours
⭐ Tealight version ~1h40m
⭐ Candy bucket ~9h total, small version ~5h
⭐ Keychain version ~30minutes
⭐ Magnet version~30minutes
⭐ Ultra-tiny Skellington pumpkin ~15minutes, sized perfectly to fit in the hands of the Serev3D Ghosts!
Go grab these extra versions for free on our Patreon: https://www.patreon.com/posts/137905126
- For commercial license and the rights to sell the 3d prints of our designs, become a paid member on our patreon
Painting recommendation if you use the white filament:
Base Coat: After sanding (optional), leave the filament as is for a base color or lightly prime it with a translucent coat.
Shading: Use black and brown acrylic paints for dry brushing around the eye sockets, mouth, and crevices to enhance depth.
Sealing: Apply a matte clear coat to maintain a natural, weathered look.
Painting recommendation if you use the black filament:
Lightly sand the 3D print to smooth any rough areas (optional).
White Paint Dabbing: Use a sponge with white acrylic paint. Dab lightly on the surface, focusing on raised areas. This will leave the crevices black for natural shading.
Layering: Gradually build up layers of white by repeating the dabbing, letting each layer dry between coats to control the brightness. Finishing Touch: Seal with a matte clear coat to protect the surface and maintain the organic look.
Here are all the things you can get access to with a Serev3D Patreon and MMF membership :
Still wondering “why join the Serev3D membership?” Just ask our members and frequent customers on our community chats:
They’ll gladly share their experiences, show off their latest prints, and give you honest feedback.
—----------------------------------
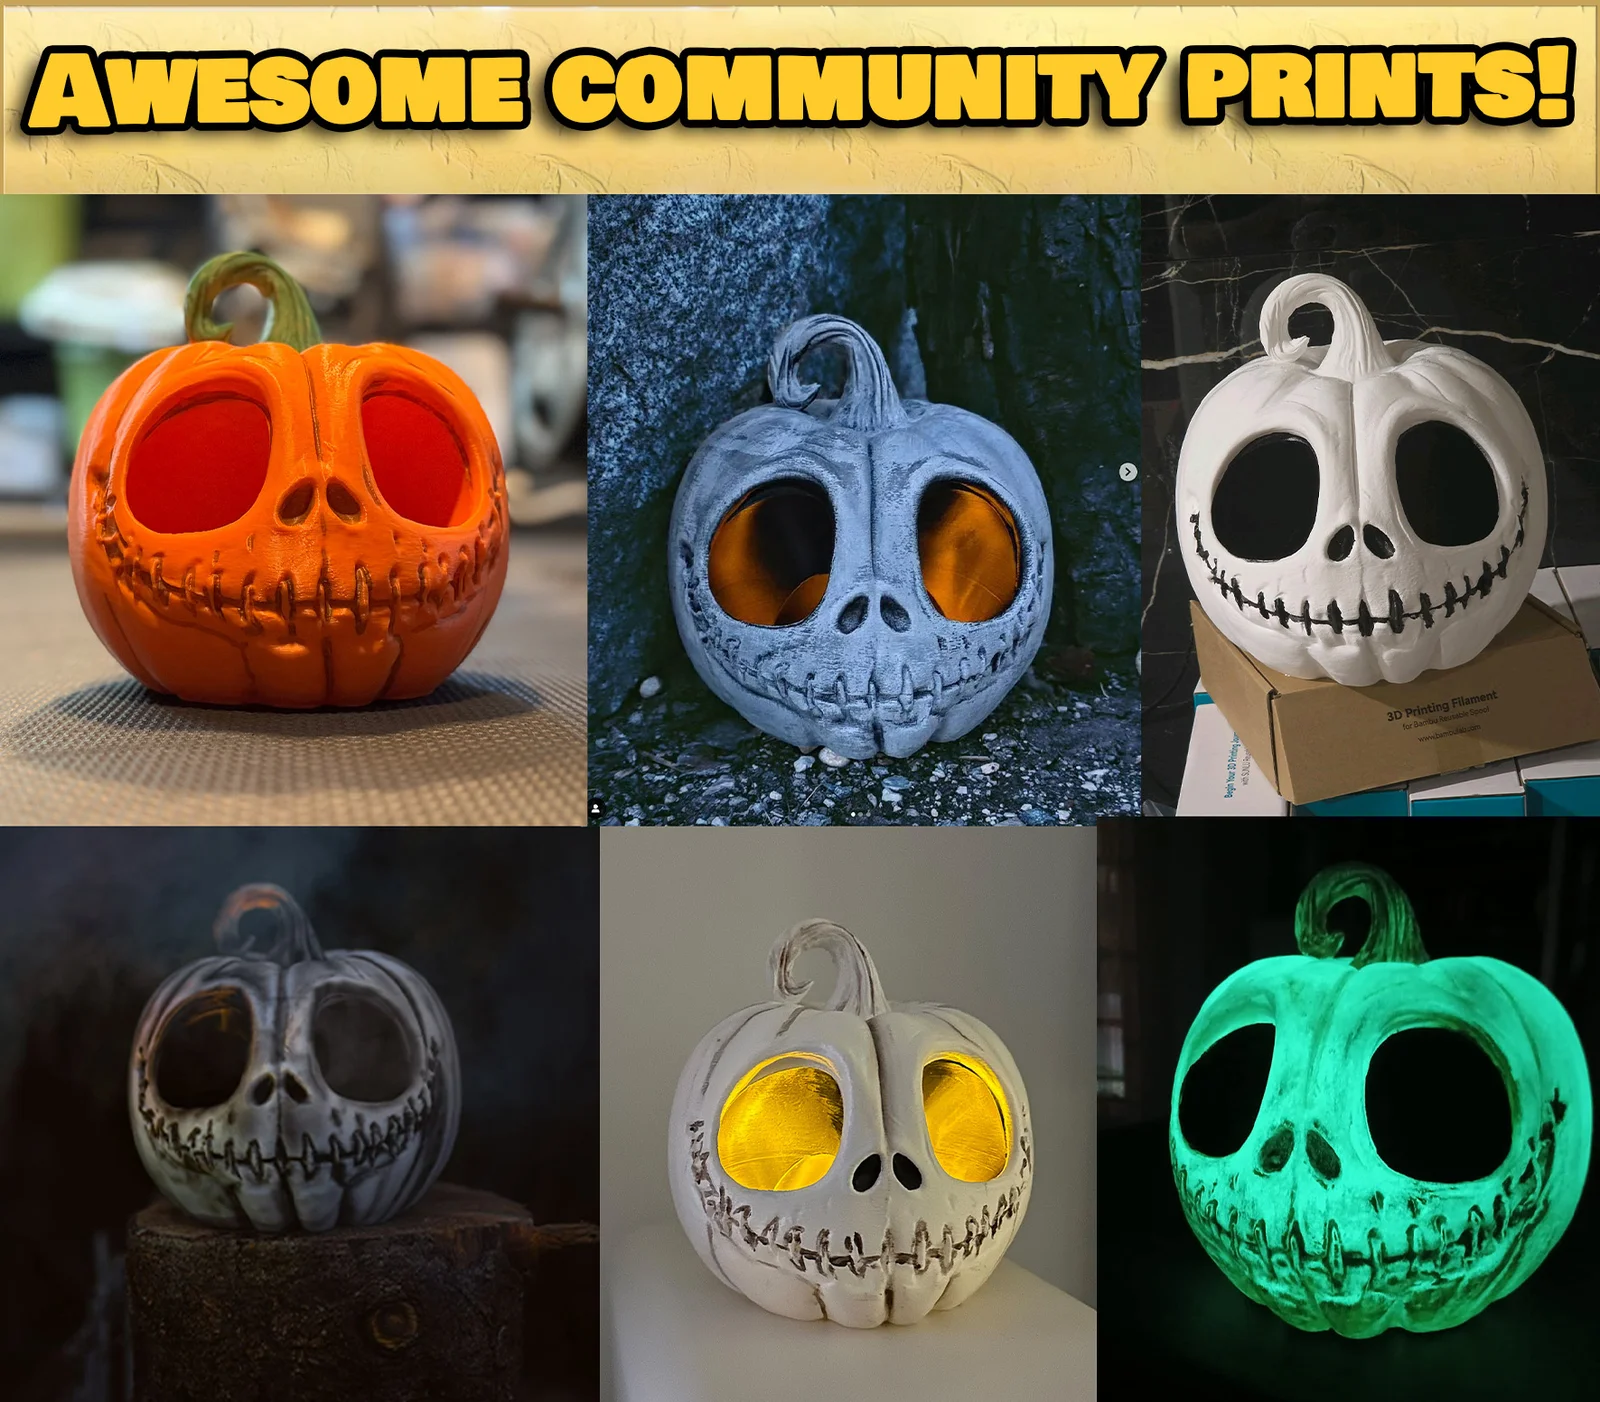
We are looking forward to see your prints, Show us your finished results in the comments!
BydmtinkdevLikes74Downloads292

 BybobmakesLikes2.5KDownloads17.5K

 Bymoleculecrtr_1215658Likes544Downloads2K

 ByPiotrRagoLikes161Downloads448

 BySonniik_201483Likes83Downloads352

 Byquibeck_3353173Likes1.5KDownloads11.5K

 ByDesignBy29_284315Likes37Downloads237

 Byst3rndesignLikes173Downloads262

 ByVinors3DLabLikes393Downloads997

 ByGIVEMHEVNLikes71Downloads140

 Byh3li0Likes145Downloads481

 ByNoraNeko_854291Likes35Downloads115