



Kẹp giữ sợi Filament
 Bytinx_1344834Likes1.2KDownloads6K
Build another version of this model.
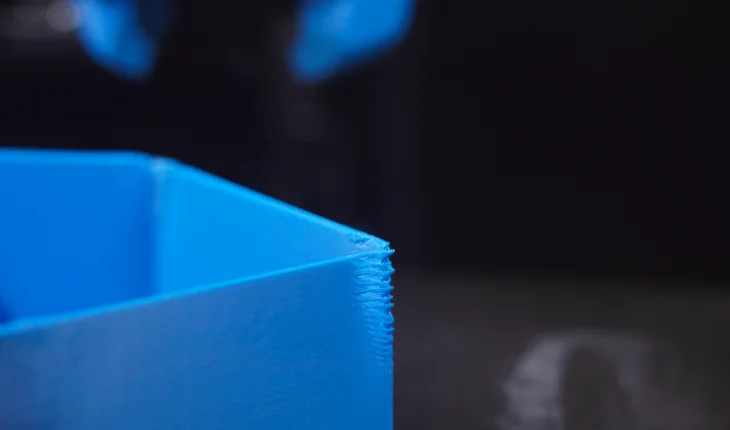
A lot of built in Pressure Advance (PA) tests have fundamental flaws that make the results inaccurate. The best way to ensure the accuracy of your tuning is to do it yourself.
To use this. slice with:
When you are ready to print, input the following command into the klipper console:
TUNING_TOWER COMMAND=SET_PRESSURE_ADVANCE PARAMETER=ADVANCE FACTOR=0.002
Since the model is 40mm tall, this command will test PA values from 0 to 0.08, which is a good range to test for direct drive extruders. If you want to test different values, just change the factor to a different value!
Once the print is complete, look for the height that has the sharpest corners. To find your PA value, multiply the height that you found by the factor you set (e.g. 13mm * 0.002 = 0.026)
Use this value for PA in your slicer and you're all set!
Bytinx_1344834Likes1.2KDownloads6K

 Bygafyx3dLikes0Downloads121

 Byduo3dprintLikes0Downloads153

 BylaserbaconLikes0Downloads172

 Bynadir-cn3dLikes0Downloads110

 BytheodorLikes0Downloads143

 Byprusa-researchLikes0Downloads2.7K

 ByKRYS_3DLikes8Downloads45

 ByteteomatLikes0Downloads136

 Byaleksander-wereskiLikes0Downloads121

 Bypjs37Likes0Downloads155

 BydalleLikes0Downloads147