

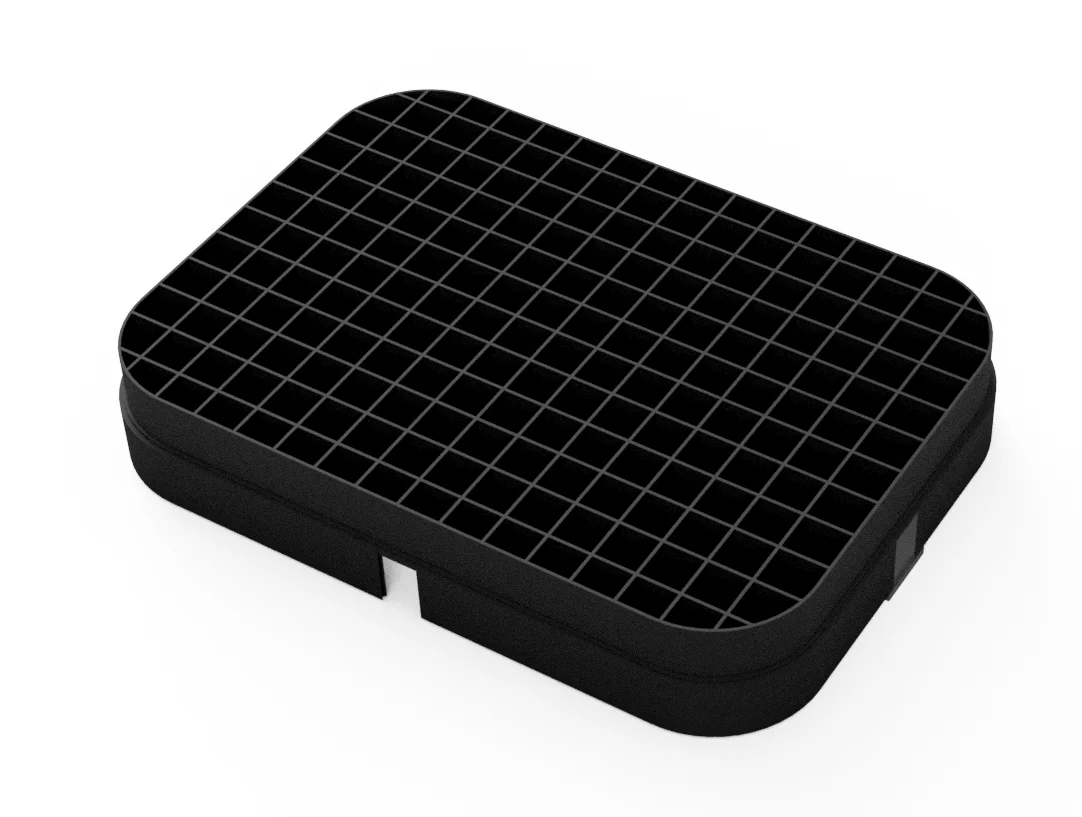
Elgato Keylight Honeycomb | Mesh | Grid
- Downloads
- 178
- Likes
- 16
- Views
- 971
- Remixes
- 0
- Comments
- 0
Files 12 823.9 KB
- Elgato-Light-Defuser-Gitter-2_1776393665.stlSTL · 86.7 KB
- Elgato-Light-Defuser-Gitter-4_1776393666.stlSTL · 79.8 KB
- Elgato-Light-Defuser-Gitter-3_1776393667.stlSTL · 79.6 KB
- Elgato-Light-Defuser-Gitter-1_1776393668.stlSTL · 79.6 KB
Make a variant with AI
Build another version of this model.
Details
- Model ID
- #304247
- Category
- Dụng Cụ Tiện Ích
- Published
Description
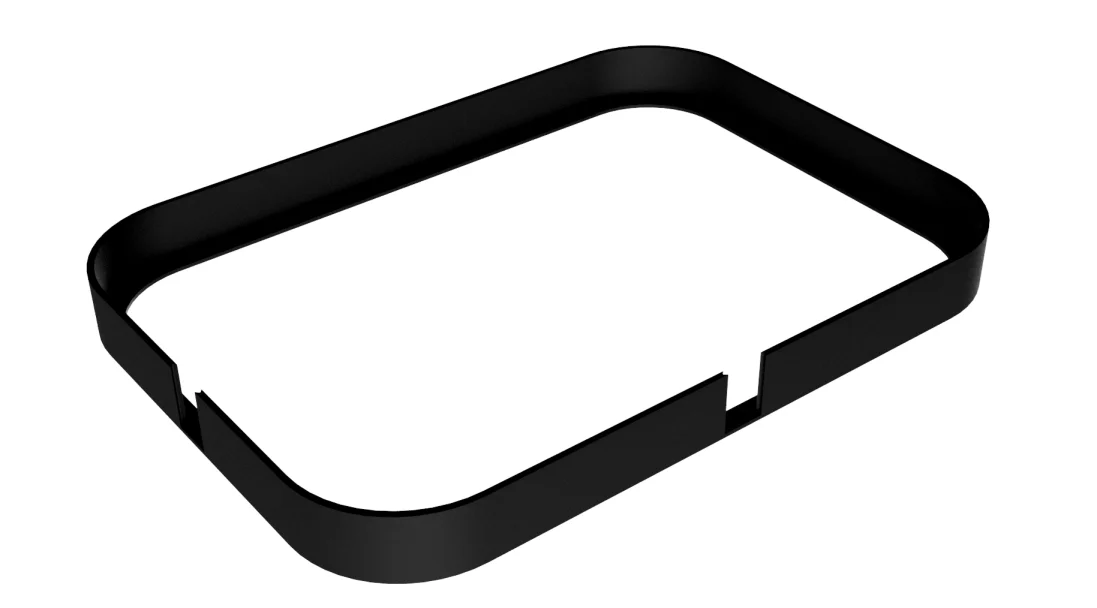
This is an Elgato Keylight Mesh with two cut-outs for the brackets. Can be mounted variably using a small panel. Several connectors are used in the frame, which are slightly tighter and need to be adjusted slightly depending on your printer. The reason for this is that all connectors should be particularly tight. Nevertheless, I recommend additionally gluing the frame connectors with superglue.
The model has a guide rail into which the mesh must be glued to ensure a tight fit! This is also the side facing the print bed and can be printed perfectly with supports. Removing the supports, printed with an MK4, was done around the guide as well as in the guide in under 1 minute.
*I try to print the mesh with speed settings, but because of the thin walls the layer connection was weak
Please leave a like if you appreciate it. :-)
##################################################################
Das ist ein Elgato Keylight Mesh mit zwei Ausschnitten für die Halterungen. Durch eine kleine Blende variable montierbar. Im Rahmen werden mehrere Verbinder verwendet, die etwas enger sitzen und abhängig von eurem Drucker minimal angepasst werden müssen. Grund hierfür ist, dass alle Verbinder besonders fest sitzen sollen. Ich empfehle dennoch, die Rahmenverbinder zusätzlich mit Sekundenkleber einzukleben.
Für einen festen Sitz des Mesh verfügt das Model über eine Führungsschiene, in welche das Mesh eingeklebt werden muss! Diese ist auch die zum Druckbett gerichtete Seite und lässt sich mit Supports einwandfrei drucken. Entfernen der Supports, mit einem MK4 gedruckt, war um die Führung wie auch in der Führung unter 1 Minute erledigt.
*Ich habe versucht, das Mesh mit Speed Einstellungen zu drucken, aber wegen der dünnen Wände war die Layerverbindung zu schwach
Bitte lasst ein Like da, wenn es euch gefällt. :-)
Material:
PLA+
Infill:
100%
Printmode:
Structural*
Print spec
- Formats
- stl
- Model files
- 12
- Total size
- 823.9 KB
- Largest file
- 130.4 KB