

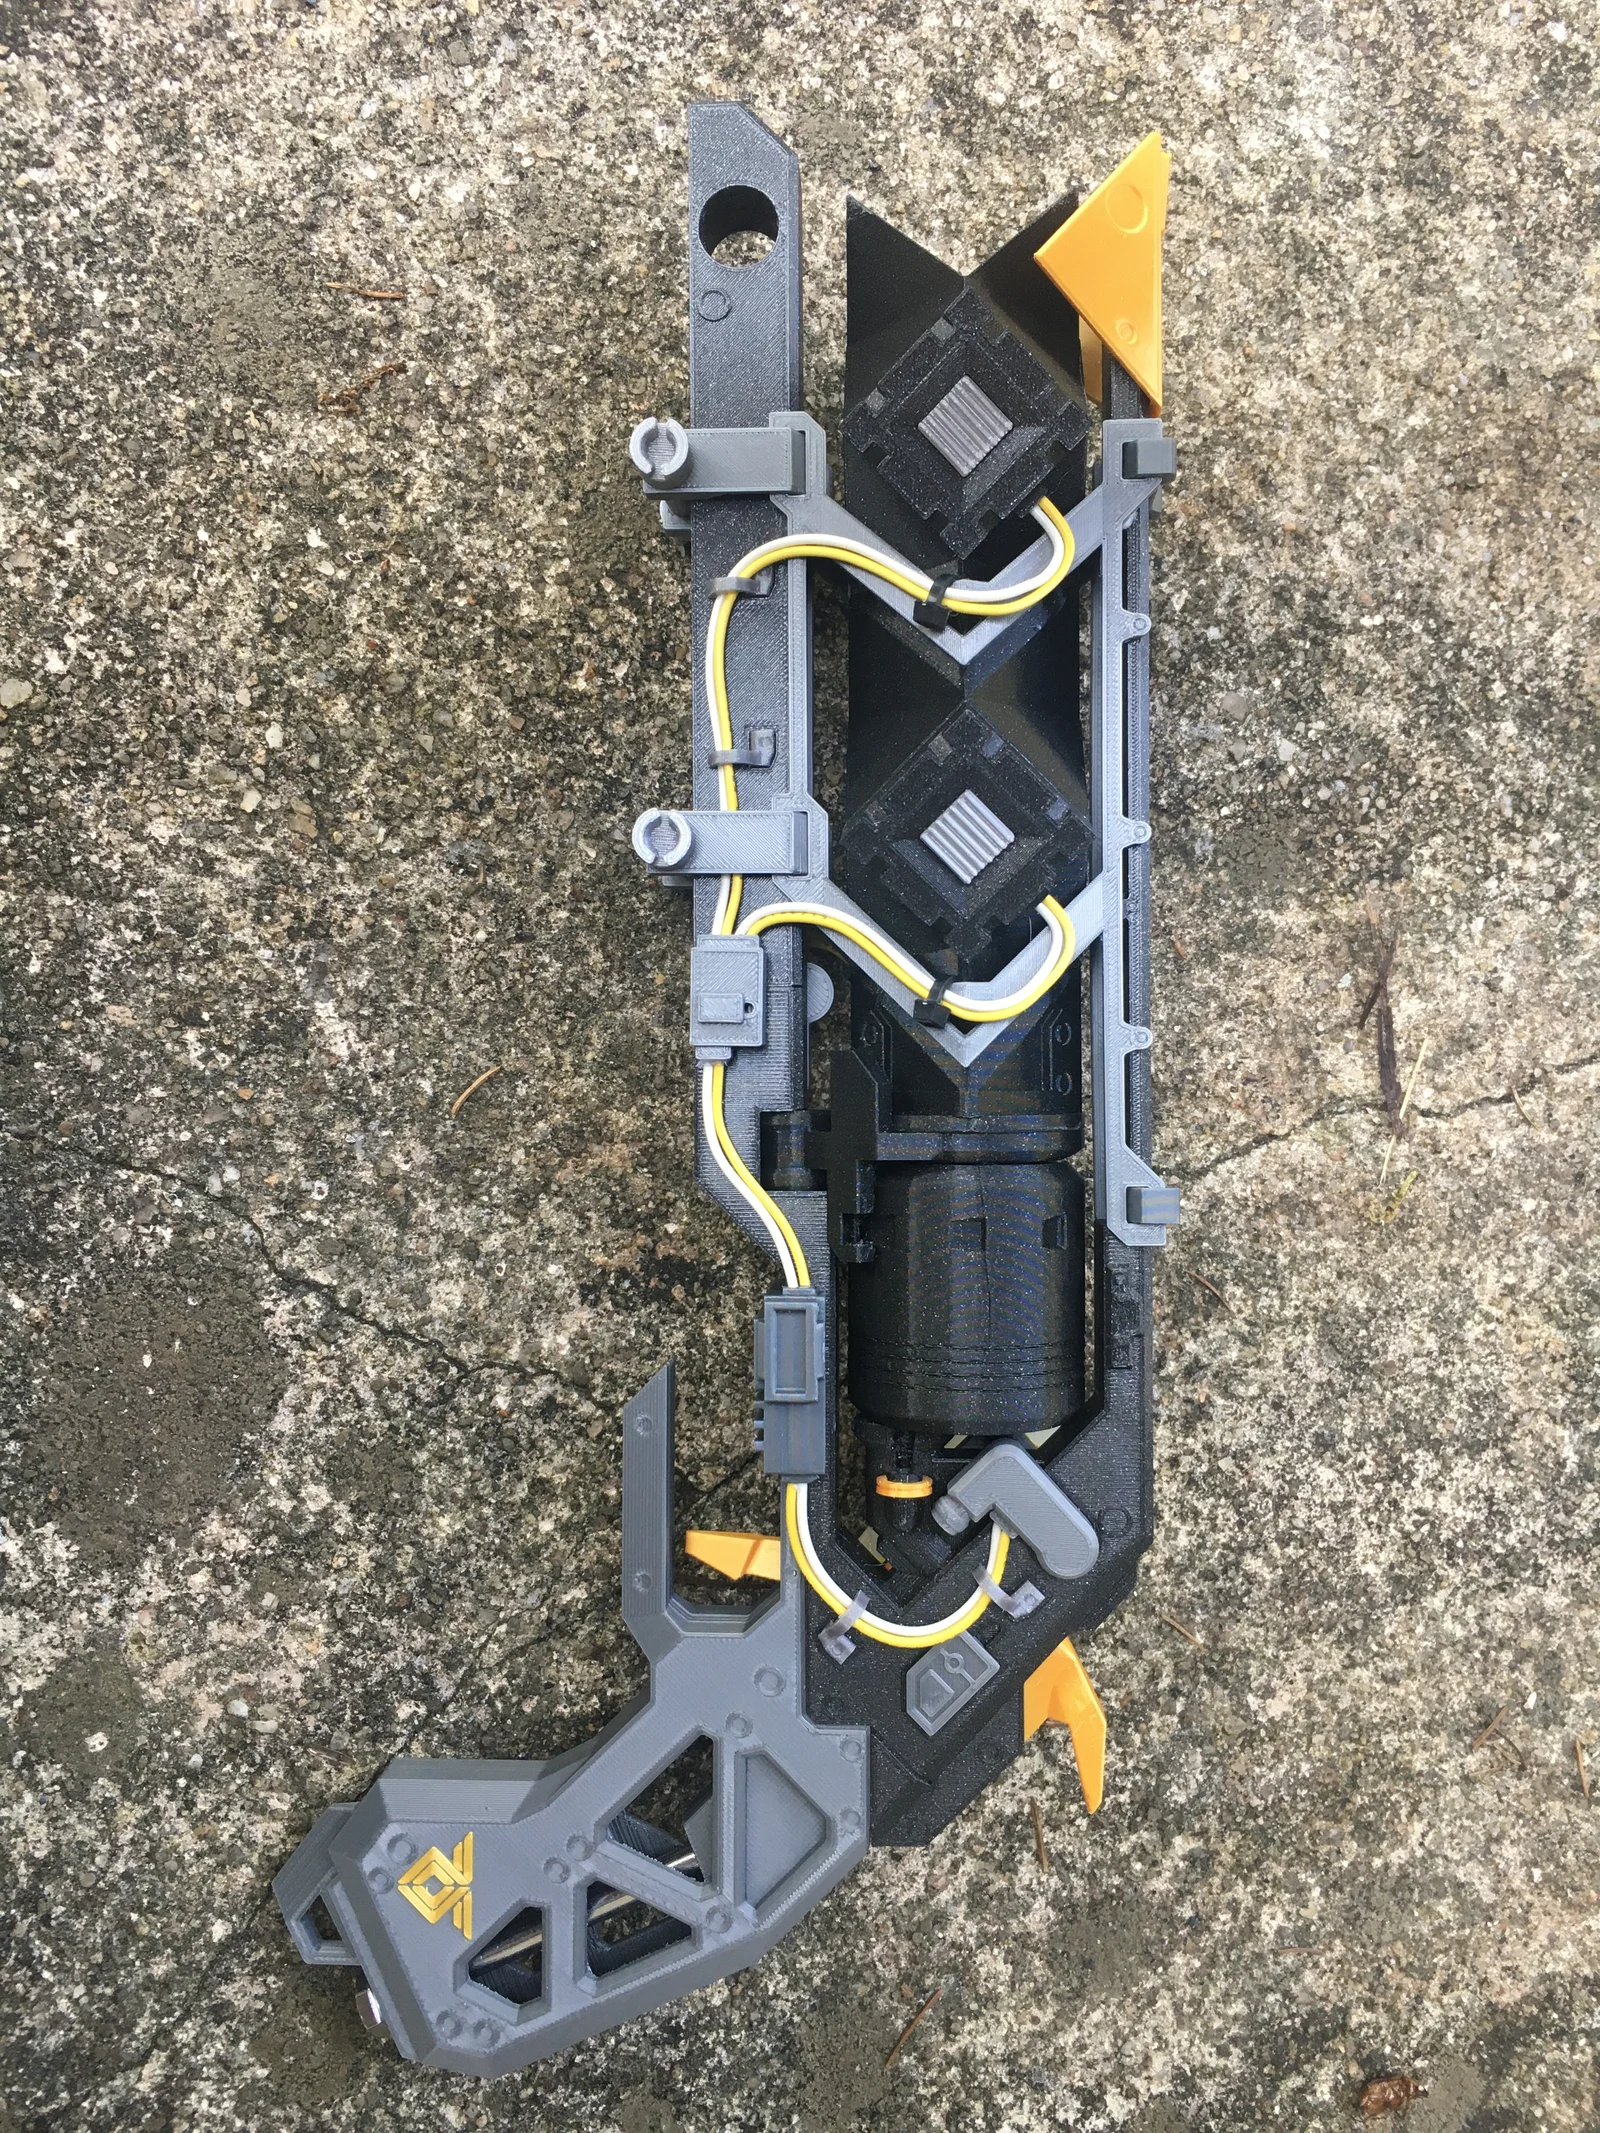
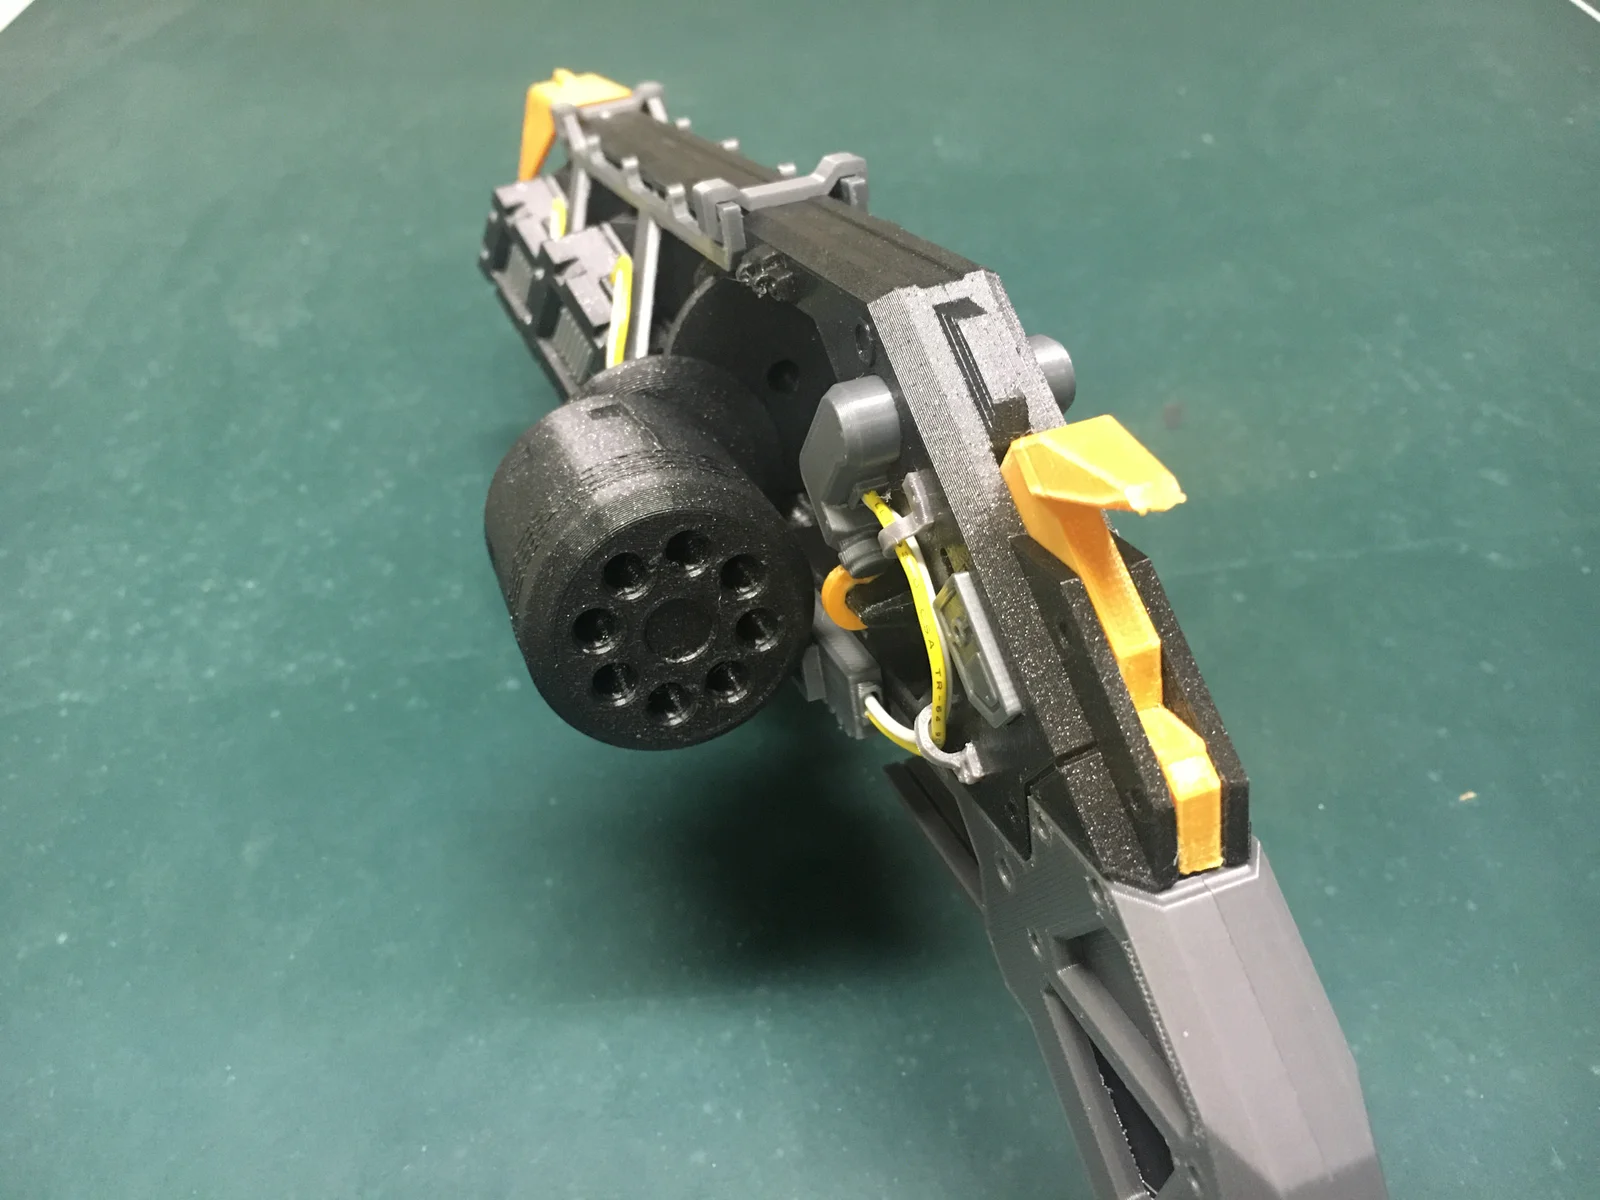


Mô hình 3D dao Karambit CS:GO
 Bybonzai000Likes716Downloads16.8K
Remix of DESTINY 2 IKELOS HAND CANON By JamesSmith_326123
Build another version of this model.
Special thanks to jdflute for the original models.
Please scale parts at 80% when printing.
You will also need:
The Grips do not need support.
The Frames need support in the areas shown. on Prusa Mk3/4, you will need to rotate the part to fit on the plate
See the sliced 3mf models for misc. support recommendations
8/31/2025 - added stand
Assemble and glue the crane together as shown. Do not glue the pins. Insert but do not glue the cylinder once the crane is complete. The cylinder should be able to spin and slide.
Insert the crane and cylinder into their slot on the frame. Once they are in place, glue the two halves of the frame together, using the pins to guide the alignment. Once assembled, the cylinder should swing out and be removable.
If you printed the split frame version, glue the ends of the frame on one at a time.
Insert the muzzle part into the barrel, and glue the barrel into the frame. Press the flat end of the barrel against the crane, use the frame notches to align the barrel.
Assemble the frame cage as shown, first without glue. Once it is assembled, glue the hooked clip to recessed grooves on the top of the frame. Then swing the cage parts down and glue them to the sides of the frame.
Add the remaining ornamental parts to the outside of the frame. The vents and heat sinks should point up and to the back. When adding the left side junction box, swing the crane open to ensure there is no collision.
Assemble the two halves of the grip, along with the screw. Insert a paper clip to hold the trigger. Trim the paper clip once the trigger is in place, and apply some glue to prevent it from moving.
Insert a spring into the bottom hole in the frame, then glue the frame and the grip together. The trigger should spring back when pulled.
Attach the hammer and the nose cap.
Add the wires. Use zip ties and the printed cable clips to route the wires through the junctions.
Bybonzai000Likes716Downloads16.8K

 ByFotisMintLikes340Downloads2.5K

 Bypapyskull_3946746Likes152Downloads500

 Bypokon_nurdspaceLikes429Downloads1.8K

 ByZabricot200_1688175Likes8Downloads183

 BybobmakesLikes37Downloads285


 ByDajaLikes119Downloads145

 Bythomaseap_259823Likes6Downloads119

 ByDC_8576Likes454Downloads1.8K

 ByElon Muscular MuscularLikes90Downloads117

 ByYuriRage_623017Likes16Downloads87