



Kẹp giữ sợi Filament
 Bytinx_1344834Likes1.2KDownloads6K
Remix of Máy đo độ căng dây đai GT2 có vòng bi By YesterdaysCof_597858
Build another version of this model.
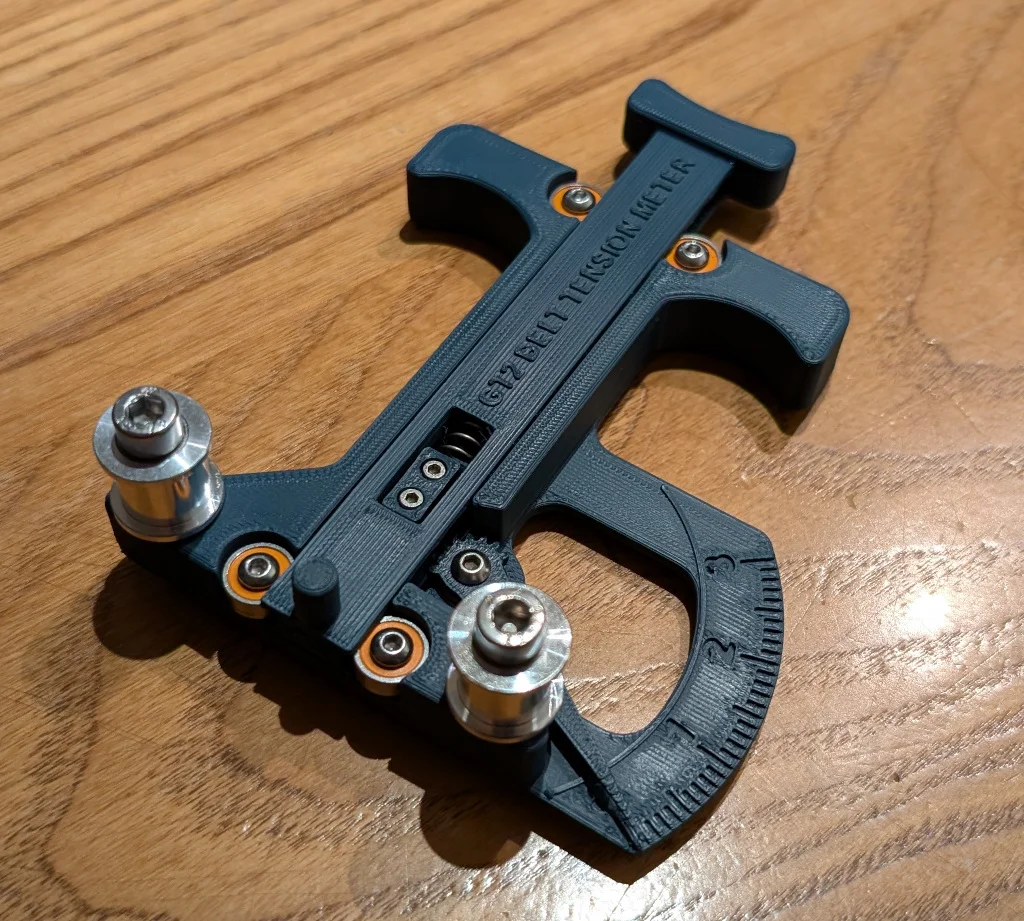
Please see original post on GitHub for thorough description, manual and instructions, as well as the bearing mod. This mod just replaces the base of the bearing mod with a slightly modified one for GT2 idlers and an extra bearing for the needle.
Everything else should be compatible with the original, so the sliders and tolerances should all work the same, only the new "GT2_Belt_tension_meter_base_extra_bearings" needs to be printed and used in place of the old one and the two additional Bearing_spacer_0_dot_4mm need to be printed as well for the new bearing for the needle.
What to print:
Replace the bearing mod's “BT Meter Base” with:
1x - GT2_Belt_tension_meter_base_extra_bearings.stl
Also print:
2x - Bearing_spacer_0_dot_4mm.stl
Even More Additional BOM (on top of bearing mod + original BOM):
2x - GT2 Idler Pulley 20 Toothless, Bore 5mm for 9/10mm belt. Inner diameter ~12mm. Toothed will also probably work fine.
2x - M5x25mm Socket Head Cap Screw (anything between 18mm and 25mm length works).
1x extra - M3x10x4mm bearing (623-2RS), no flange. (Another of the same type as the original, so 5x of these in total now)
1x - M3x10 Button Head Cap Screw
1x - M3 Hexnut
Additional Build Instructions
Bytinx_1344834Likes1.2KDownloads6K

 ByreddLikes216Downloads2.2K

 ByJasonOlliff_519145Likes241Downloads2K

 Byarhi_585078Likes64Downloads536

 ByHanzo3dLikes155Downloads411

 ByGeek5DLikes147Downloads482

 ByBrokentooth_designsLikes23Downloads402

 By3DSourcererLikes48Downloads373

 Byzachstofko_3956201Likes88Downloads152

 ByzooppLikes7Downloads159

 ByJDOsolutions_280237Likes85Downloads121

 ByCapitaineBobLikes19Downloads138