
F3D
Khoan bàn cho máy Dremel / Parkside 1

3 images

DIY

Khoan bàn cho máy Dremel / Parkside

By LSC_193152

Downloads
1,653
Likes
1,168
Views
17,625
Remixes
1

Files 8 4.4 MB

  • Lock_nut_Dremel_1776166630.stlSTL · 1.4 MB
  • Lock_nut_Parkside_1776166631.stlSTL · 1.5 MB
  • Base_1776166633.stlSTL · 181.5 KB
  • Lever_1776166635.stlSTL · 294.2 KB

Make a variant with AI

Build another version of this model.

Open Studio

Remix versions 1

See all 1 remix

Description

Hi!
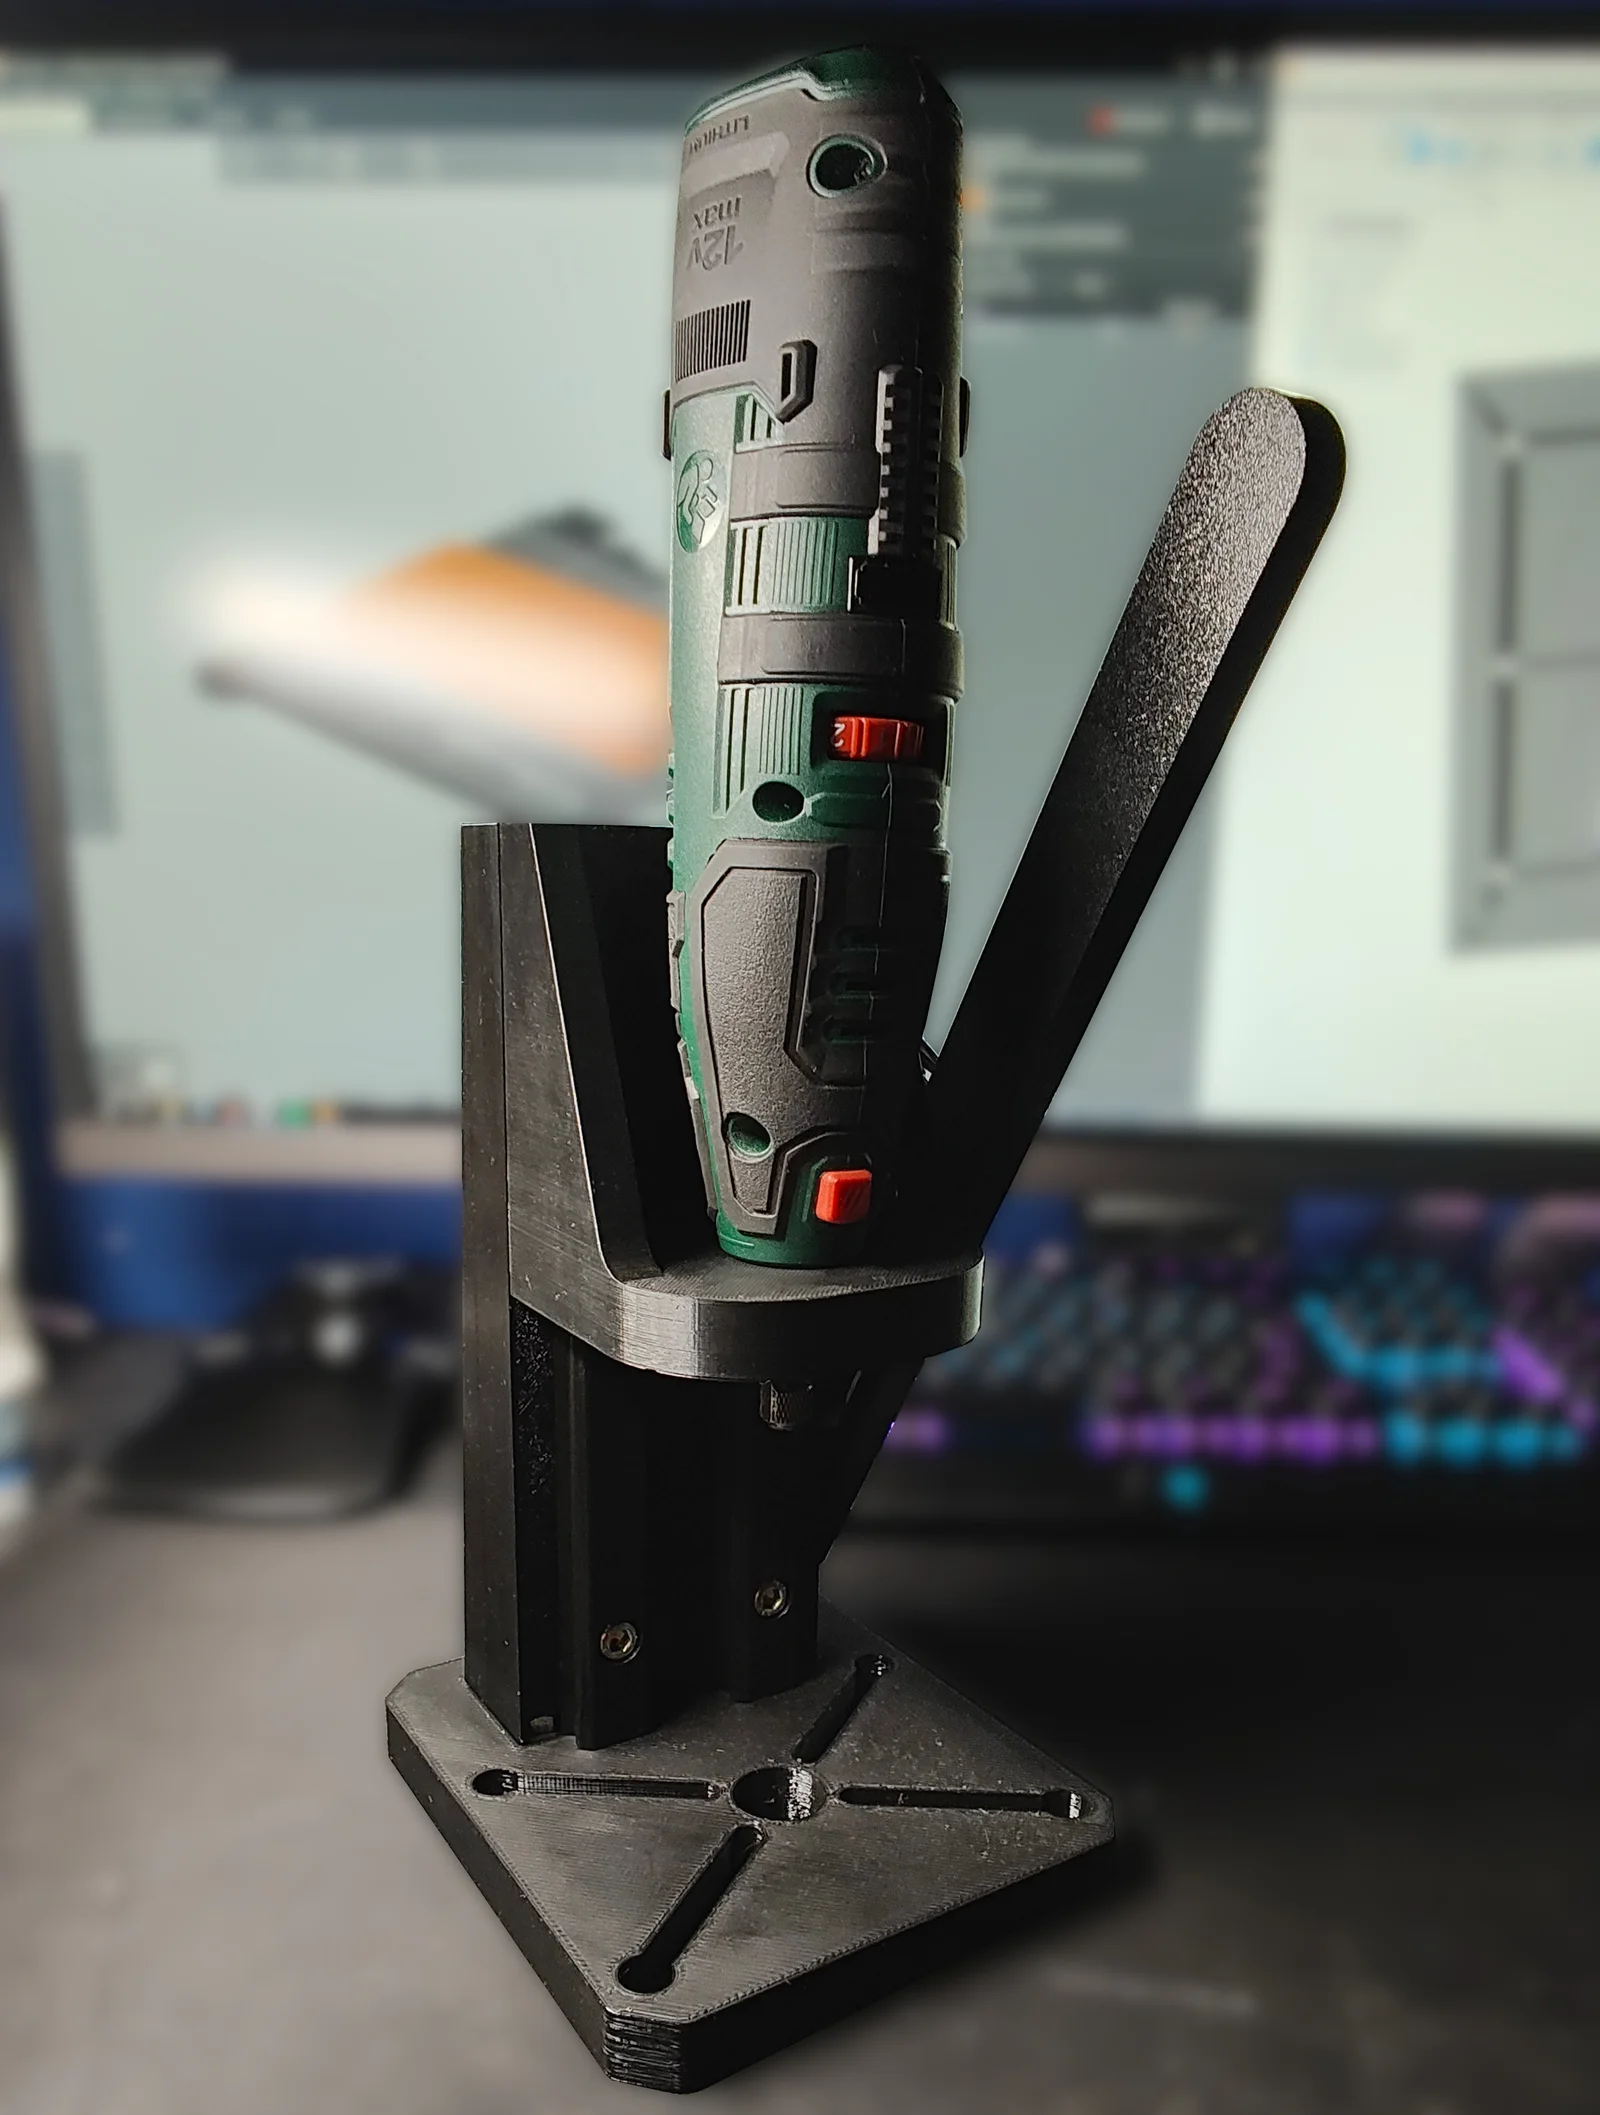
I want to introduce you my drill press for Dremel/Parkside multitools. It's easy to print and assemble - you only need a few screws and nuts to put it together. 

IMPORTANT NOTE: Print “Lock_nut_Parkside.stl” and/or “Lock_nut_Dremel.stl” first to check if your multitool is compatibile with this model. If not- you can remix it :)

Tested on my Parkside PFBS 12 B6 - works well.

Print with high infill (60-80%), PETG recommended.
All files are oriented in the best way.
“Base” and “Tool holder” require supports.

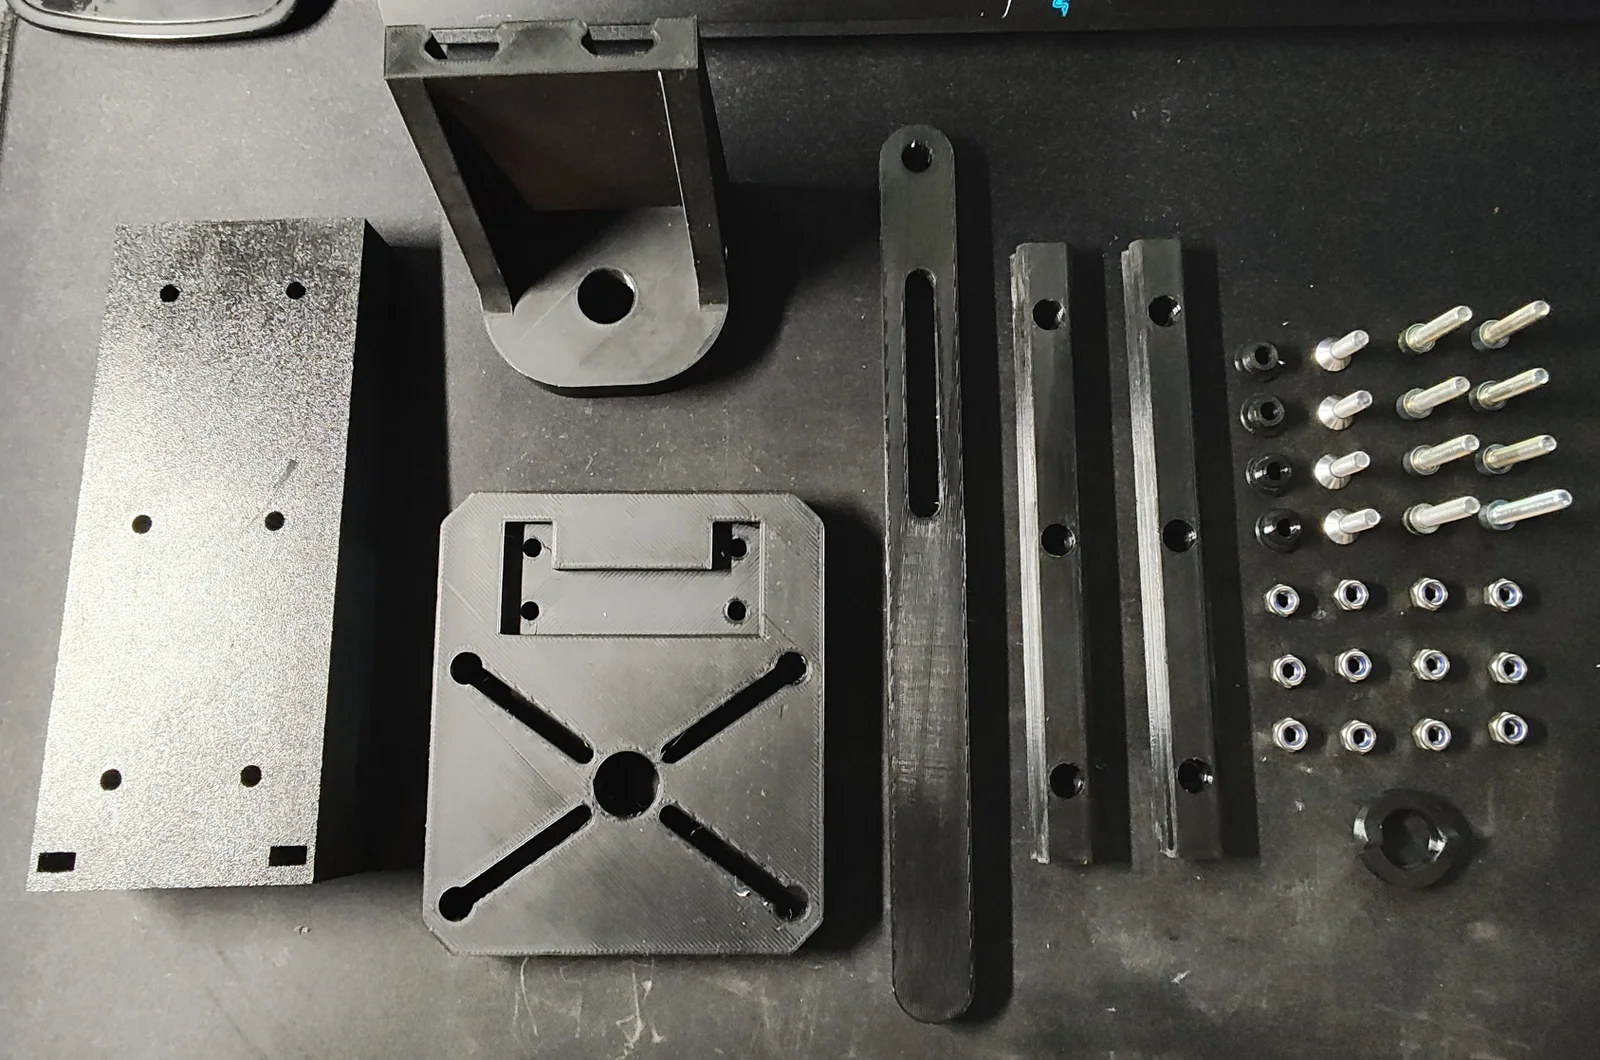
Bill of material

Printed parts:
- 1 x Base
- 1 x Lever
- 4 x Lever sleeve
- 1 x Lock nut - choose the correct one according to your multitool
- 1 x Tool holder
- 1 x Z guide
- 2 x Z rail

Screws & nuts:
- 12 x M6 nuts - Nylock nuts highly recommended
- 4 x M6x20 FHCS
- 7 x M6x25 SHCS
- 1 x M6x30 SHCS

Other:
- Tension spring (50mm), or rubber bands
- Some grease

Assembly manual

  1. Put 4 M6 nuts into “Z guide” lower pockets:


  2. Put “Z guide” into “Base”:

     
  3. Screw together using 4 M6x20 FHCS screws:

     
  4. Place 6 M6 nuts into “Z guide” back pockets:

     
  5. Screw “Z rails” to “Z guide” using 6 M6x 25 SHCS screws. Don't tighten it yet!

     
  6. Use “Tool holder” to align the rails parallel. If holder moves freely along rails you can tighten screws.

     
  7. Apply some grease on “Tool holder” grooves:

     
  8. Put “Tool holder” back on the rails. Double check that everything works fine - if not, align the rails again.

     
  9. Place the M6 nut into “Z guide” rear pocket:

     
  10. Apply some grease to the lever hole:

     
  11. Put M6x30 SHCS with 2 lever sleeves into lever hole:

     
  12. Screw lever to the “Z guide”. Mind the proper orientation of the lever. The lever must move freely - don't tighten screw too much.

     
  13. Apply some grease to the elongated hole in the lever:

     
  14. Put the M6 nut to the pocket in the “Tool holder”:

     
  15. Put M6x25 SHCS with 2 lever sleeves into lever elongated hole. Screw together with “Tool holder”:

     
  16. Place tension spring between lever and “Z guide”. Alternatively, you can use some rubber bands - just like me.

     
  17. Put multitool into “Tool holder” and secure using proper “Lock nut”:


  18. Optionaly you can use 4 M6 screws with nuts to hold drilled object or to mount some accessories:


Read more Show less

Print spec

Formats
stl
Model files
8
Total size
4.4 MB
Largest file
1.5 MB

0 comments

See all