



CORE One/+ INDX printed parts
 Byprusa-researchLikes0Downloads2.7K
Remix of Prusa CORE One - Full CAD Assembly (Bộ lắp ráp CAD đầy đủ) By Prusa3D
Build another version of this model.
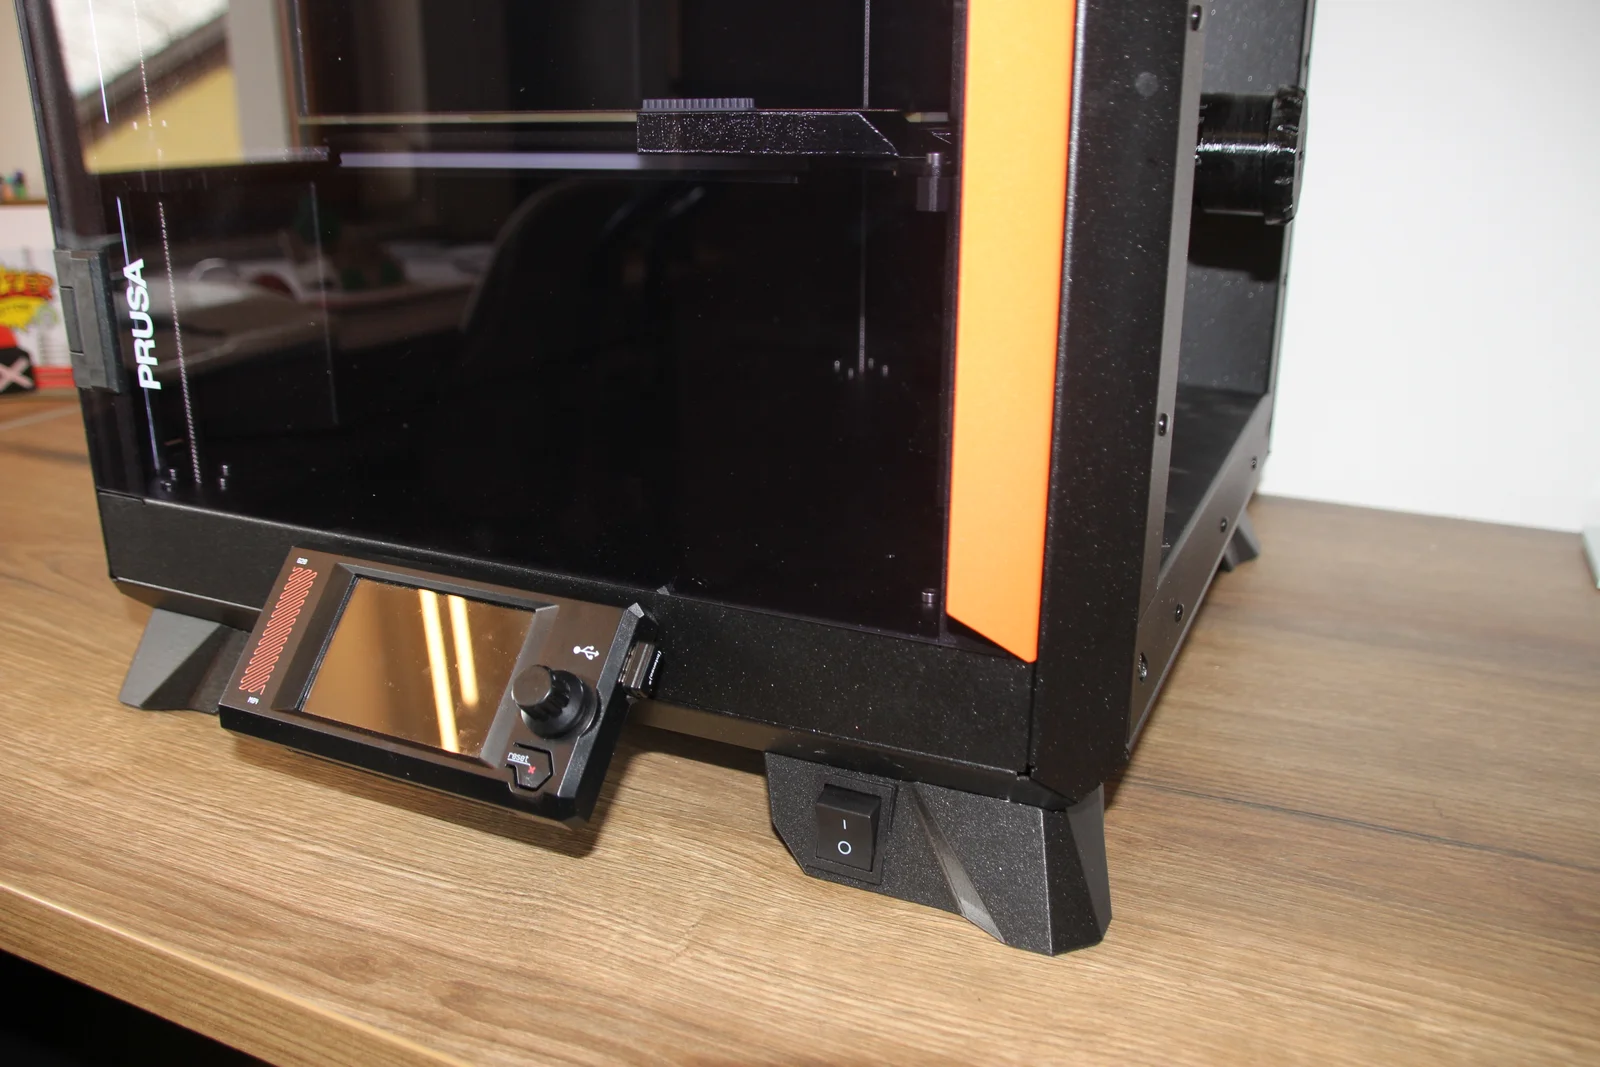
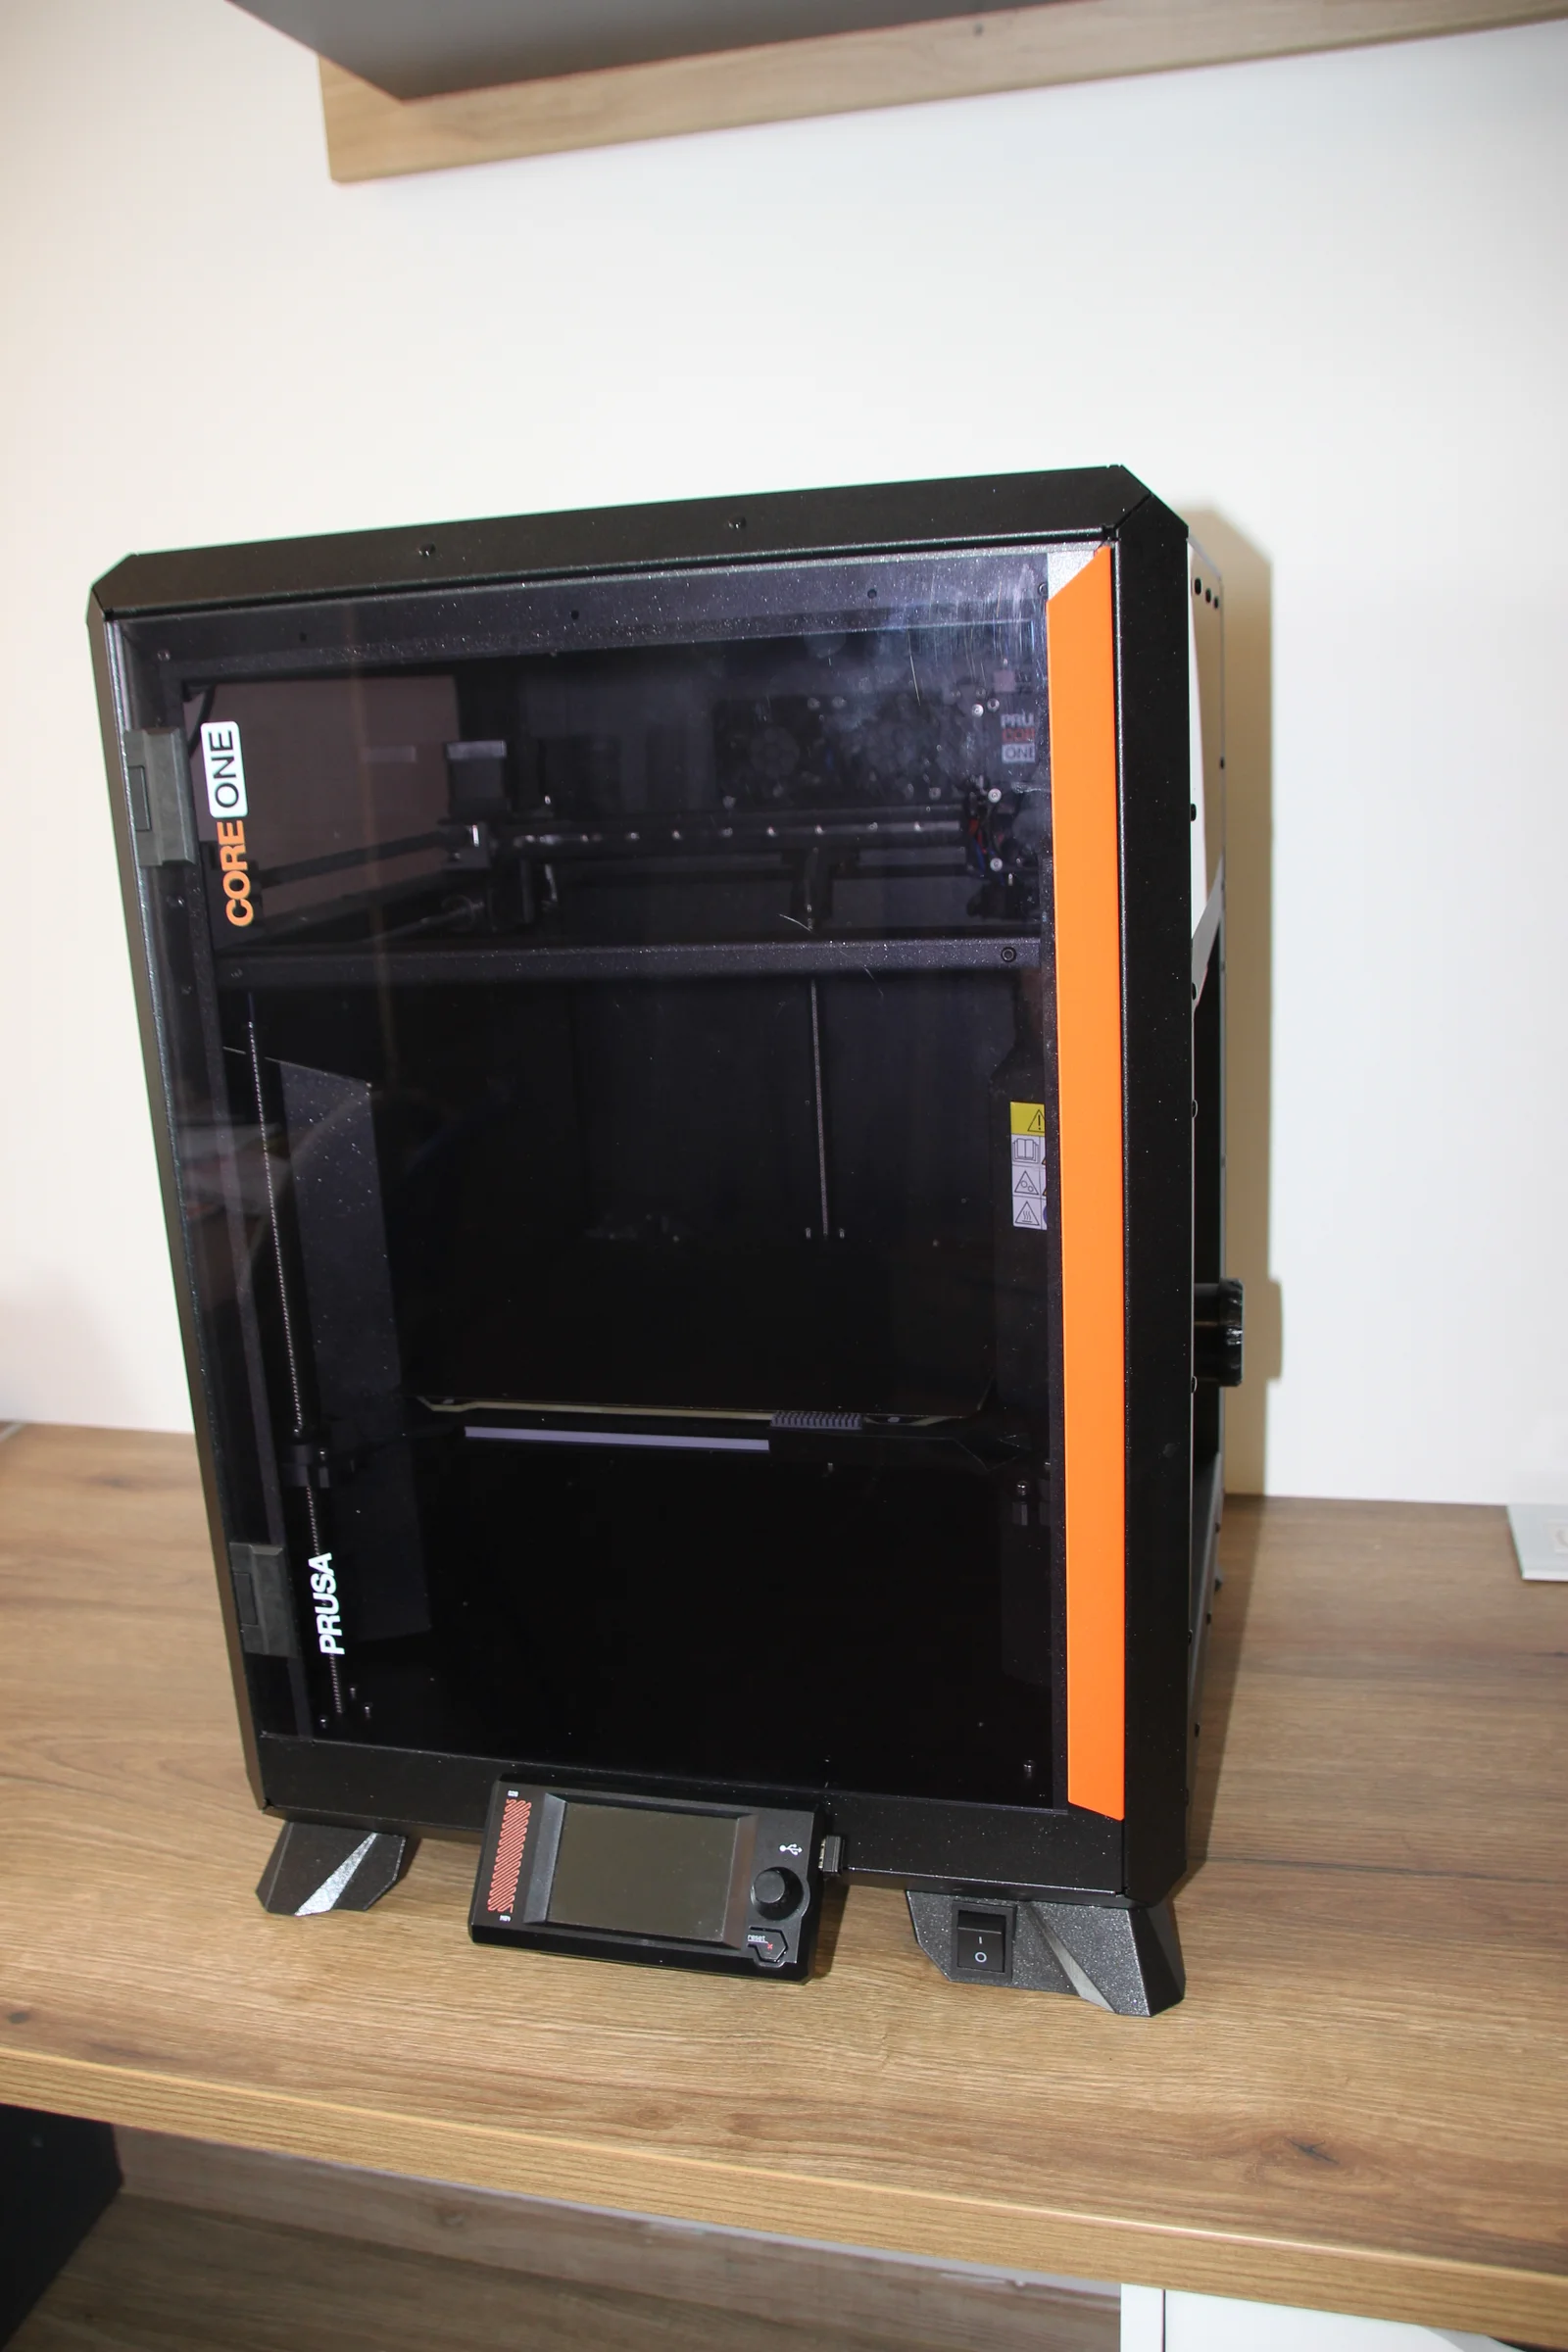
Practical stands for the CoreOne.
The stand without a switch can be mounted on any corner of the CoreOne.
The stand with a switch is available in two versions: left/right. For feet with a switch, an additional M3x10-20 screw with nut is required.
For mounting, simply replace the screw from the housing with a longer M3 screw (M3x10-15) and screw it in directly.
I also added a thin piece of double-sided adhesive tape.
Screw the stands onto the printer before pressing in the balls. (The screw will be concealed.)
The squash balls fit very firmly into the designated shape, but this ensures they stay in place very well and don't fall out when carrying or moving the printer. However, a slight twisting motion at the beginning can help dislodge them.
I opted for two yellow dot balls, but one yellow dot ball should also work.
The connection of the power switch must be carried out by an electrician or specialist with appropriate training. Incorrect handling can lead to injuries or damage the printer.
I use a standard switch with a size of 31x25.5.
A cable attachment is also included in the data.
https://www.amazon.de/dp/B0DHBTCG1H?ref=ppx_yo2ov_dt_b_fed_asin_title&th=1
Byprusa-researchLikes0Downloads2.7K

 ByashurexmLikes0Downloads121

 Bytinx_1344834Likes1.2KDownloads6K

 ByBretDorssers_4183352Likes19Downloads55

 BykingnothingLikes0Downloads183

 Byp3rr1ff3ryLikes0Downloads151

 Bydominik-chuchlikLikes0Downloads123

 Byoe123_1307374Likes7Downloads70

 BydjcodyLikes1Downloads11

 ByAlperayKaram_4623184Likes17Downloads41

 Bydet-manLikes0Downloads173

 Bygummiegecko8477Likes0Downloads163