



Kẹp giữ sợi Filament
 Bytinx_1344834Likes1.2KDownloads6K
Build another version of this model.
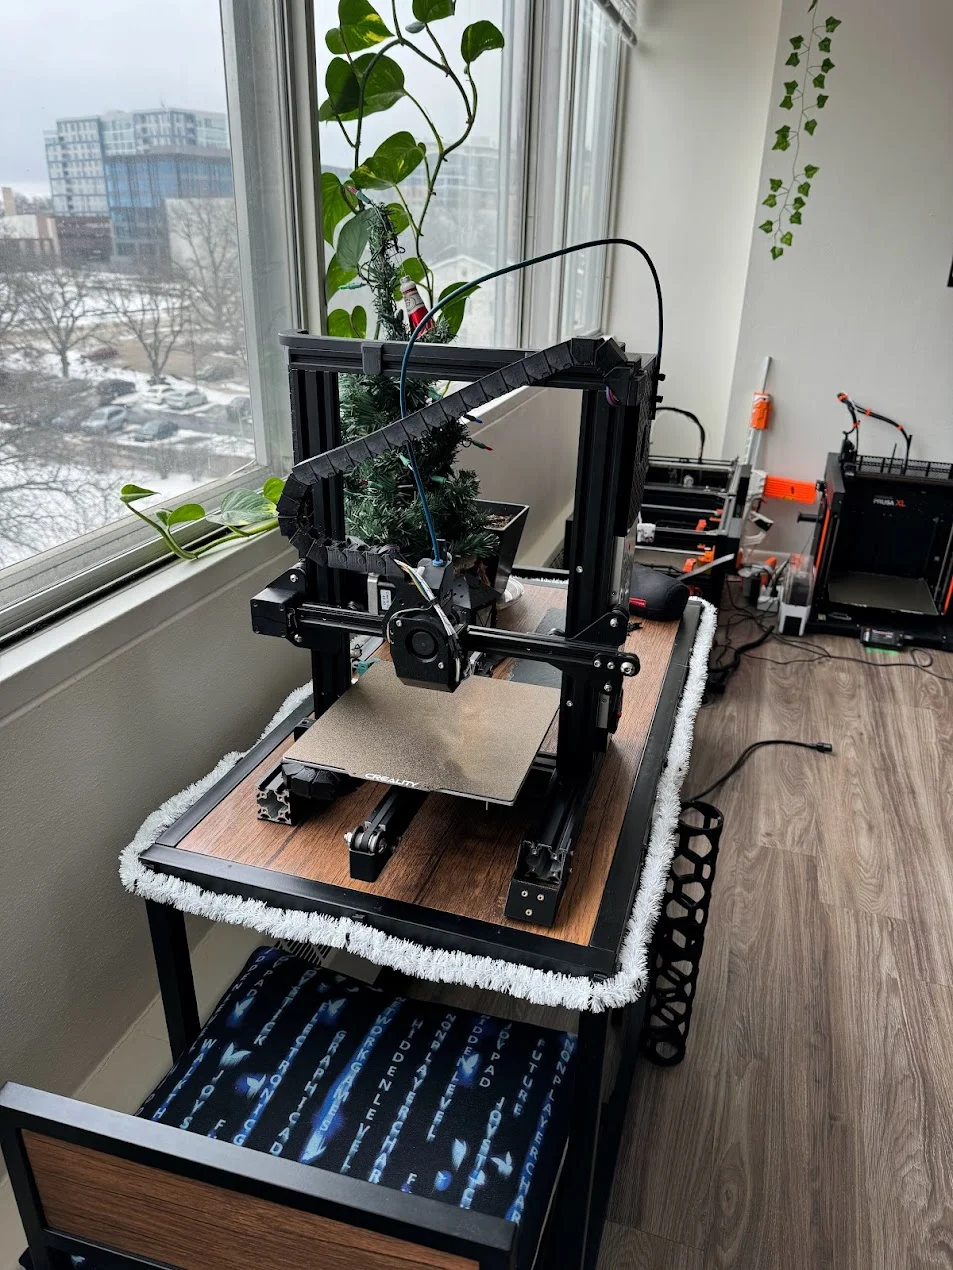
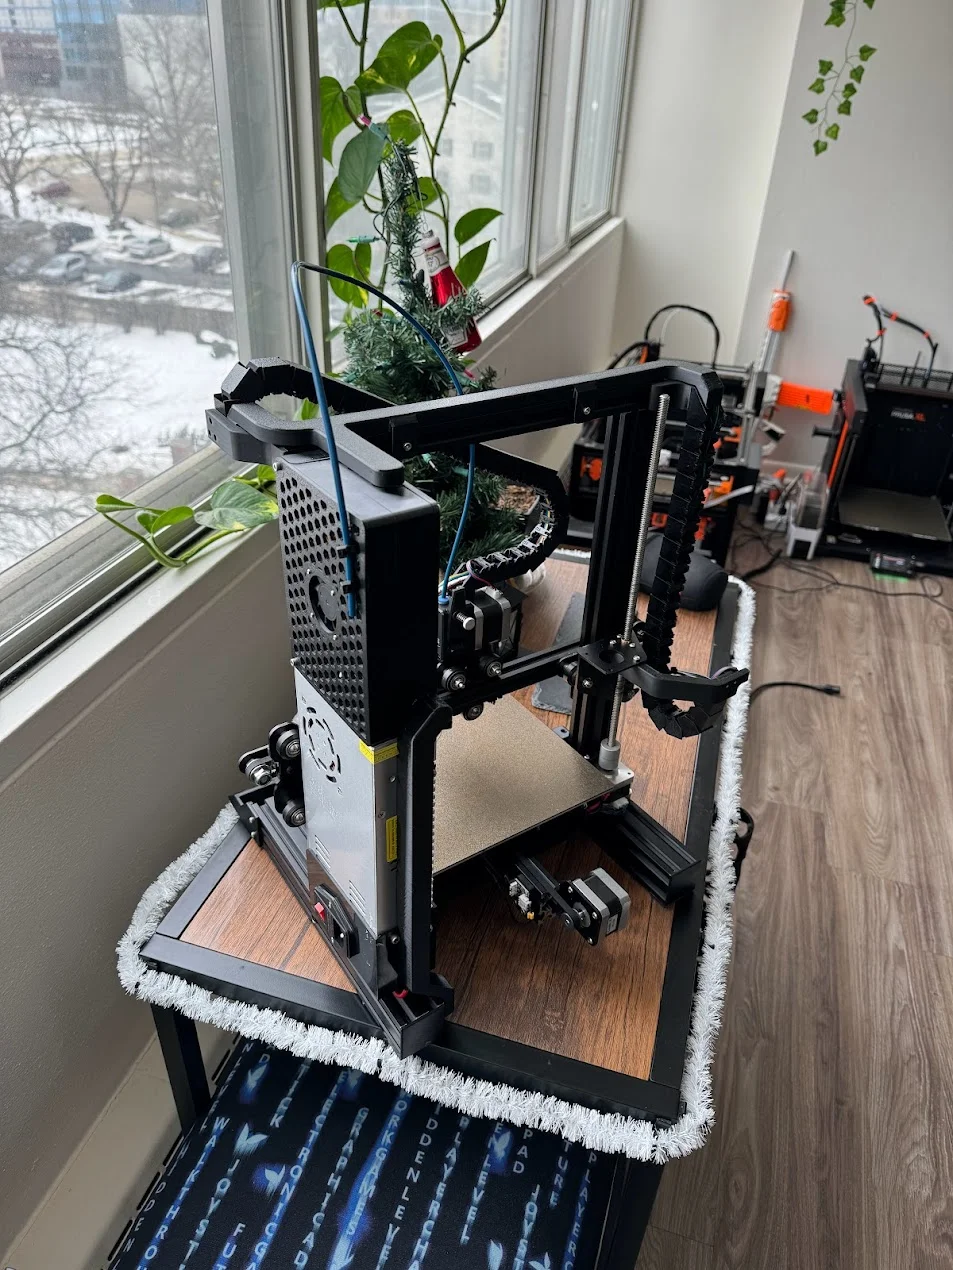
This project flips the meta of the Ender 3 on its head, resulting in a reliable, fast, and accurate machine.
Here are some of the changes:
For the bare minimum printhead you will need:
For the bed you will need:
For the Cable chains and board enclosure and filament switch you will need:
For the filament detector you will need:
If you have issues with the fan shroud melting, you can print it in ABS.
Wiring and firmware setup guide: Fly Pro V3 - Fly E3 Ultra
When you are ready to install firmware, read the official setup guide to understand how it works, and then use my preconfigured files down below. Drag all files to the SD card. Upon first run the printer will load the firmware (30 seconds) and then run the runonce.g to set up WIFI (edit beforehand).
Download my slicer presets below.
Bytinx_1344834Likes1.2KDownloads6K

 Byprusa-researchLikes0Downloads2.7K

 Bydet-manLikes0Downloads177

 Bygummiegecko8477Likes0Downloads168

 Bychukwufumnanya-arinzechukwuLikes0Downloads154

 BydalleLikes0Downloads152

 ByBrokentooth_designsLikes17Downloads159

 BynasikLikes0Downloads123

 Byarhi_585078Likes64Downloads547

 Bygafyx3dLikes0Downloads125

 ByHanzo3dLikes155Downloads417

 BydarienLikes0Downloads1K