



Còi Tàu Hơi Nước Mini
 ByfifindrLikes500Downloads4K
Build another version of this model.
Material: PETG, PETG V0, alternatively PC Blend depending on application
3D Printer: Any FDM 3D printer, 0.4mm nozzle
Slicer settings: no custom settings required, no supports.
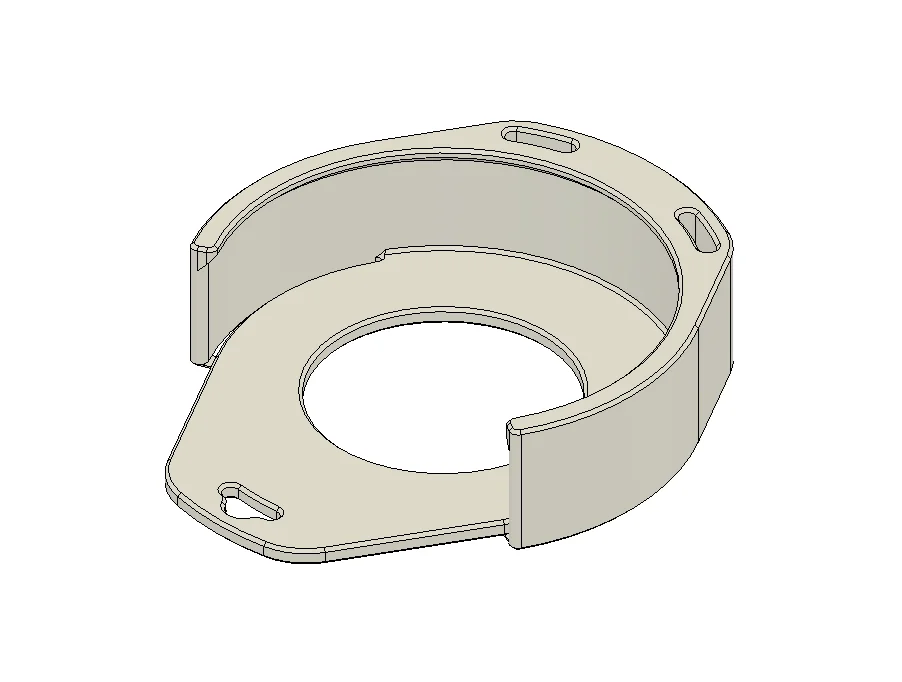
Post processing instructions: Use the knife to carefully remove the temporary attachments of the side clips. See picture below - red lines show the cuts.
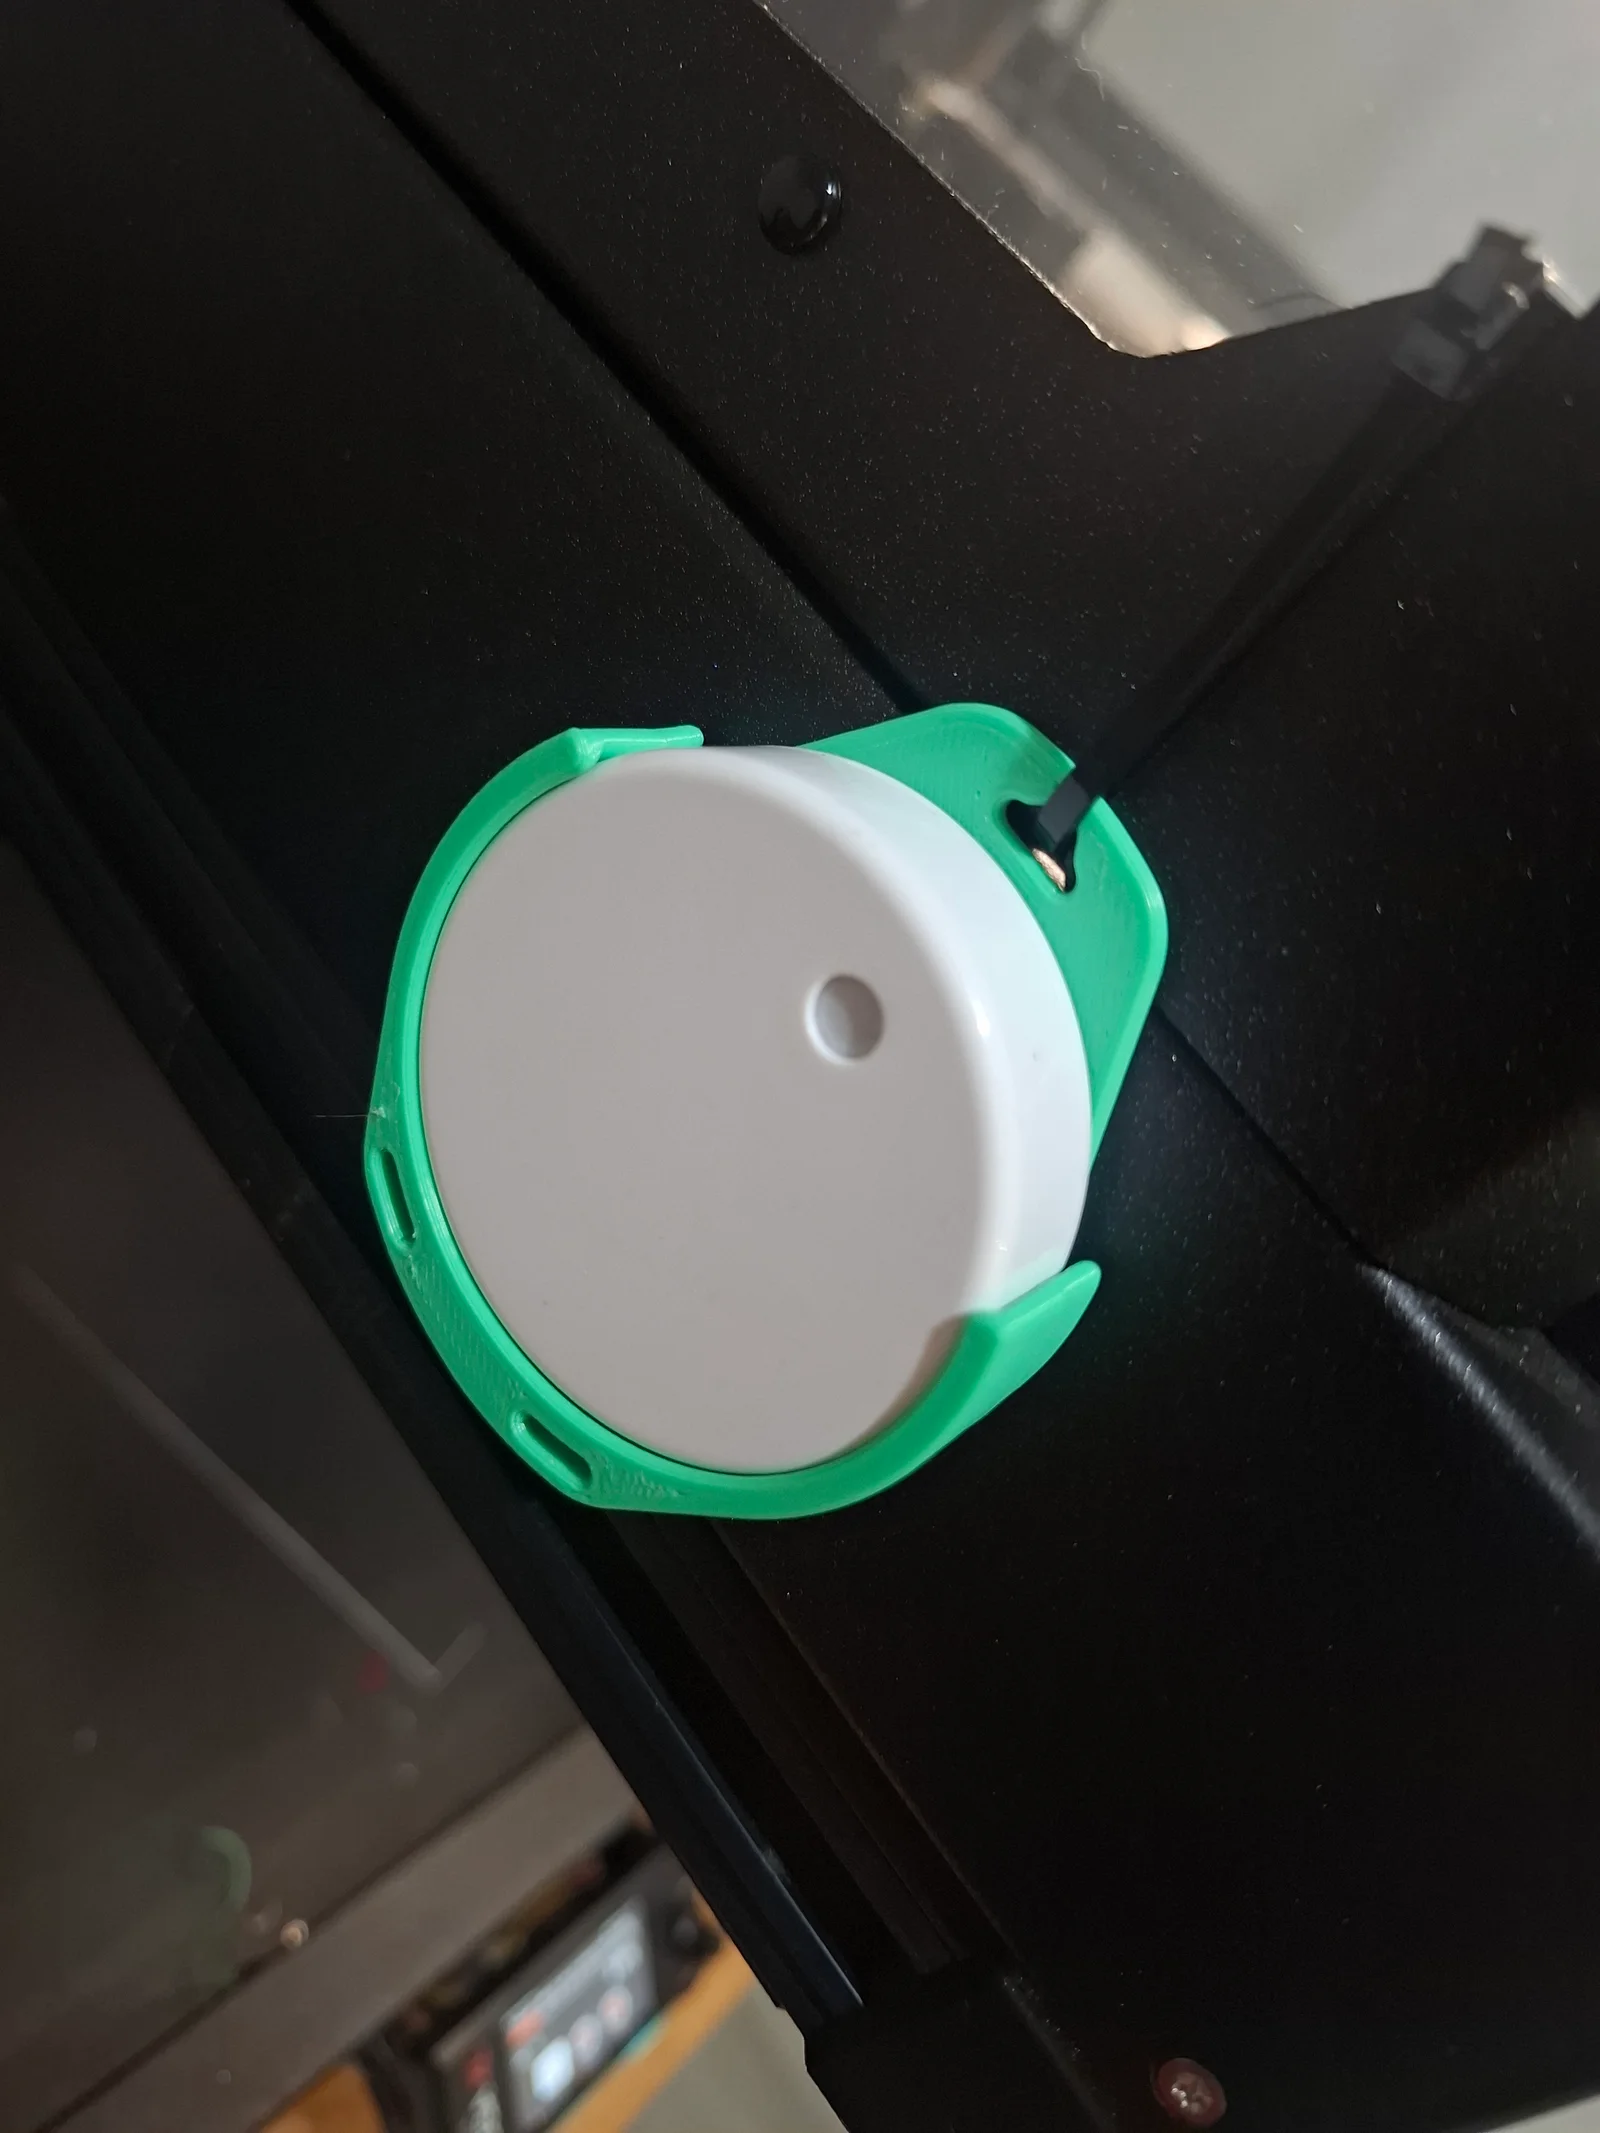
Use zip ties to attach the holder to the wall, equipment or other surface.
Insert the RuuviTag.
Visual inspection:
Ensure that the surface is smooth.
The bottom part should be flat without warping or distortion.
Tolerance inspection:
ByfifindrLikes500Downloads4K

 ByVC_DesignLikes679Downloads3.6K

 ByDan Schwartz SchwartzLikes744Downloads3.4K

 Bychubbs8697_2027893Likes585Downloads1.7K

 Byquibeck_3353173Likes965Downloads1.9K

 Byvc-designLikes0Downloads3.2K

 ByUpcrid3D_1585693Likes808Downloads2.1K

 ByRungeKuttaLikes229Downloads1.2K

 BySeppoTakaloLikes960Downloads1.9K

 ByEadubsLikes228Downloads1.3K

 ByTater_364200Likes486Downloads1.6K

 ByWolf_115355Likes513Downloads8.4K