

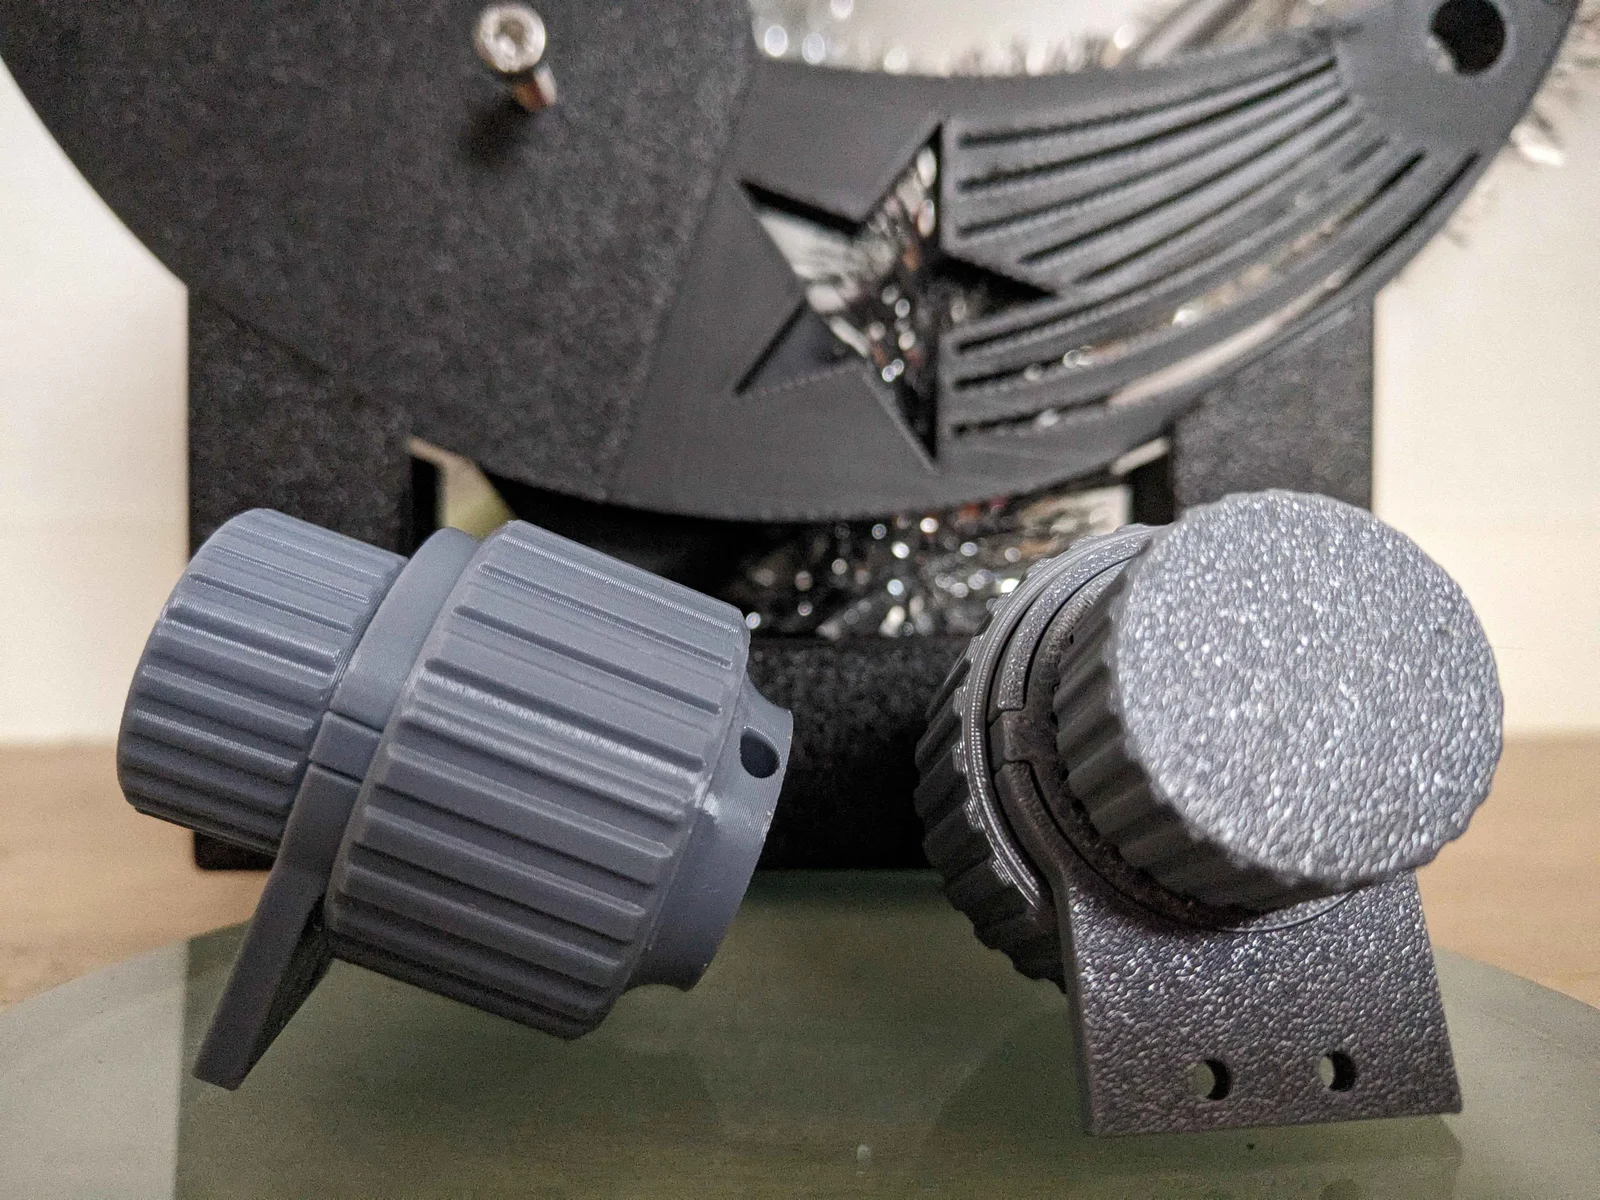


Bộ lấy nét xoắn không xoay (non-rotating helical focuser) dùng collet cho kính Hadley
 Bystrifu_4061046Likes151Downloads1.3K
Remix of Bộ giảm tốc Crayford Focuser 1:10 By EleusisT_937551
Build another version of this model.
2) Integrated needle mod and V1 small button alternative
- Integrated needle mod within original file. You can still like and download here or from remixes list.
- Added alternative small button + insert inspired from V1 as it is more optimal for slicing this way
- Added array of links within description for adaptation of differents focuser or commercial scope. Will update with new ones anyone will make !
1) Release
This is an upgrade from the V1 !
Pros :
- Easier assembly !
- Less pieces
- Better alignment
- A little shorter
- Glue is now optional !
Cons :
- Planetary is still a critical piece and can alter the whole assembly if not correctly handled
ST80 refractor
Bresser Hexafoc Focuser 2.5
Celestron SCT
Skywatcher classic
Hadley (Hypatia focuser)
The exact reduction is around 1:10.24
This is not a "print-and-go" solution, you will need to create your own plate to fix the reducer or use one from the available list. If you design one, please make a remix from the reducer and i will add it to the list, thank you.
WARNING : The Planetary Gear are CRITICAL pieces of this assembly. Their printing MUST be ALMOST perfect to avoid any problems or hard spots. Check your slicing up-close for any bridges between parts and feel free to test your prints BEFORE assembly.
You must have almost NO resistance when you turn the planetary gear reducers slowly individually.
When you will print the planetary gear, due to their very small size, the holes will possibly not be very clean. You need to clean them before using for assembly, else the efficiency will be terrible.
Try to make multiple prints and experiment with settings until you get perfect (or almost) planetary gears for assembly.
Parts to be printed :
2x Planetary gear
Reducers support fixation : this is the part that may require rework/customization for your upper telescope assembly.
Carrier + Nails heads locker
Insert (between planetary and carrier)
Main button + Nails heads locker
Small button
Materials needed for assembly :
2 x 4 nails ( 1.3mm thick & 20mm long & flat head)
Cutting plier (to adjust nails size)
Lithium grease
(Optional) Superglue / cyanoacrylate or similar
Credits
Special thanks to my two friends that helped me for this upgrade, both in design and tests.
This design was first to be used with this amazing 2" crayford focuser created by marcosatm here : 2in Crayford Focuser
Thanks for letting the step files available too !
But it can be retrofitted to any other crayford focuser if there's enough clearance. It may need a little customization.
License
This work is licensed under the Creative Commons Attribution-NonCommercial-ShareAlike 4.0 International License (CC BY-NC-SA 4.0). To view a copy of this license, visit http://creativecommons.org/licenses/by-nc-sa/4.0/
Bystrifu_4061046Likes151Downloads1.3K

 By_3883847Likes0Downloads1

 ByXypris_1659795Likes1Downloads2

 ByMarciLikes87Downloads292

 ByDMUX_214162Likes0Downloads8

 ByBoonby_1059917Likes659Downloads1.2K

 ByFabianVeileLikes414Downloads1.5K

 BygillisLikes121Downloads2.1K

 ByRaulFernande_1931397Likes0Downloads0

 ByLat0102_256421Likes35Downloads132

 ByIvanUrbanekLikes0Downloads3

 Byastrotad_2244491Likes2Downloads17