



Small Part Storage
 BymakerxLikes0Downloads361
Build another version of this model.
Rotating Wardrobe Bag Carousel | $\phi 25$mm Rod Organizer
Description
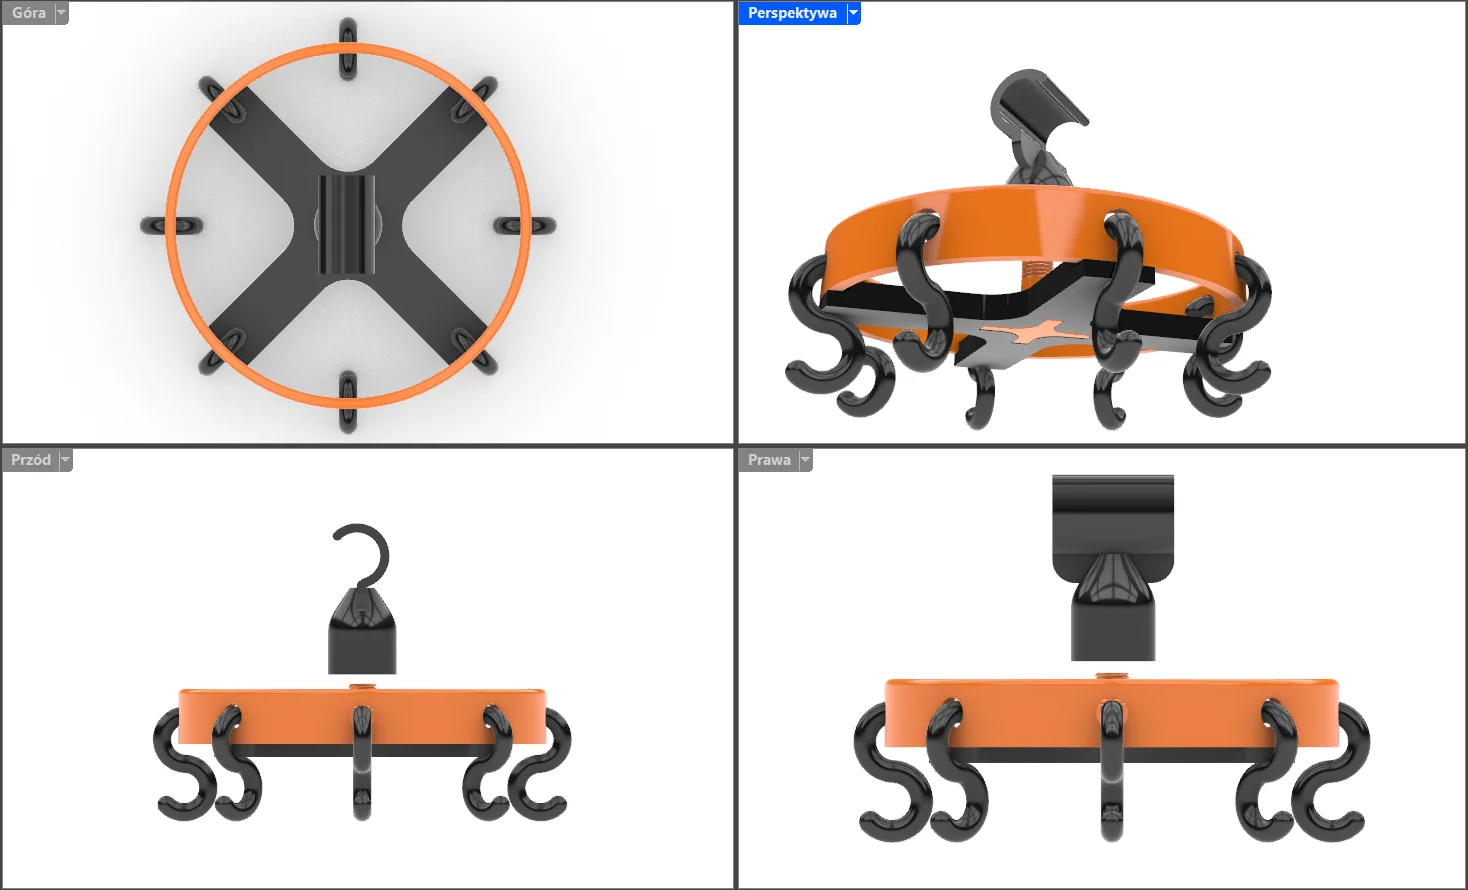
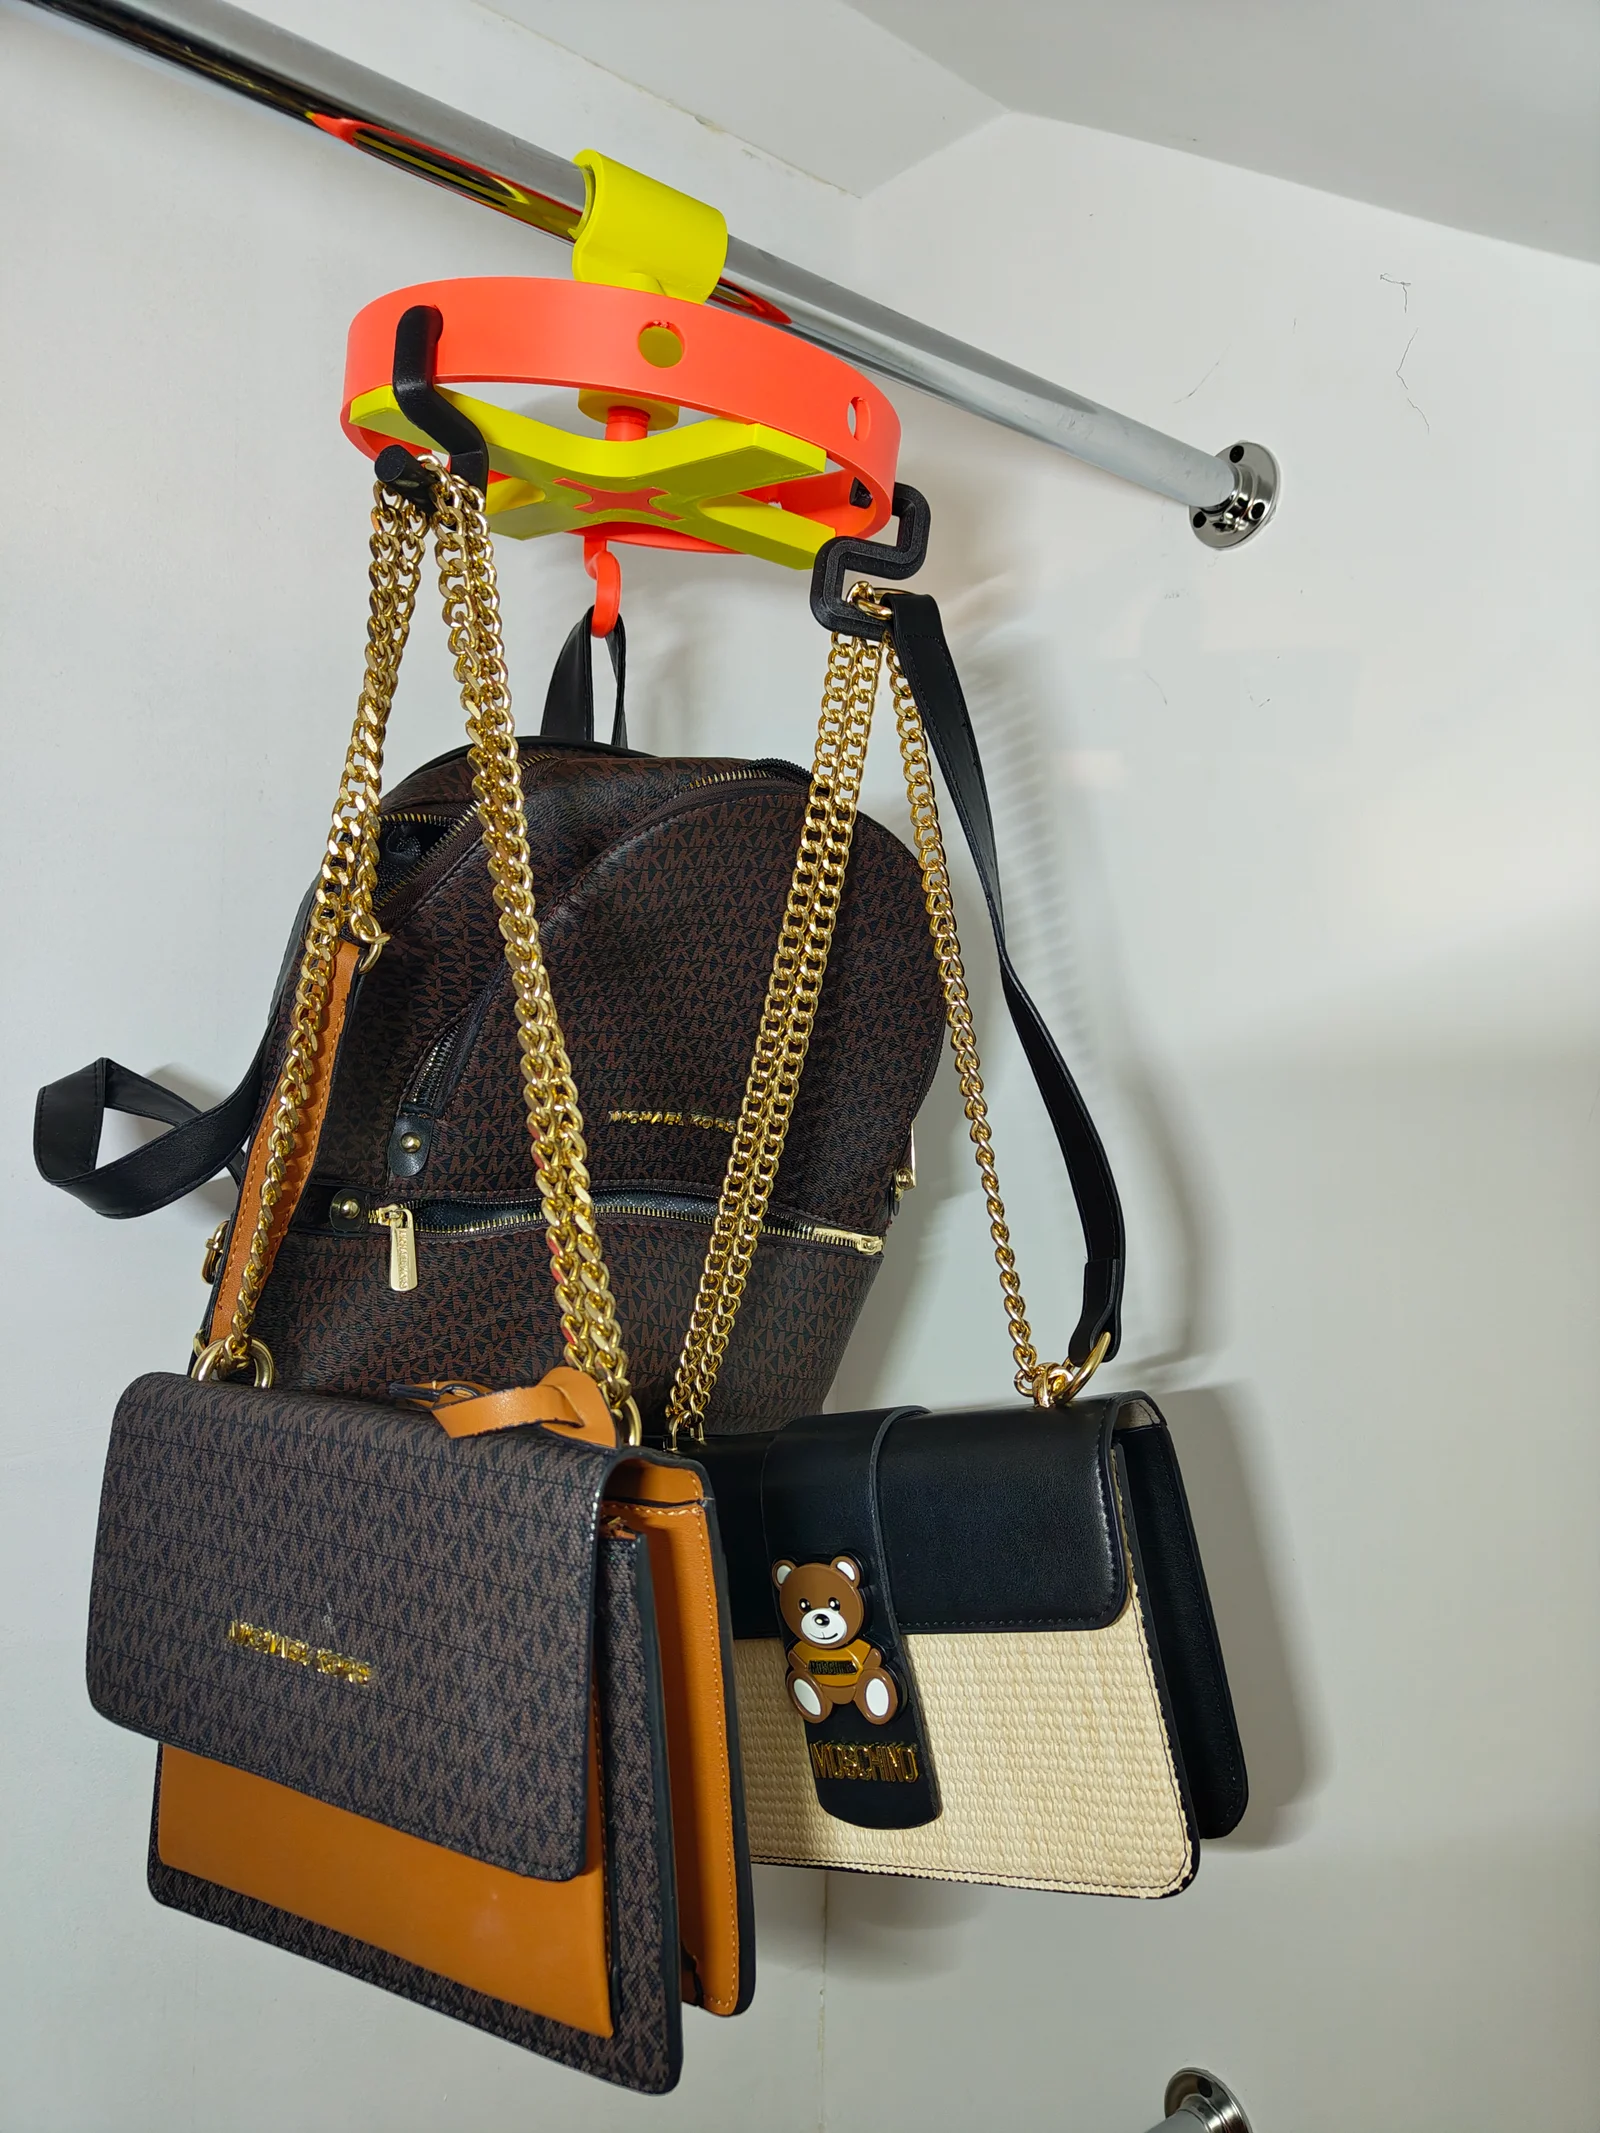
Tired of bags and backpacks cluttering your wardrobe floor? This Rotating Bag Carousel is a heavy-duty, modular solution designed specifically for standard 25mm ($\phi 25$) wardrobe rails.
The design features a unique threaded assembly system, meaning no glue is required. It allows for a full 360° rotation, giving you easy access to up to 8 bags or accessories while keeping them neatly organized and off the ground.
360° Smooth Rotation: Browse your collection with ease.
Screw-Threaded Design: Robust and secure assembly without tools or glue.
8 Hook Capacity: Optimized S-shape hooks to prevent handle deformation.
Perfect Fit: Snaps securely onto any standard 25mm pipe.
Professional Files: Includes STEP files for easy remixing and 3MF for quick slicing.
Print Settings
These settings have been tested using Prusament ASA to ensure maximum durability and a premium finish.
Filament: ASA (highly recommended for mechanical strength).
Layer Height: 0.2 mm.
Wall Loops / Perimeters: 4 (Crucial for the strength of the hooks and threads).
Infill: 15% (Grid or Gyroid recommended).
Supports: Required for the main rail hook. Tree supports are recommended (see my process photos for orientation).
Heat: Recommended enclosure for ASA to ensure perfect layer adhesion.
Assembly Instructions
Preparation: Print all parts (1x Main Hook, 1x Cross Stabilizer, 1x Outer Ring, 8x S-Hooks).
Ring Placement: Slide the Rotating Ring over the center shaft of the Main Hook.
The Thread: Screw the Cross Stabilizer into the bottom of the Main Hook. Tighten it by hand – the threads are designed for a snug fit.
Add Hooks: Click the 8 S-Hooks into the slots around the outer ring.
Installation: Snap the entire unit onto your $\phi 25$mm wardrobe rod.
Technical Files & Licensing
STEP Files: Included for those who wish to modify the rod diameter or hook shapes.
3MF Files: Pre-configured with my recommended print orientation and support blockers.
License: Creative Commons - Attribution - Share Alike. You are free to remix and share, but please credit the original design.
BymakerxLikes0Downloads361

 ByfifindrLikes141Downloads427

 ByTommy3DLab_2023125Likes636Downloads2.5K

 ByVinors3DLabLikes393Downloads1K

 Bymatus158Likes0Downloads116

 BybobmakesLikes2.5KDownloads17.5K

 Bylayer-forgeLikes0Downloads601

 By178222178222_2484344Likes449Downloads1.7K

 Bysektor-7-studiosLikes0Downloads458

 ByVaclav_ZahradkaLikes181Downloads1.2K

 ByowlartLikes527Downloads1.3K

 By3dprintables_4343369Likes250Downloads397