



Steam Machine Companion Cube / Vỏ đựng Weighted Storage Cube
 ByJaronLikes310Downloads1K
Build another version of this model.
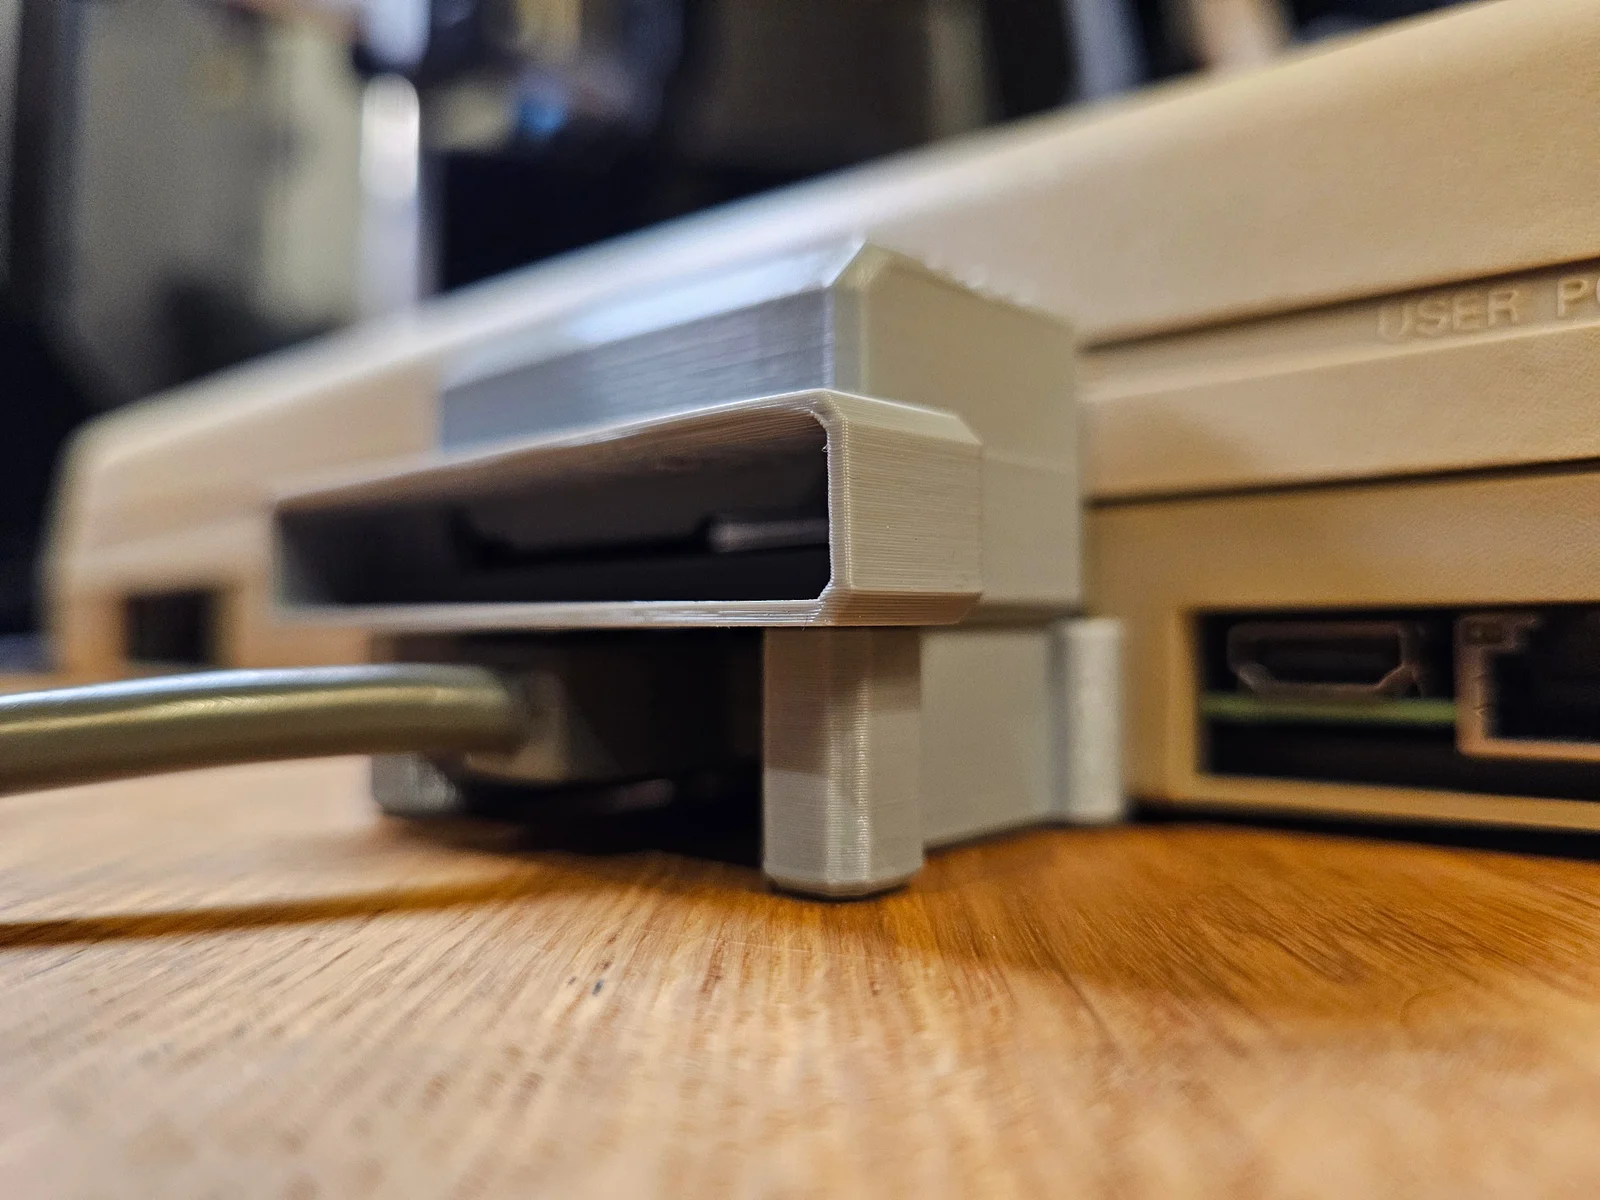
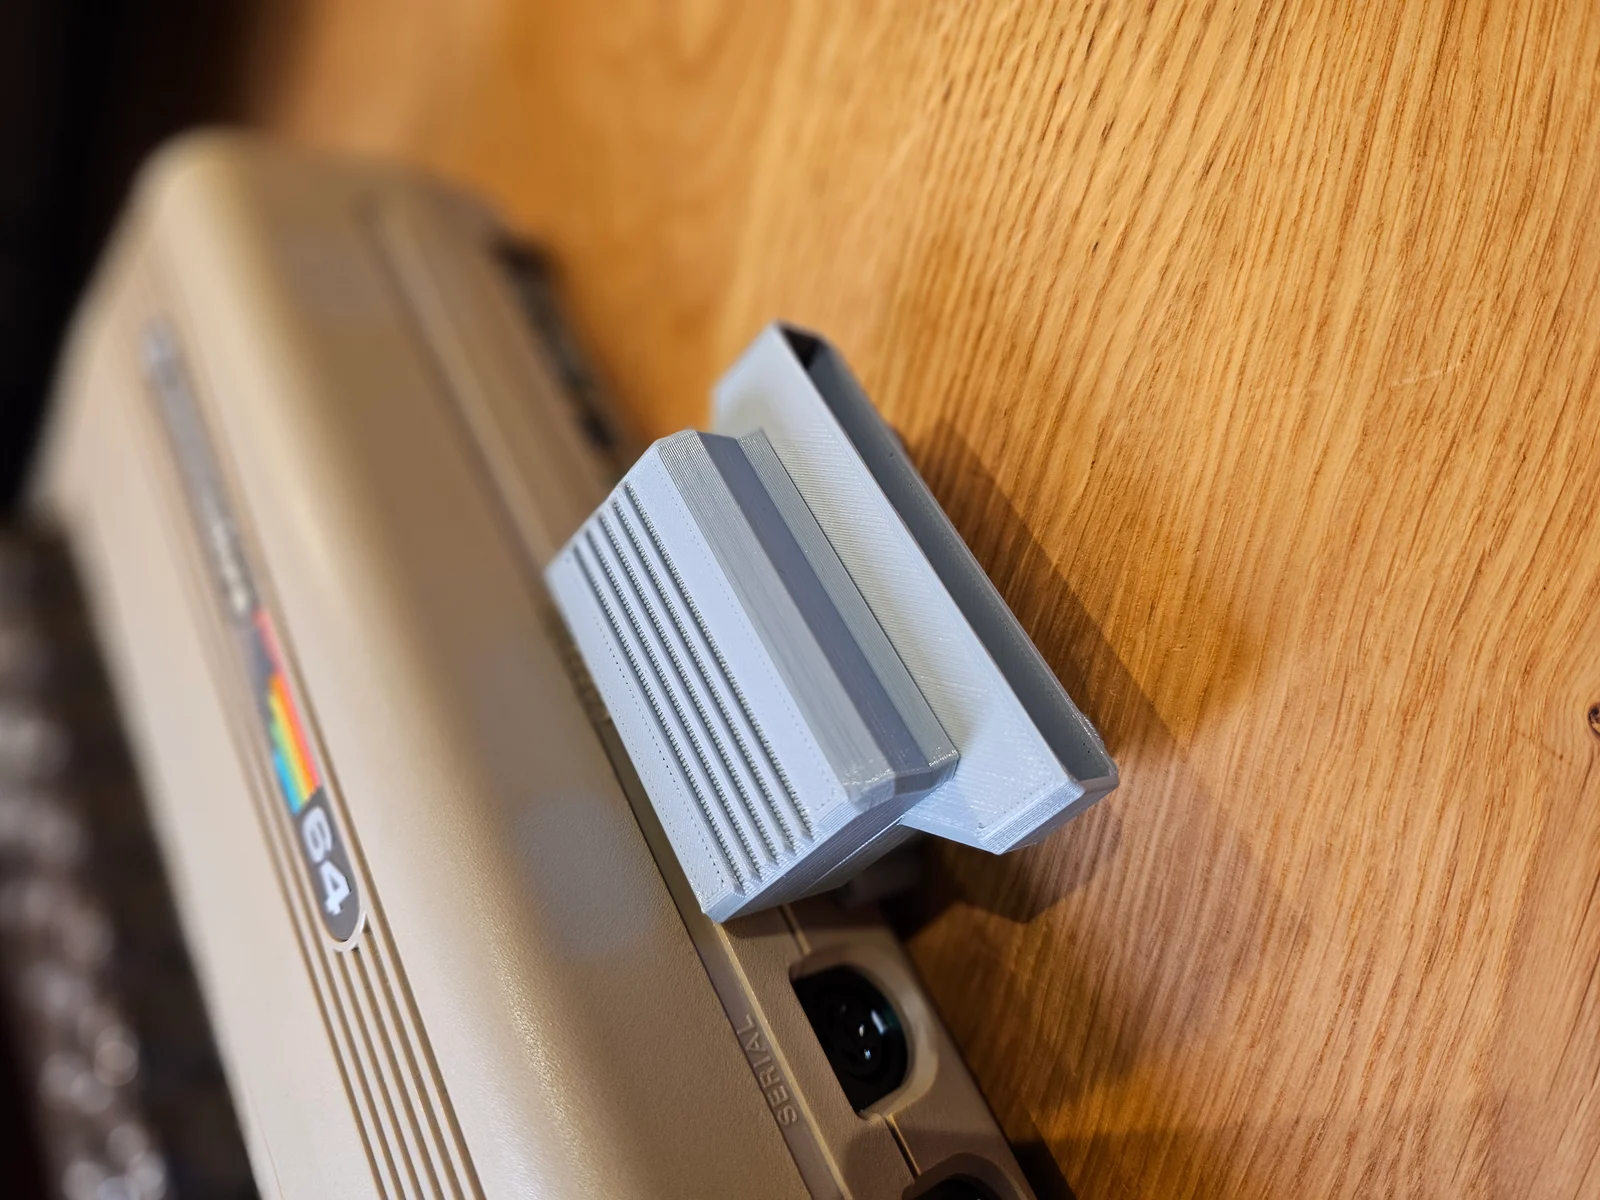
This is the 2026 update of my enclosure design for the Ultimate series (C6U/Ultimate Elite 2) User Port expansion. (Black or White PCB)
I also took the opportunity to redesign the mounting mechanism. The previous version could come loose when moving the case around. This new version is more robust and backwards compatible with the old lock piece, so if you prefer the original, you can still use that version.
If you never use your tape port, I recommend this model: https://www.printables.com/model/1553507-c64-ultimate-elite-2-tape-to-user-port-adapter-202
Once again, I would like to thank @FrankWL for helping me with testing and providing feedback on the tape port version, which also made it possible for me to update this model.
note: Since I don't own a C64U, I wasn't able to test this model on that system. However, its enclosure is nearly identical to the original, so it should fit. Please read the instructions below and let me know if you encounter any issues with the print.
Nozzle:
0.4 mm
Layer height:
0.2 mm
Perimeters:
3 for the base and cap, 2 for the lock piece parts
Infill:
15%
Support:
Only some support on the front of the User port base is needed to prevent sagging.
(I used ‘paint on support’ + organic support).
The Lock piece can be printed without support. It has support integrated which needs to be removed (see instructions down below)
Due to differences in height between the various C64 models (especially the C64U), it is possible that the assembly does not sit flush and may appear to be floating. In that case, you can use the additional feet and press them into the stands.
I have added two extra pieces with heights of 1 mm and 2 mm to compensate for these differences. If these values are not sufficient, you can also adjust the Z-height in your slicer. If you are a C64 Ultimate user then please let me know the exact height required so I can add it to the downloads.
Remove the tiny support piece with pliers or cable snips.
Test whether the left and right stand pieces slide on properly. They should slide on with a bit of resistance, though they may feel slightly stiff at first. Move them on and off a few times to break them in. Do this before you insert it into the machine or else you might end up breaking something because it's to tight.
Attach the legs to the baseplate
Guide the ribbon cable through the tape connector opening. Make sure the tab on the connector aligns with the opening on the user port connector, then insert the connector.
Insert User port Adapter board into the enclosure and press down. Make sure it sits flush with the bottom, then connect the flat cable to the board
Attach the top cover. Ensure it is aligned correctly on all sides before applying pressure to snap it into place.
Finally, pull everything toward the case. Press firmly on each leg. You should feel or hear a light click, and the legs should be securely fixed to the case.
ByJaronLikes310Downloads1K

 Byw3rN42Likes127Downloads935

 ByTomDDLikes89Downloads574

 ByJwidessLikes34Downloads375

 ByBroBuilds3D_4455044Likes32Downloads454

 ByckthLikes148Downloads2.4K

 Bynexgen-3d-printingLikes0Downloads394

 ByVikingptty_1943738Likes50Downloads234

 ByBrokentooth_designsLikes30Downloads225

 Byslava-kuzminLikes0Downloads283

 ByJKMCZLikes11Downloads177

 Byjodinskylab_3390035Likes144Downloads167