


Cây Gãi Lưng Hình Bàn Chân Dạng Mô-Đun (Modular Paw Back Scratcher)
 By178222178222_2484344Likes449Downloads1.7K
Build another version of this model.
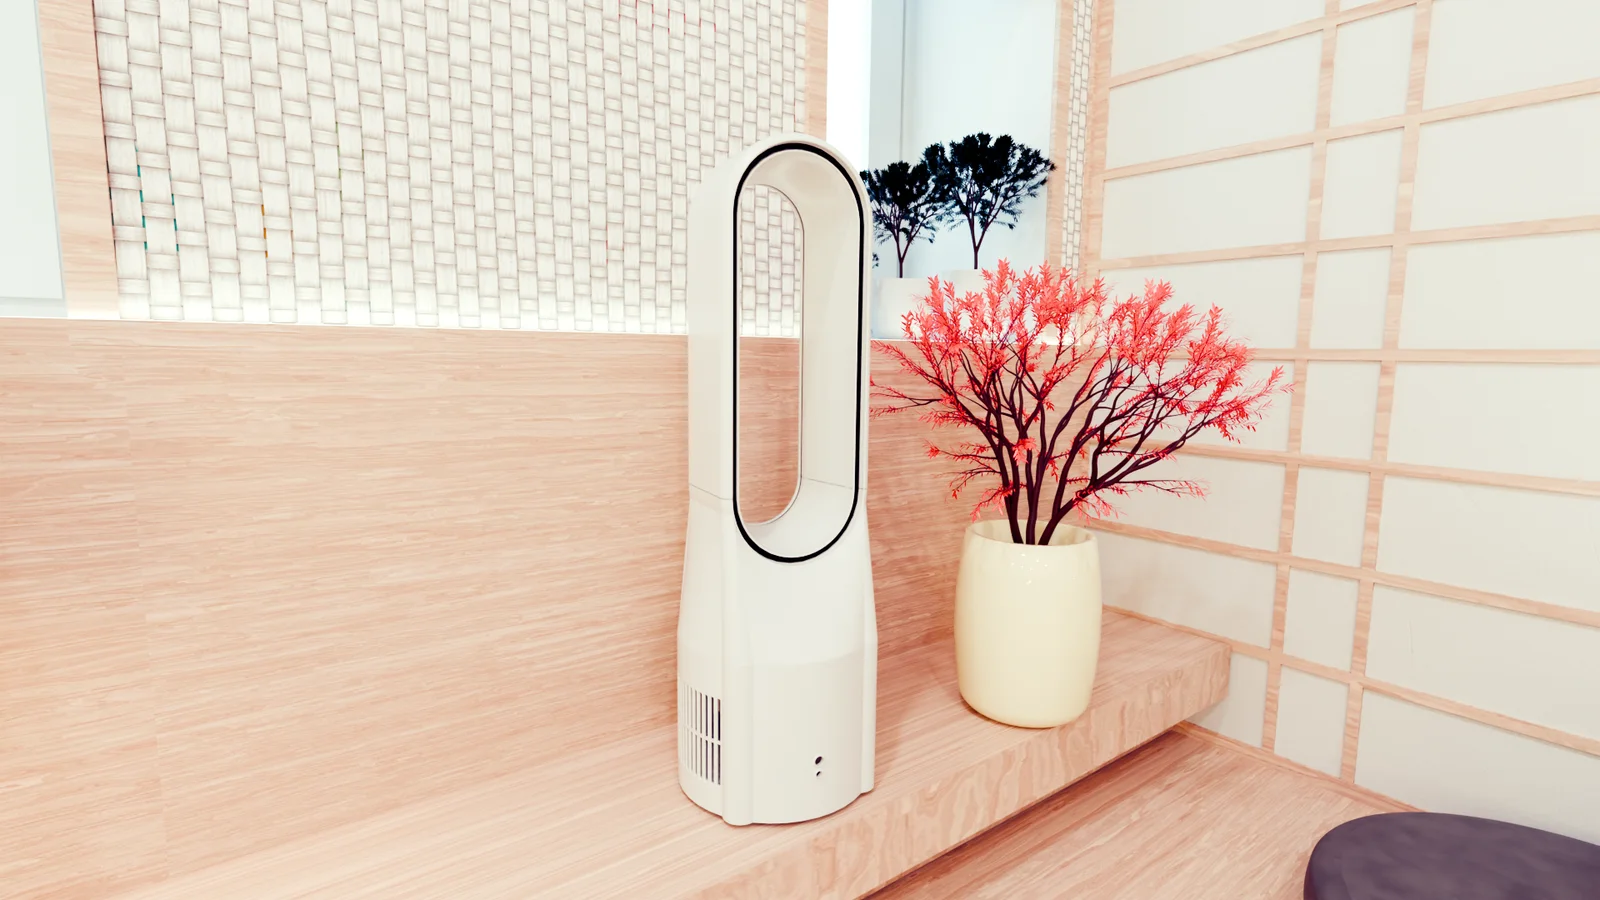
Bladeless fans are fantastic – but often pricey. I wanted to see if I could model and print the principle myself. How hard could it be?
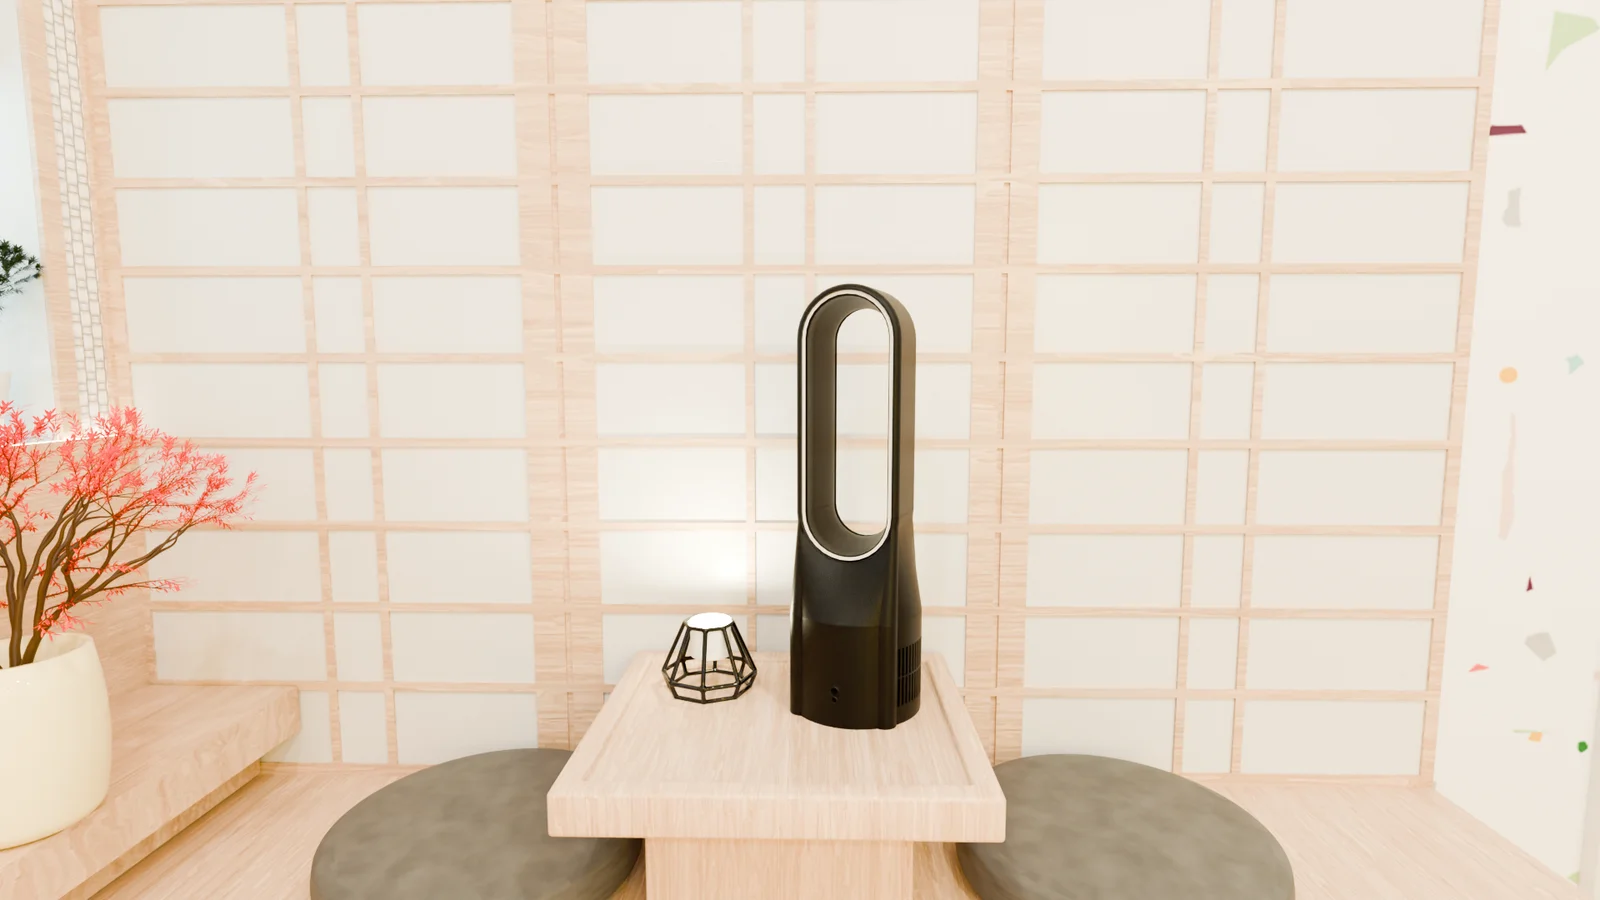
After diving into the theory and going through several iterations, the AirBender Mark 4 emerged: an elegant bladeless fan that's simple and affordable to make.
Working bladeless fan with real airflow effect.
Easy to print and assemble.
Minimal additional materials needed (fan, controller, and USB cable).
No magnets or screws required (which you never have on hand anyway).
Quiet operation.
Power control (variable speed adjustment).
Minimal power consumption (USB-powered, e.g., via power bank).
Can be opened anytime for adjustments or repairs.
Includes both a smooth and a textured (tree bark) version.
Dimensions: 17 cm x 17 cm x 55 cm (6.7" x 6.7" x 21.7").
Bladeless fans use various physical principles to create a pleasant airflow without visible blades:
Coandă Effect – The heart of the design. Air flows through a narrow slot and follows the curved surface. This directs and amplifies the airflow.
Induction (Entrainment) – The fast-moving airflow creates negative pressure that pulls in surrounding air from behind and the sides. This means significantly more air comes out the front than the motor alone could move.
Bernoulli Principle – Acceleration through the narrow slot creates a pressure drop that draws in additional air.
The airflow feels more consistent and gentle compared to traditional fans, where the blades create a noticeable "flutter" – yet they tend to cool better. They're also often quieter... and look better too.
Approximately 1 kg filament (PLA, PETG, etc.)
Approximately 25 g flex filament (TPU)
1x 120mm fan 5V (4-pin PWM) https://www.noctua.at/en/products/nf-a12x25-5v (includes required cables). Theoretically, any 120mm 5V fan with high static pressure and sufficient airflow can be used.
1x fan controller https://www.noctua.at/en/products/na-fc1 (includes required cables). Could theoretically be omitted, but you'd lose power control. The fan would then always run at 100%, which is quite audible. At 80%, the fan is barely noticeable without any significant airflow loss.
1x USB extension cable Type-A to Type-A. Optional but recommended, as the USB cable included with the fan is very short.
Glue
Cable ties and/or cable straps (min. 5x)
01_Fan_Bottom – Screw-on base cover that provides access from below.
02_Flex_Stand – Stand feet for secure stability.
03_Hull – Bottom shell, provides air intake and houses the internals.
04_Voltage_Knob – Cap that fits over the fan controller's "Mode" knob (the small one).
05_Power_Knob – Cap that fits over the fan controller's "Power" dial (the large one).
06_Tower_Base – Builds on 03_Hull, leads into the air tunnels.
06_Tower_Base_Textured – Same as 06_Tower_Base for the textured version.
07_Tower_Tunnel_Left – Left air tunnel.
07_Tower_Tunnel_Left_Textured – Left air tunnel for the textured version.
08_Tower_Tunnel_Right – Right air tunnel.
08_Tower_Tunnel_Right_Textured – Right air tunnel for the textured version.
09_Tower_Tunnel_Arc – Air tunnel arc that connects the two air tunnels.
10_Flex_Air_Seal – Gasket between the fan and 06_Tower_Base.
11_Flex_Fan_Holder – Anti-vibration mount for the fan and 06_Tower_Base.
12_Decoration – Decorative strip around the fan arc.
Fan_Complete_Demonstration_Not_To_Print – Complete fan for demonstration purposes, not suitable for printing.
Fan.3mf - Contains all models with pre-configured print settings (excl. flex models).
Fan_Textured.3mf - Contains all models with pre-configured print settings for the textured version (excl. flex models).
Fan_Flex_Parts.3mf - Contains all flex models with pre-configured print settings.
These settings have been tested and work reliably.
Models for PLA, PETG, etc.
0.4 mm nozzle
0.2 mm layer height
2 perimeters
15% infill
Brim recommended for: 06_Tower_Tunnel_Left / 06_Tower_Tunnel_Left_Textured and 07_Tower_Tunnel_Right / 07_Tower_Tunnel_Right_Textured
Supports required for: 06_Tower_Base / 06_Tower_Base_Textured
Models for Flex (TPU)
0.4 mm nozzle
0.2 mm layer height
2 perimeters
5% infill (higher infill makes the parts too stiff)
Complete settings can be found in the 3MF files.
Printing
For the smooth version, either print Fan.3mf and Fan_Flex_Parts.3mf or the following models:
- 1x 01_Fan_Bottom
- 1x 03_Hull
- 1x 04_Voltage_Knob
- 1x 05_Power_Knob
- 1x 06_Tower_Base
- 1x 07_Tower_Tunnel_Left
- 1x 08_Tower_Tunnel_Right
- 1x 09_Tower_Tunnel_Arc
- 1x 12_Decoration
- 1x 02_Flex_Stand
- 1x 10_Flex_Air_Seal
- 4x 11_Flex_Fan_Holder
For the textured version, either print Fan_Textured.3mf and Fan_Flex_Parts.3mf or print the same models as the smooth version, but replace three of them:
- 06_Tower_Base → 06_Tower_Base_Textured
- 07_Tower_Tunnel_Left → 07_Tower_Tunnel_Left_Textured
- 08_Tower_Tunnel_Right → 08_Tower_Tunnel_Right_Textured
Prepare cable ties
Insert the four cable ties into each designated slot in 06_Tower_Base.
ℹ The orientation of the cable ties is crucial.
ℹ Cable straps can be used instead of cable ties.
Insert fan holders
Insert the four 11_Flex_Fan_Holder into the holes on 06_Tower_Base, short side first.
ℹ This may require some gentle force – circular motions help.
Install fan gasket
Simply place it in position; the fan will press it down afterward.
Mount the fan
Now the fan can be mounted. Pull each of the four fan holders through the fan's screw holes until the cone is above the edge.
ℹ This may require some gentle force – circular motions help.
ℹ Orient the fan cable toward the front.
ℹ Position the fan tightly against the gasket.
Connect 06_Tower_Base and 03_Hull
Secure 06_Tower_Base and 03_Hull using the cable ties.
ℹ Check the alignment of the hull and tower base.
Attach power and mode caps
Slip the power and mode caps onto the controller knobs.
Connect cables and mount fan controller
Connect the fan cable to the controller and plug in the USB cable. Secure the controller to the inside of 03_Hull using a cable strap or cable tie.
ℹ Tighten carefully to avoid breaking the mounting tabs.
Install base and cover
Glue the stand into the recess and screw in the cover.
ℹ The cover fits quite snugly. If it doesn't turn smoothly, I've had good results with lubricant.
Glue air tunnels to tower base
Glue together 06_Tower_Base, 07_Tower_Tunnel_Left, 08_Tower_Tunnel_Right, and 09_Tower_Tunnel_Arc. The glue joints are shaped so they can simply be snapped together.
ℹ Some tape can provide additional support while the glue dries.
Attach decoration
Glue 12_Decoration into the holder.
ℹ If the decoration doesn't fit exactly (like in the foto), you can slightly adjust the scale of the part.
Done! 🎉
Enjoy your AirBender – if you have any questions or suggestions for improvement, feel free to write in the comments. Remixes are welcome!
By178222178222_2484344Likes449Downloads1.7K

 BymakerxLikes0Downloads353


 BybobmakesLikes2.5KDownloads17.5K

 Byquibeck_3353173Likes1.5KDownloads11.5K

 ByVaclav_ZahradkaLikes181Downloads1.2K

 ByowlartLikes527Downloads1.3K

 Bytjfenwick_306961Likes385Downloads1K

 ByAWSWLikes148Downloads581

 ByfifindrLikes216Downloads605

 Bym-collectableLikes0Downloads3.9K

 Byskloter_271869Likes147Downloads427