



Mô hình 3D dao Karambit CS:GO
 Bybonzai000Likes716Downloads16.8K
Build another version of this model.
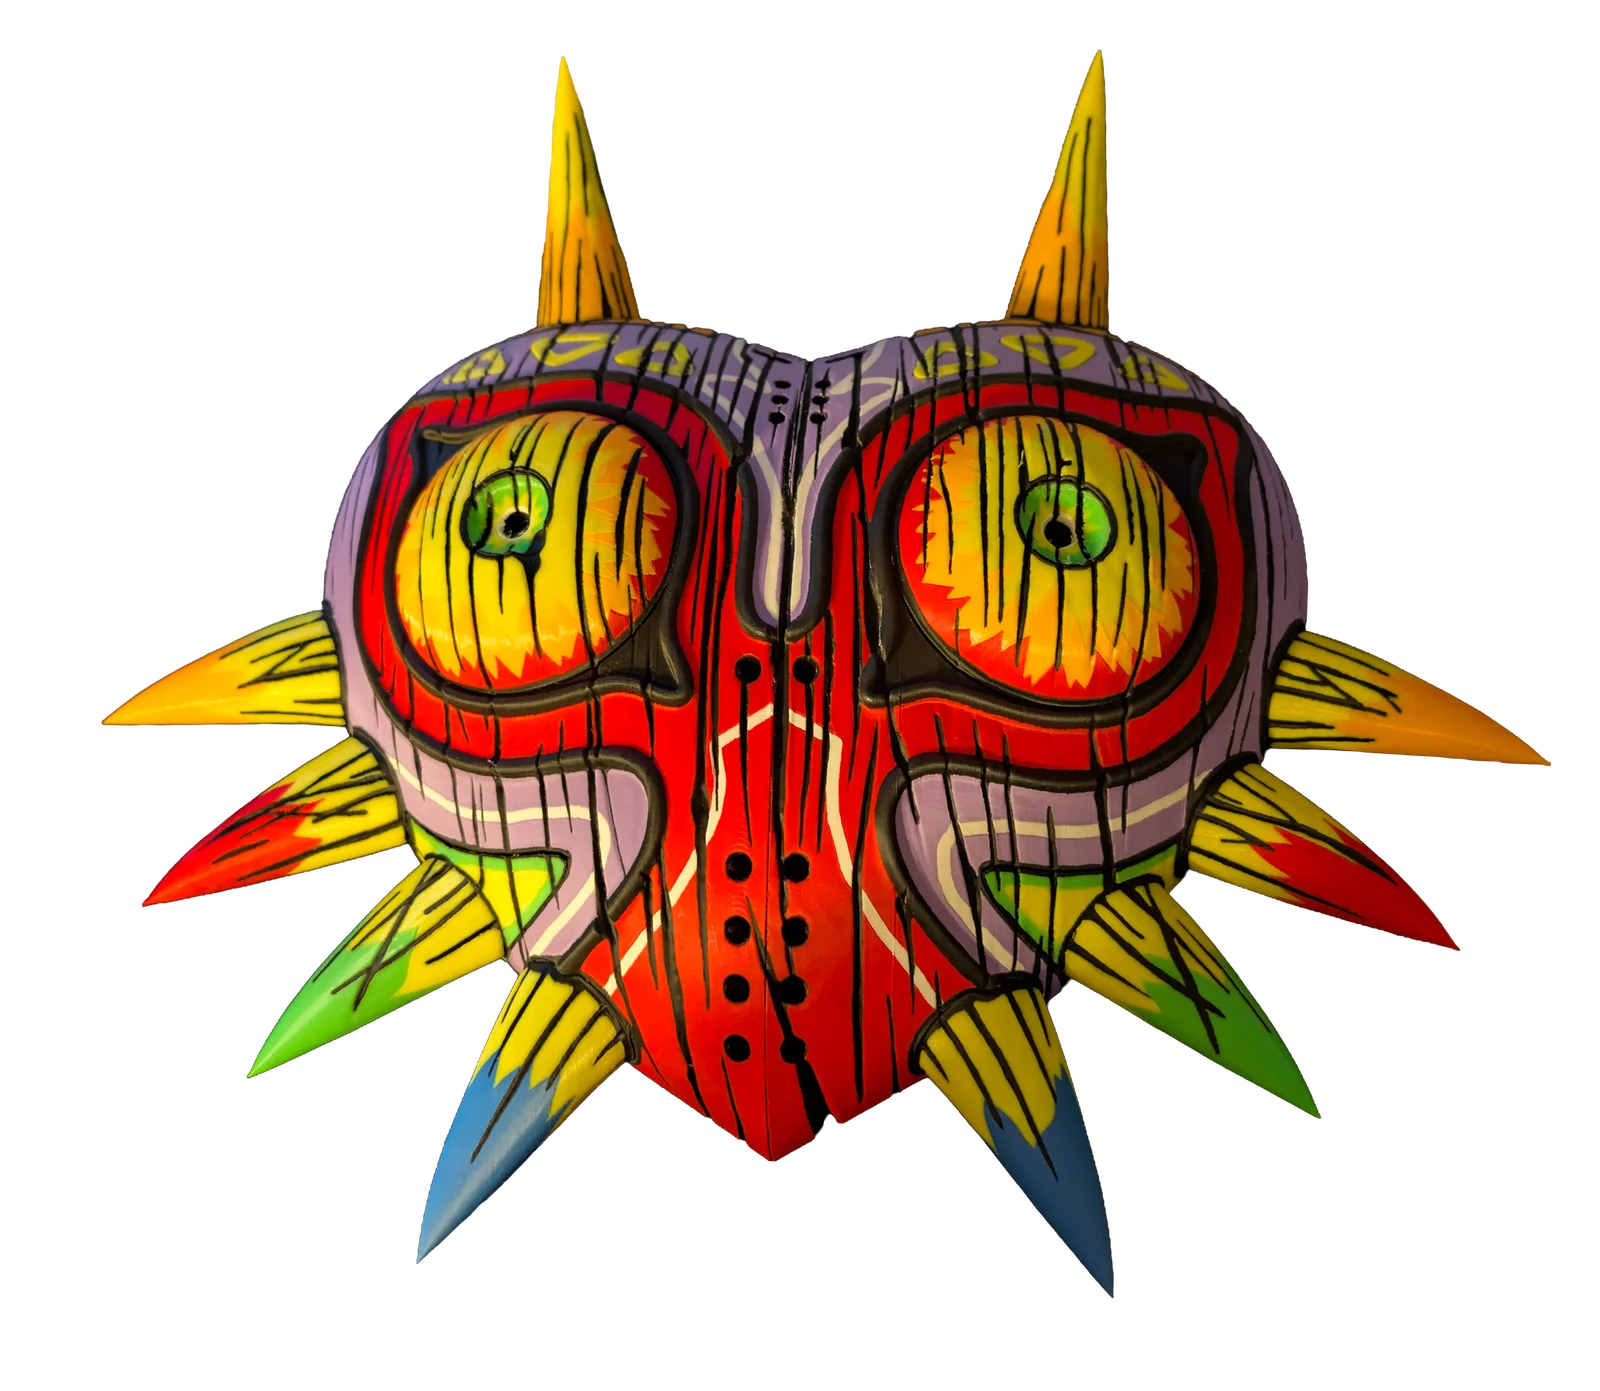
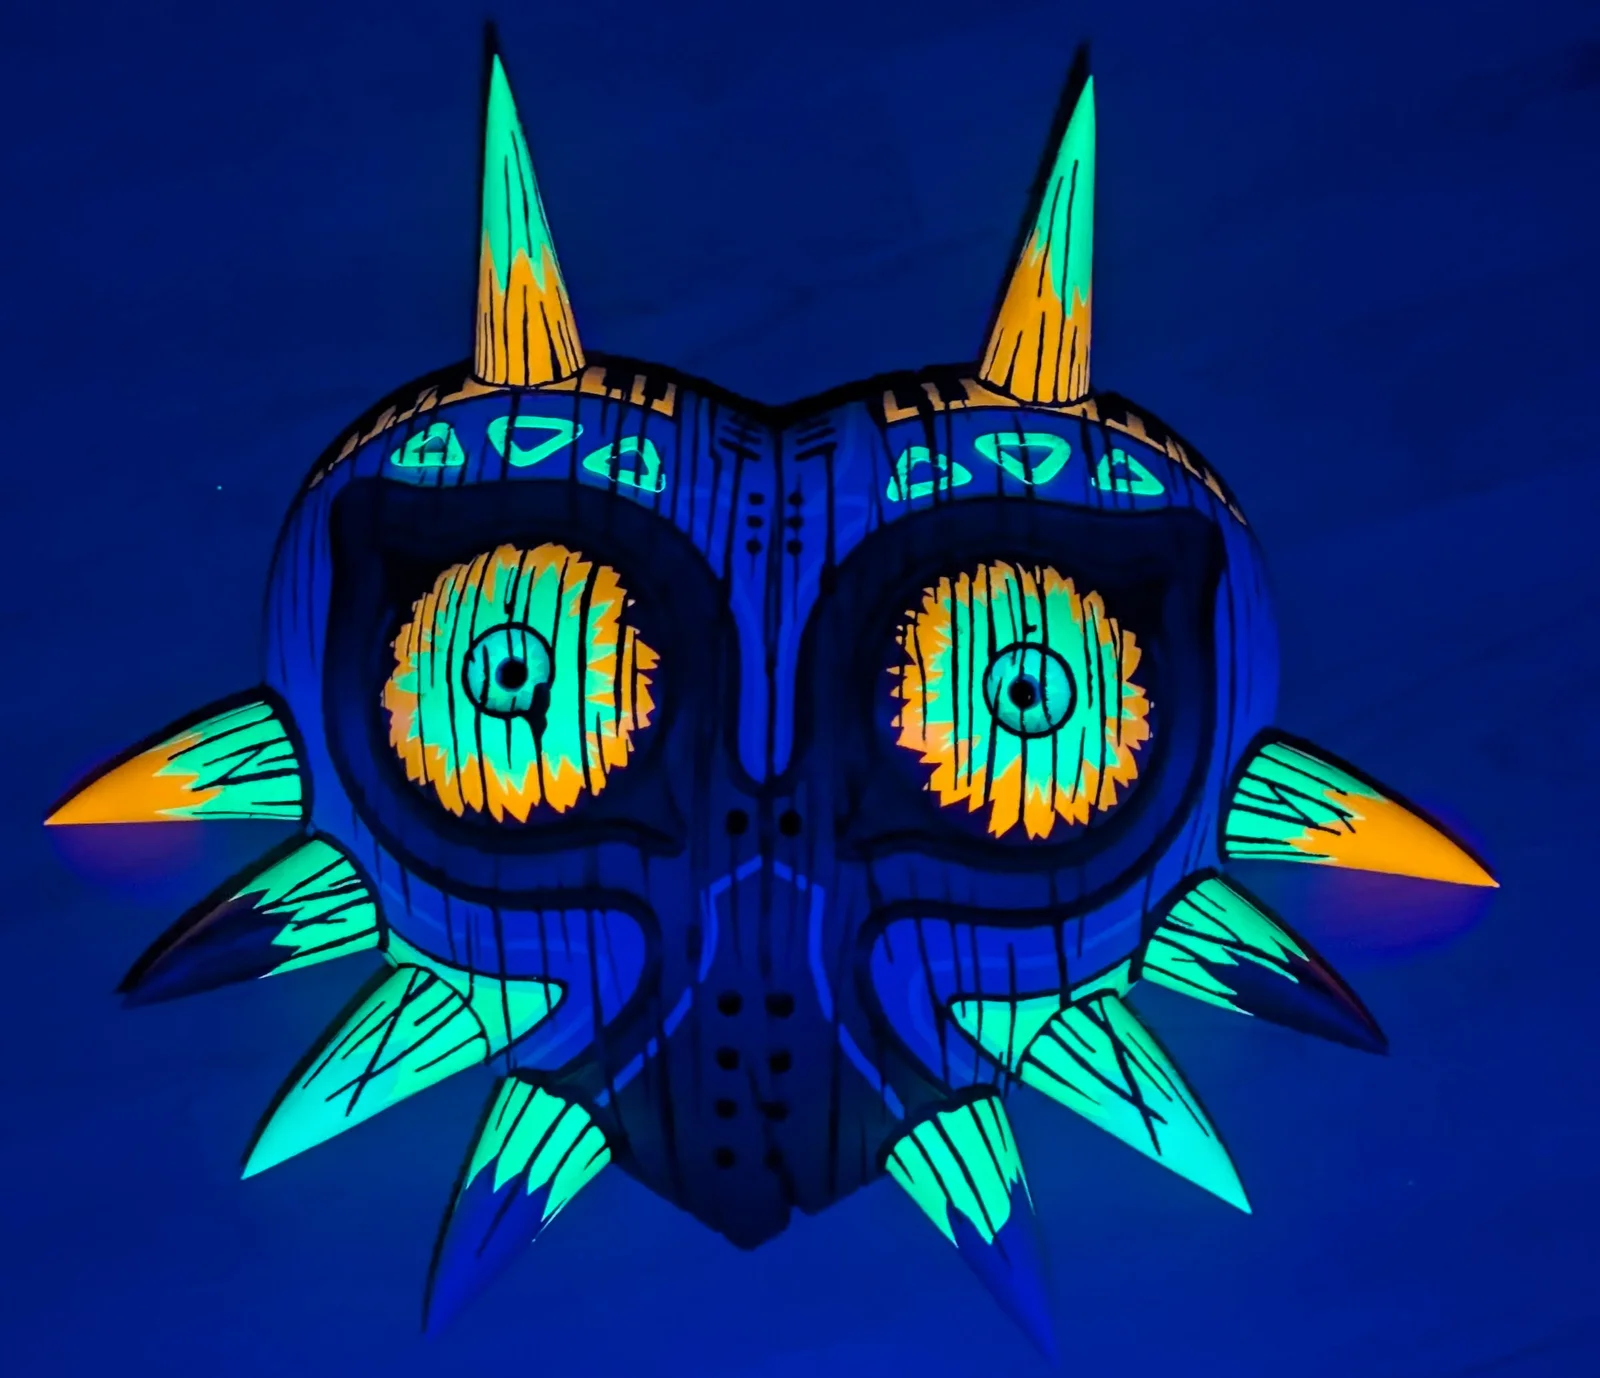
This is a Snapmaker U1 profile for a remix of Majora’s Mask, designed specifically for 4 color toolchanger printers like the Snapmaker U1.
The original remix placed multiple models on the same plates, which resulted in excessive filament swaps and longer print times. This version optimizes the layout by separating certain objects onto their own plates, reducing print time and unnecessary filament changes. I also encountered adhesion issues with some parts, so I adjusted the print orientation where needed to improve reliability.
Included are three preconfigured layer height presets, 0.20, 0.16, and 0.12, all ready to slice and print on the U1. Filament profiles for Panchroma Matte PLA and Neon PLA are also included. Simply swap the filament profile if you are using different materials.
The top horn colors were adjusted to more closely match the Majora’s Mask design and to eliminate the need for a ninth color. The original used a cream or light beige color, which has been removed.
All parts should be printable as provided without needing to reorient any pieces.
Plastic glue is required to join the two main mask halves and to attach the red and orange horn pieces. The blue and green horns press-fit securely without glue, as do the remaining parts such as the eyes.
Be very careful when assembling the eyes. Make sure the eyes and pupils are properly aligned. Once the pupils are inserted into the eyes, they cannot be removed. After the assembled eyes are installed in the mask, they also cannot be taken out.
The eyes are printed vertically to achieve higher surface quality without the need for ironing. I tested both orientations, and while vertical printing takes slightly longer, the visual quality is significantly better.
If you experience adhesion issues, wash the build plate with hot water and dish soap, then dry it thoroughly before retrying.
I ran into this issue as well. You can try printing those pieces vertically, like the original remix. I changed them to print flat because I had mid-print failures when printing those vertically. Other options include scaling the triangle pieces up by 1 percent or carefully trimming the existing parts with a deburring tool. They were extremely tight for me. Instead of reprinting, I lightly deburred the inside edges, placed a scrap piece of plastic over them, and gently tapped them in with a rubber mallet, being careful not to damage the surrounding parts.
A big thanks to WeeMadSausage, Sambi, 3DPrintDogs
Bybonzai000Likes716Downloads16.8K

 ByjaztermarealLikes127Downloads456

 ByFotisMintLikes340Downloads2.5K

 Bypokon_nurdspaceLikes429Downloads1.8K

 Bymagic-3d-printingLikes0Downloads452

 ByDC_8576Likes454Downloads1.8K

 Bycrawler-2134391Likes0Downloads242

 ByJohnnyCasino_1342658Likes3Downloads72

 ByLinkDesignsLikes312Downloads152

 Bypapyskull_3946746Likes152Downloads506

 Byjohnny-casinoLikes0Downloads194

 Byjorge-cano-gorrachateguiLikes0Downloads409