
F3D
Khay Breadboard Module Ghép Nối (Modular Breadboard Tray) 1

21 images

DIY

Khay Breadboard Module Ghép Nối (Modular Breadboard Tray)

By angelotadres_307374

Downloads
118
Likes
33
Views
1,339
Remixes
1

Files 2 189.9 KB

  • tray_1769560512.3mf3MF · 73.6 KB
  • lock-x-4_1769560512.3mf3MF · 116.3 KB

Make a variant with AI

Build another version of this model.

Open Studio

Remix versions 1

See all 1 remix

Description

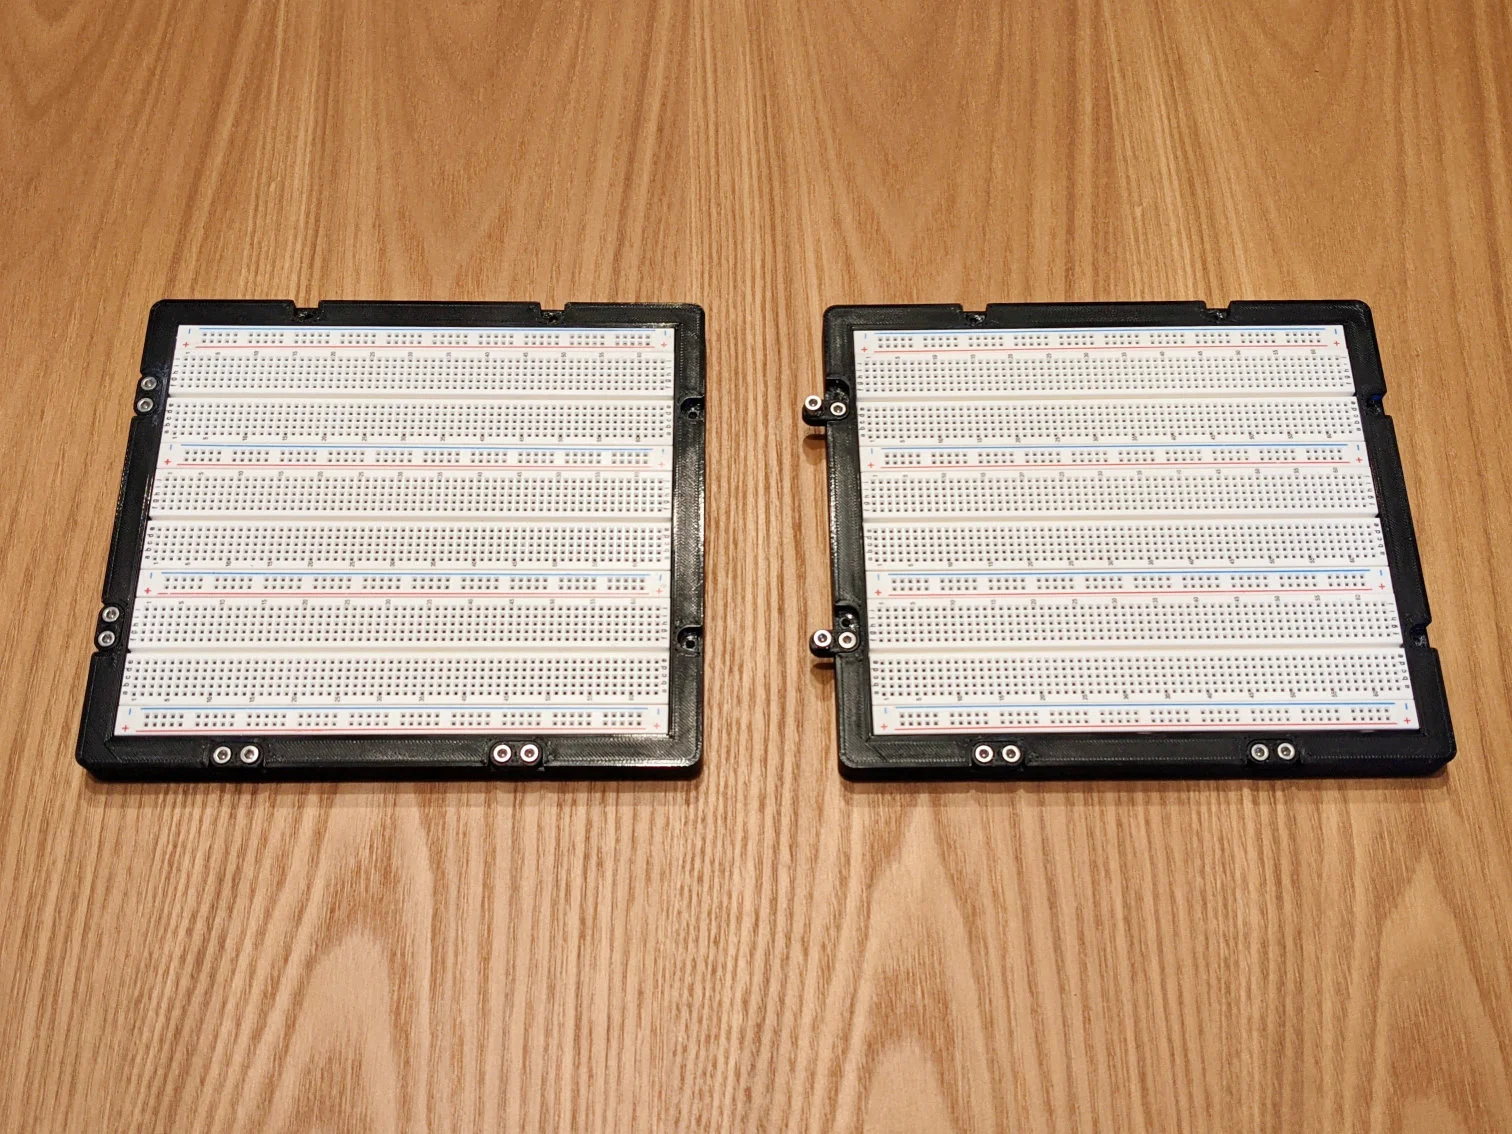
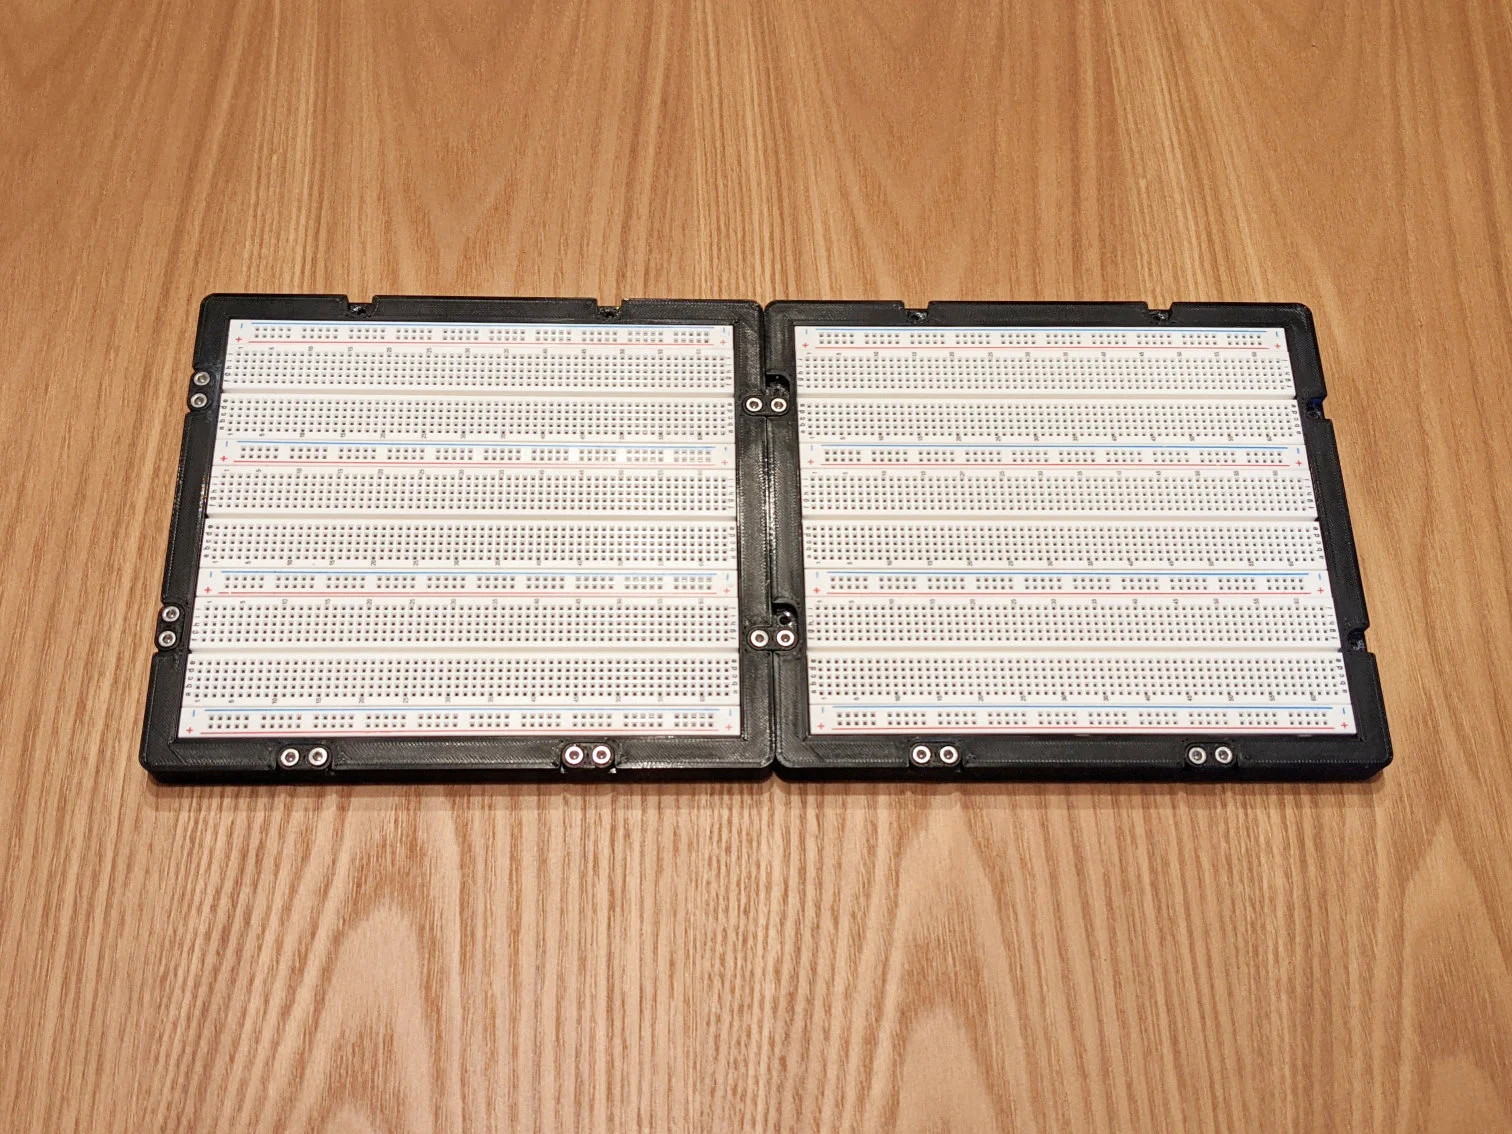
Connect breadboards as required to accommodate big or small projects.

The trays use screws and square nuts inserts to keep them connected as a unit.

For each tray, you will need:

  • 12 x M3 Square Nuts (link)
  • 12 x M3 x 8MM Socket Head Screws (link)
  • 4 x 13 or 14 mm diameter rubber feet (link)
  • 3 x 830 point solderless breadboard (link)

Assembly

  • 3D Print the tray and the four locks.
  • Using a 3mm drill bit or Exacto knife, remove the support material of the screw holes.
  • Insert the 12 square nuts from inside the tray. Using the screws, ensure the nuts’ holes are aligned with the holes of the breadboard plate.
  • The nuts are press-fitted, but using CA glue or hot glue to enforce them is recommended. 
  • Take one of the breadboards, remove both power rails, and then connect the other 2 to each side.
  • Remove the adhesive cover from the bottom of the breadboards and place them inside the tray. There are three gaps in one of the inside sides of the tray to match the breadboard bumps.
  • Add the four rubber feet (optional)
  • Attach the locks with the screws. When needed, unscrew to attach to other trays.

Read more Show less

Print spec

Formats
3mf
Model files
2
Total size
189.9 KB
Largest file
116.3 KB

0 comments

See all