

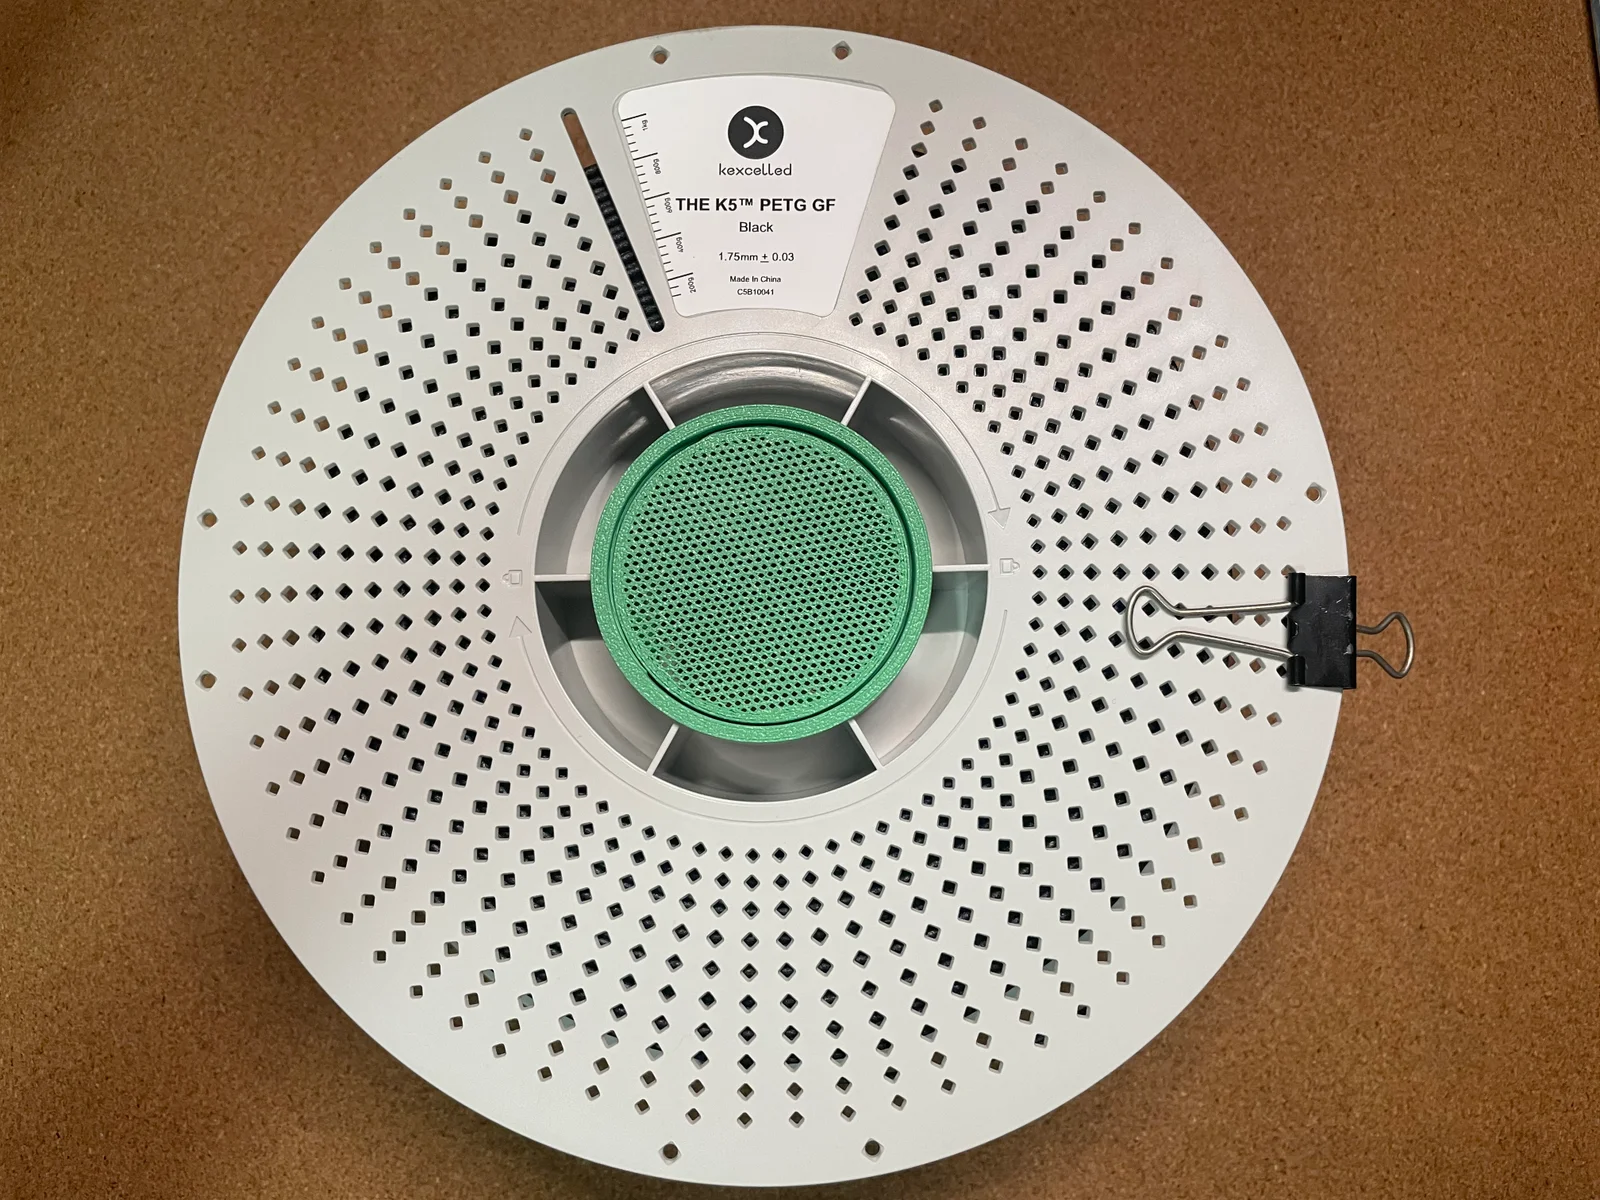


Kẹp giữ sợi Filament
 Bytinx_1344834Likes1.2KDownloads6K
Build another version of this model.
This is a "papered" spool box. With a diameter of 55mm, a total depth of 70mm, and an insertion depth of 65mm, it is compatible with Kexcelled reusable spools, Creality disposable paper spools, and Creality Soleyin spools. It can be inserted without falling out, but it is not stable.
"Papered" indicates its inspiration from paper rolls. When you use a flexible printing material like PLA for the first layer of printing, you'll find that it can be bent and rolled into a tube shape.
This is part of the "Papered" series. Please check my profile for more models based on the same principle; it might be helpful.
Print the configuration file directly. Some components in this project are customizable.
Component
STL File
Customizable
P1
cover
papered-spool-container-cover.main+ring+blank
papered-spool-container-cover.blank
Yes
P2
ring
papered-spool-container-ring.main+fixture+ring+blank
papered-spool-container-ring.blank
Yes
P3
wall
papered-spool-container-wall.main+blank
papered-spool-container-wall.blank
Yes
P4
seam
papered-spool-container-seam
papered-spool-container-cover
The cover contains two variations: a grid variation and a ring variation.
The best approach is to print one copy of each variation of P1, with the grid variation as the bottom of the box and the ring variation as the top. This allows the box to be opened by rotating the top.
papered-spool-container-ring
The cover contains two variations: a ring variation and a grid variation.
Used in conjunction with P1, if P1 is the grid variation, P2 must be the ring variation; conversely, if P1 is the ring variation, then P2 must be the grid variation.
papered-spool-container-wall
Outer wall
papered-spool-container-seam
Used to connect wall seams
Customize the component according to your needs
Component
STL file
Custom operation
cover
papered-spool-container-cover.blank
Set sparse fill
ring
papered-spool-container-ring.blank
Set sparse fill
wall
papered-soap-case-wall.blank
Set sparse fill
Modify blank The model's sparse fill pattern and density are set to a default of 50% honeycomb.
Triangles offer better strength, while straight lines print fastest. If you want to experiment with different pattern pairings and fill rates, it's recommended to perform a sparse fill test first.
In addition to the printing part, you will need the following fasteners:
Quantity
Notes
M3x3x4.2mm T-shaped thermoforming nut
8
Length 3mm, outer diameter 4.2mm
M3x5 countersunk screws
8
Total length 5mm
You can use a power strip to insert the nuts or use glue to attach them.
Implant the heat-fused nuts into place. I used a soldering iron tip to implant them from the inside.
1. Insert one side of the wall into the seam.
2. Insert the other side of the wall into the seam, aligning the screw holes.
3. Insert the wall into the cover, aligning the screw holes.
4. Screw in the four screws.
5. Similarly, insert the wall into the cover at the other end. The inner wall of one of the cover's screw holes is slightly thinner, allowing for better insertion into the wall seam.
6. Insert both covers into place.
7. Screw them into both rings like screws to complete.
Bytinx_1344834Likes1.2KDownloads6K

 ByreddLikes216Downloads2.1K

 ByJasonOlliff_519145Likes241Downloads2K

 Byarhi_585078Likes64Downloads535

 ByCapitaineBobLikes19Downloads136

 ByHanzo3dLikes155Downloads410

 ByGeek5DLikes147Downloads480

 ByPengLordLikes32Downloads106

 ByBrokentooth_designsLikes23Downloads401

 By3DSourcererLikes48Downloads372

 ByWyomingWolf_261196Likes52Downloads422

 Bytopronix_2170418Likes41Downloads292