



Kẹp giữ sợi Filament
 Bytinx_1344834Likes1.2KDownloads6K
Build another version of this model.
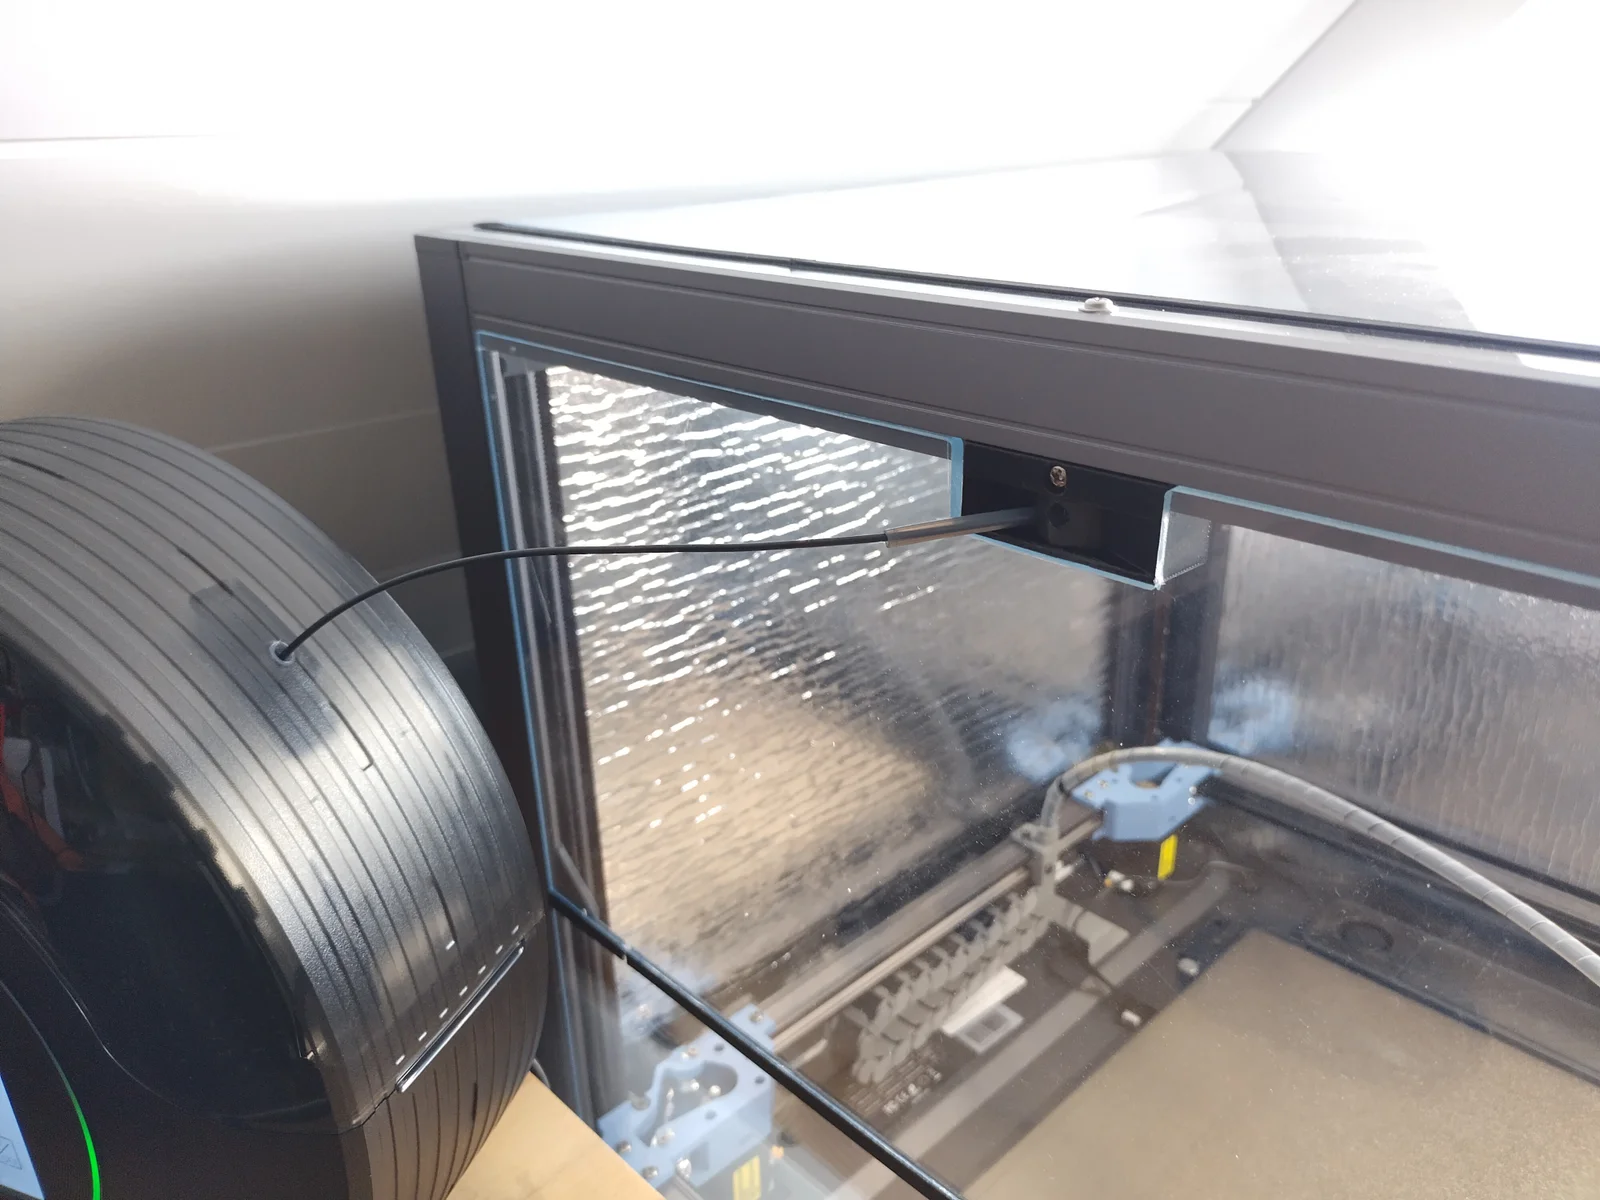
This is a one axis flexible filament path through for an enclosed SV08 for the left side.
It uses the existing thread in the frame - no drilling needed.
Two pass-throughs are supported:
one fixed PTFE tube
another for an additional PTFE tube from outside - only necessary if you plan to use another filament feeding from a filament dryer box with attached PTFE tube
You need at least one long M3 screw, washers and a nut or at least 2 short M3 screws and a long nut (which I used). Additional a short M2 screw to secure the part onto the frame.
Print both parts as shown:
frame: maybe best with support
inner cylinder: with lowest or low layer height - maybe a sanding is necessary after printing to get the cylinder free to move within the frame
Preparation:
the inner cylinder shows an oval design so it can be inserted only 90° turned and stays in the frame in normal direction
try both parts if the inner cylinder can be moved freely, otherwise do some more sanding
use a 4mm drill to free the small whole of the inner cylinder to exactly 4mm - a PTFE tube should fit tightened into the small whole
use a 4.5mm or 5mm (or whatever size) drill to free the big whole of the inner cylinder. This whole is just a 2nd way to feed another PTFE tube without any force into the enclosure - preferably coming from a filament dry box - not necessary if you can live with the small whole
Assembling:
turn the cylinder by 90° and put it in the frame. Finally turn it back so that the 2 pass-throughs are visible again
a) put the long M3 screw into the frame from below and screw it from bottom side into the left frame of your
b) put a short M3 screw from top into the left frame attach the long nut from below and put the 2nd M3 screw from below into the frame part and connect both with the long nut
the M3 screw acts as the axis for the inner cylinder as well as the fixing for the whole part.
add the short M2 screw into the part to secure it to the printers frame - only necessary as a secure fix even if the M3 screw loosens itself.
Benefit:
fixed PTFE tube from enclosed printer housing to inside/tool head
flexible moving to not block/stress the tool head in motion
Additional Note for using on right enclosure wall:
If you want to use it on the right enclosure wall, please try to print the frame mirrored. And check first if the frame can be mounted to one of the existing wholes (those one who are given for the original spool holder and tangling sensor). I did not checked this on my own, but I think it will work accordingly.
Bytinx_1344834Likes1.2KDownloads6K

 ByreddLikes216Downloads2.2K

 ByJasonOlliff_519145Likes241Downloads2K

 Byarhi_585078Likes64Downloads537

 ByHanzo3dLikes155Downloads411

 ByGeek5DLikes147Downloads482

 ByNadirLikes25Downloads110

 ByBrokentooth_designsLikes23Downloads403

 By3DSourcererLikes48Downloads374

 ByWyomingWolf_261196Likes52Downloads424

 Byeoyilmaz_384382Likes17Downloads93

 Bytopronix_2170418Likes41Downloads293