F3D
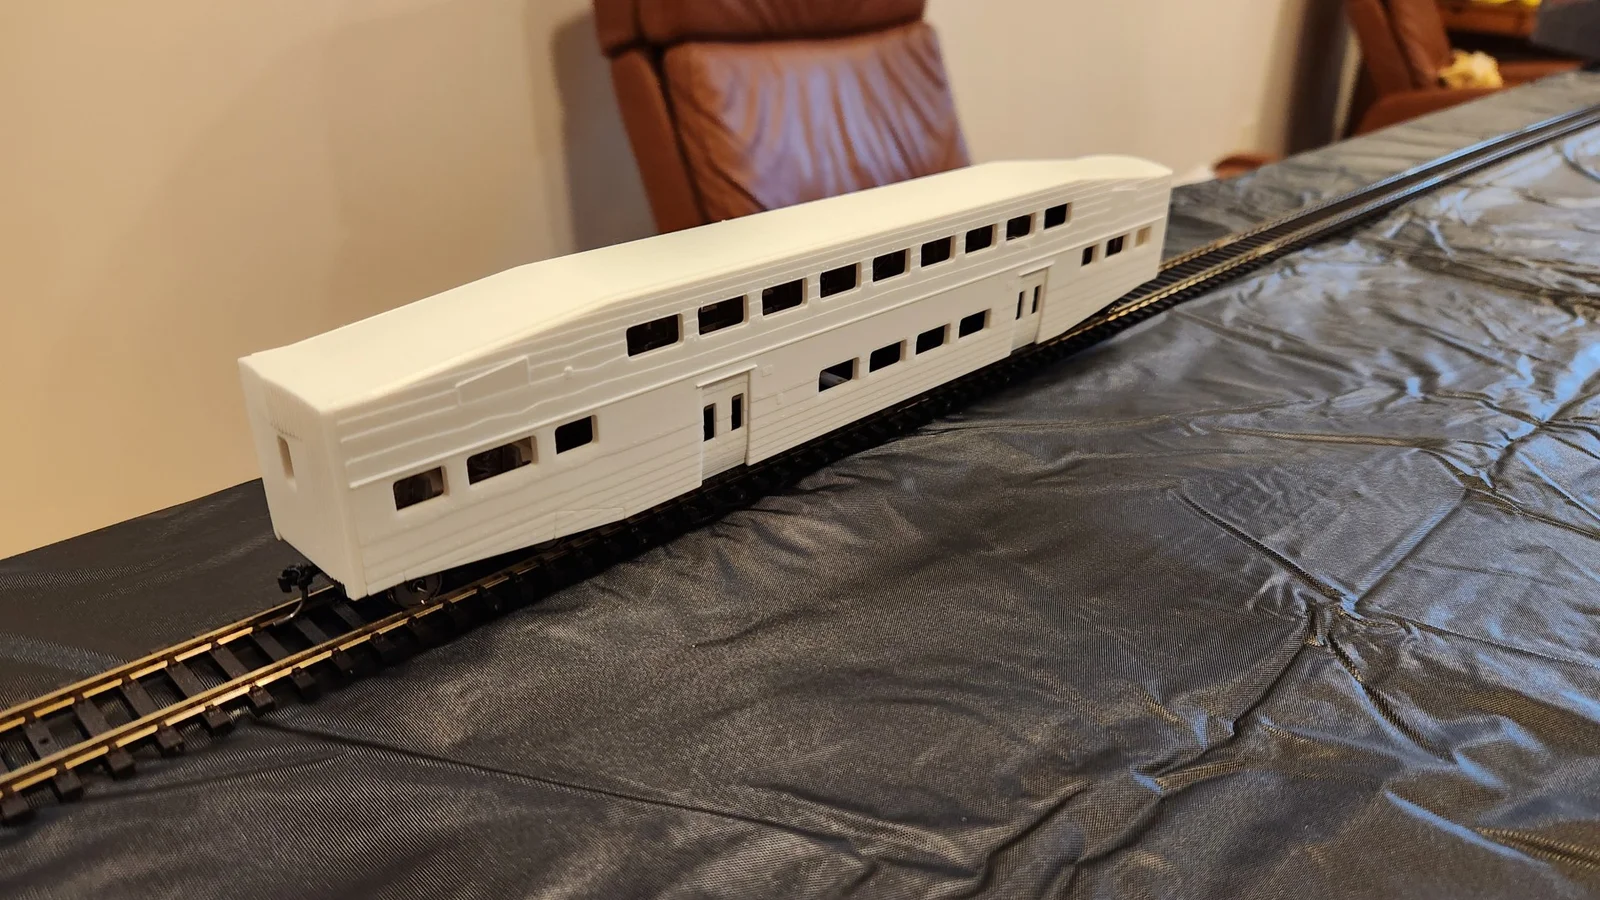
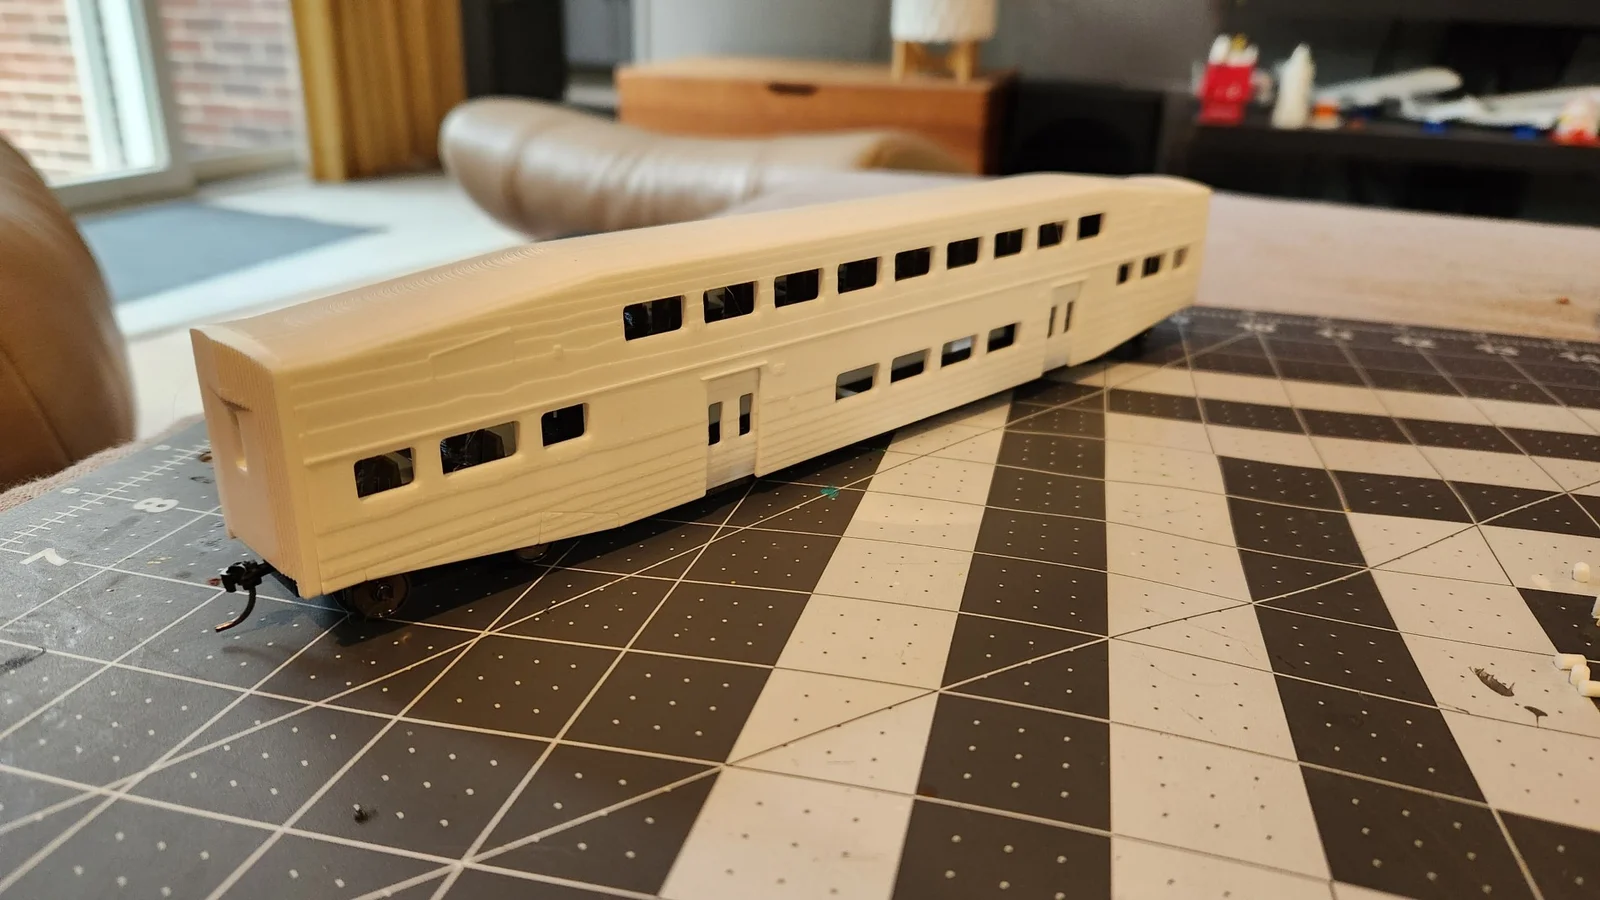
Bombardier Bilevel 1

4 images

Large file collection Xe Cộ - Máy Móc

Bombardier Bilevel

By GoldenBearModels

Remixes
1

Files 25 47.7 MB

  • Brackets_1767696804.3mf3MF · 669.3 KB
  • Chairs_and_pins_1767696805.3mf3MF · 80.7 KB
  • End_Face_1767696806.3mf3MF · 185.7 KB
  • Floor_Inserts_1767696807.3mf3MF · 165 KB

Make a variant with AI

Build another version of this model.

Open Studio

Remix versions 1

See all 1 remix

Description

🥉Bronze Level: Model will be updated in the future to improve directions and include decals (Sept. 4 2023)

HO scale model of the Bombardier BiLevel Commuter Car. The car has become a staple in North American commuter service with over 1,500 built and more being produced. This contains all the files needed to print your own. The trucks for the BiLevel still need some refinement to get the unique outer disc brake effect and operational capabilities. In addition to the 3D printed parts some screws are required for assembly.

Parts list:

  • 32x Full chair
  • 2x End face
  • 2x Interior Stairs
  • 2x Coupler Covers
  • 2x Mid floor inserts
  • 2x End Brackets
  • 1x Mid Stiffener
  • 18x Pins
  • 1x Mid stiffener 3
  • 2x Mid stiffener 2
  • 1x Roof
  • 1x Main Floor
  • 1x Side 1
  • 1x Side 2
  • 1x 2nd floor

Hardware:

  • 4x 33" HO wheels
  • 2x Couplers
  • 7x M2x4 countersunk screws
  • 2x M2x8 screws
  • 2x M2x4 screws
  • Glue

Instructions:

  1. Glue the End Bracket to the End Face using 3 Pins(2x)
  2. Glue the Mid Stiffener 3 to the middle of the Roof
  3. Insert and glue 2 Pinsto the top of the step 1 assembly
  4. Glue the step 3 assembly into the step 2 assembly
  5. Insert and glue 5 Pinsinto the side of the step 4 assembly and attach Side 1
  6. Repeat step 5 with the other side of the assembly and Side 2
  7. Insert and glue 2 Pinsinto the Mid Stiffener
  8. Insert and glue the step 7 assembly into the main assembly. Make sure the screw hole is lined up as close as possible to straight down
  9. Glue the 32x Full chairs into the 2nd floor, floor frame, and mid floor inserts
  10. Using 4x M2x4 countersunk screws attach the 2nd floor and Mid stiffener 2with the Interior stairsbetween them
  11. Slide the step 10 assembly into the main assembly and into the slots on the top of the Roof
  12. Glue the mid floor inserts into the floor frame. Be careful not to overlap on any important areas where screws will go.
  13. Attach using 3x M2x4 countersunk screws to the step 12 assembly to the main assembly
  14. Attach the couplers using the Coupler Covers and 2x M2x8 screws. Make sure to press the floor and shell together as the screw helps attach the two assemblies
  15. Insert the 4x wheels into the Trucksand attach the Trucksusing 2x M2x4 screws

Read more Show less

Print spec

Formats
3mfstl
Model files
25
Total size
47.7 MB
Largest file
12.9 MB

0 comments

See all