F3D
SV08 MAX Modular Top Hat – Top Hat Modular rỗng, nắp 2 mảnh… 1

17 images

Large file collection Máy In 3D

SV08 MAX Modular Top Hat – Top Hat Modular rỗng, nắp 2 mảnh có bản lề

By Nadir

Downloads
108
Likes
15
Views
617
Remixes
1
Download 2 packages· 21 files · 535 MB· 535 MB

Files 21 535 MB

  • right top handle.stlSTL · 7 MB
  • left top handle.stlSTL · 7 MB
  • left side 1.stlSTL · 11.9 MB
  • right side 3.stlSTL · 13.3 MB

Make a variant with AI

Build another version of this model.

Open Studio

Remix versions 1

See all 1 remix

Description

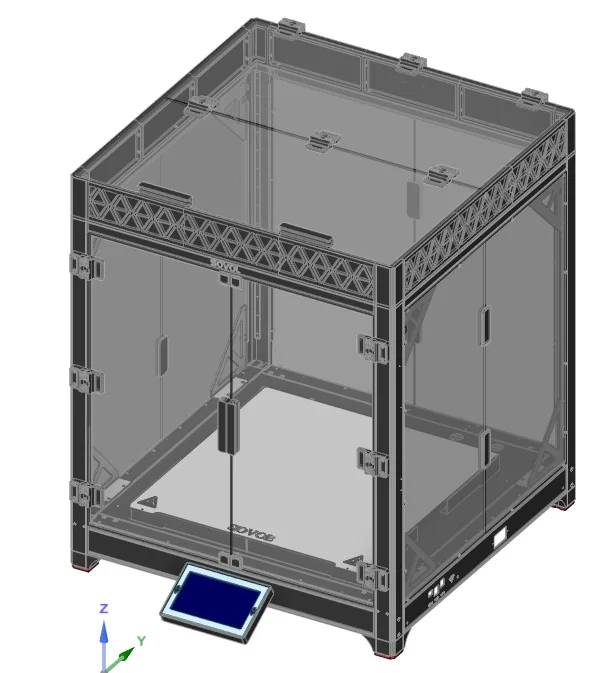
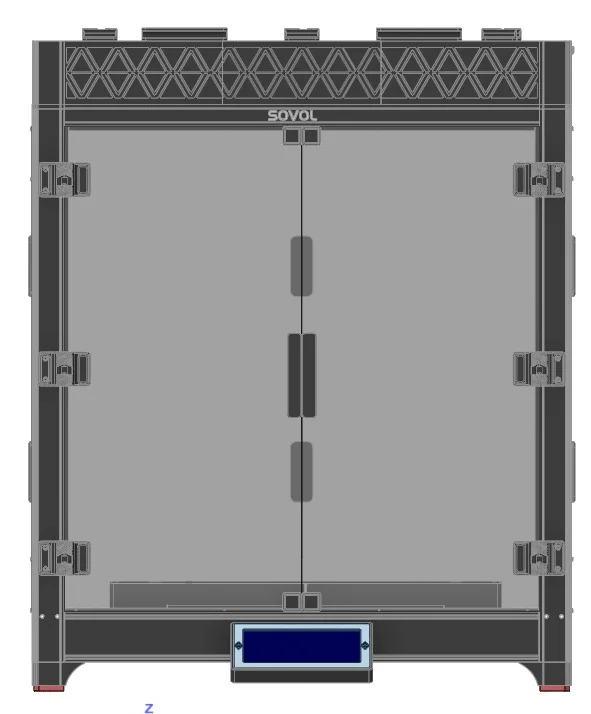
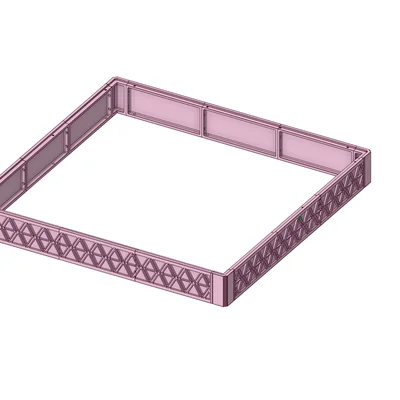
A modular, hollow-design top hat for the SV08 MAX, cut into 208–210 mm sections for easy printing. Features drop-in grooves for a perfect fit on the frame and matching grooves for a 2-piece hinged top panel. Designed with add-on compatibility in mind for future upgrades.

Recommended material: ABS (PETG possible; PLA for non-heated use). Adjust for shrinkage when printing.

All the files are oriented in the printing position. 
The hinges are a Print in place with no support required but you can add a brim to it! 
 

Bill of Materials

For nuts and bolts  https://s.click.aliexpress.com/e/_DBdNTVD
 

  • Counts are for a full ring + 2-piece lid.

Tuning for Fit (Shrinkage)

  • ABS shrinks. If your frame fit is tight/loose:
  • Adjust XY compensation ±0.1 mm.
  • Scale XY by ±0.2–0.4% as needed.
  • Lightly sand the groove faces for a perfect sit on the frame.

Assembly (Quick S.teps)

  • Dry fit sections around the frame to understand alignment.
  • Install heat-set inserts where indicated (panel joins + lid and hinge points).
  • Join the ring sections with M3×6/M3×8 screws per the model notes.
  • Seat the ring on the frame via the drop-in groove. It should sit flush and stable.
  • Build the 2-piece lid:
  • Press in Ø6×3 mm N52 magnets (observe polarity).
  • Install heat-set inserts for the hinge hardware.
  • Mount hinges using M3×5 SHCS and M3×5 flange head screws as indicated.
  • Test the hinge action and magnet closure. Adjust screw tension for smooth movement.

Printing

  • Material: ABS/ASA recommended. PETG works. PLA is acceptable if you won’t run chamber/hot temps beyond PLA comfort.
  • Layer height: 0.20 mm (adjust if you scale nozzle)
  • Nozzle: 0.4 mm (larger nozzles fine; adjust walls/top/bottom accordingly)
  • Perimeters: 3 walls
  • Top/Bottom: 5 / 5
  • Infill: 10% gyroid
  • Supports: None (except tiny/painted supports for the drop-in groove if your bridging isn’t dialed)
  • Orientation: Lay sections flat; keep grooves on top to maximize bridge quality.
  • Cooling: Minimal for ABS/ASA; normal for PETG/PLA.
  • Brim: Recommended for ABS/ASA to reduce warp on long sections.
  • Bridging: Any decent printer should bridge the internal geometry. If your bridge sags, slow bridge speed and bump fan just for those spans.

Print Settings (TL;DR)

  • 0.2 mm LH, 0.4 mm nozzle
  • 3 walls, 5 top, 5 bottom
  • 10% gyroid
  • Supports: only for drop-in groove bridges (if needed)
  • Material: ABS/ASA → best; PETG → good; PLA → ok for cool operation
     

If you want a full Enclosure you might want to take a look at this Door hinge and handle system for the SV08 MAX

Filament path is using Ecas04 on the middle Right side panel 


https://www.printables.com/model/1384437-sv08-max-door-hinges-handles

Also here you will hind all the DXF Panels that we have design for the full enclosure and the top has a 2 piece hinged top panel 

💬 Want to Help Improve It?

If you test it, please leave a Make or comment with your results and suggestions. We’ll include all confirmed improvements in the final release.

Let’s bring our Sovol printers to the next level – together! ⚙🔥

❤ Support Our Work If you enjoy our content and want to help us keep creating: 
🔹 Become a supporter on Printables: https://www.printables.com/@Nadir#[email protected]

Read more Show less

Print spec

Formats
stlstp
Model files
21
Total size
535 MB
Largest file
146.3 MB

0 comments

See all