



Kẹp giữ sợi Filament
 Bytinx_1344834Likes1.2KDownloads6K
Build another version of this model.
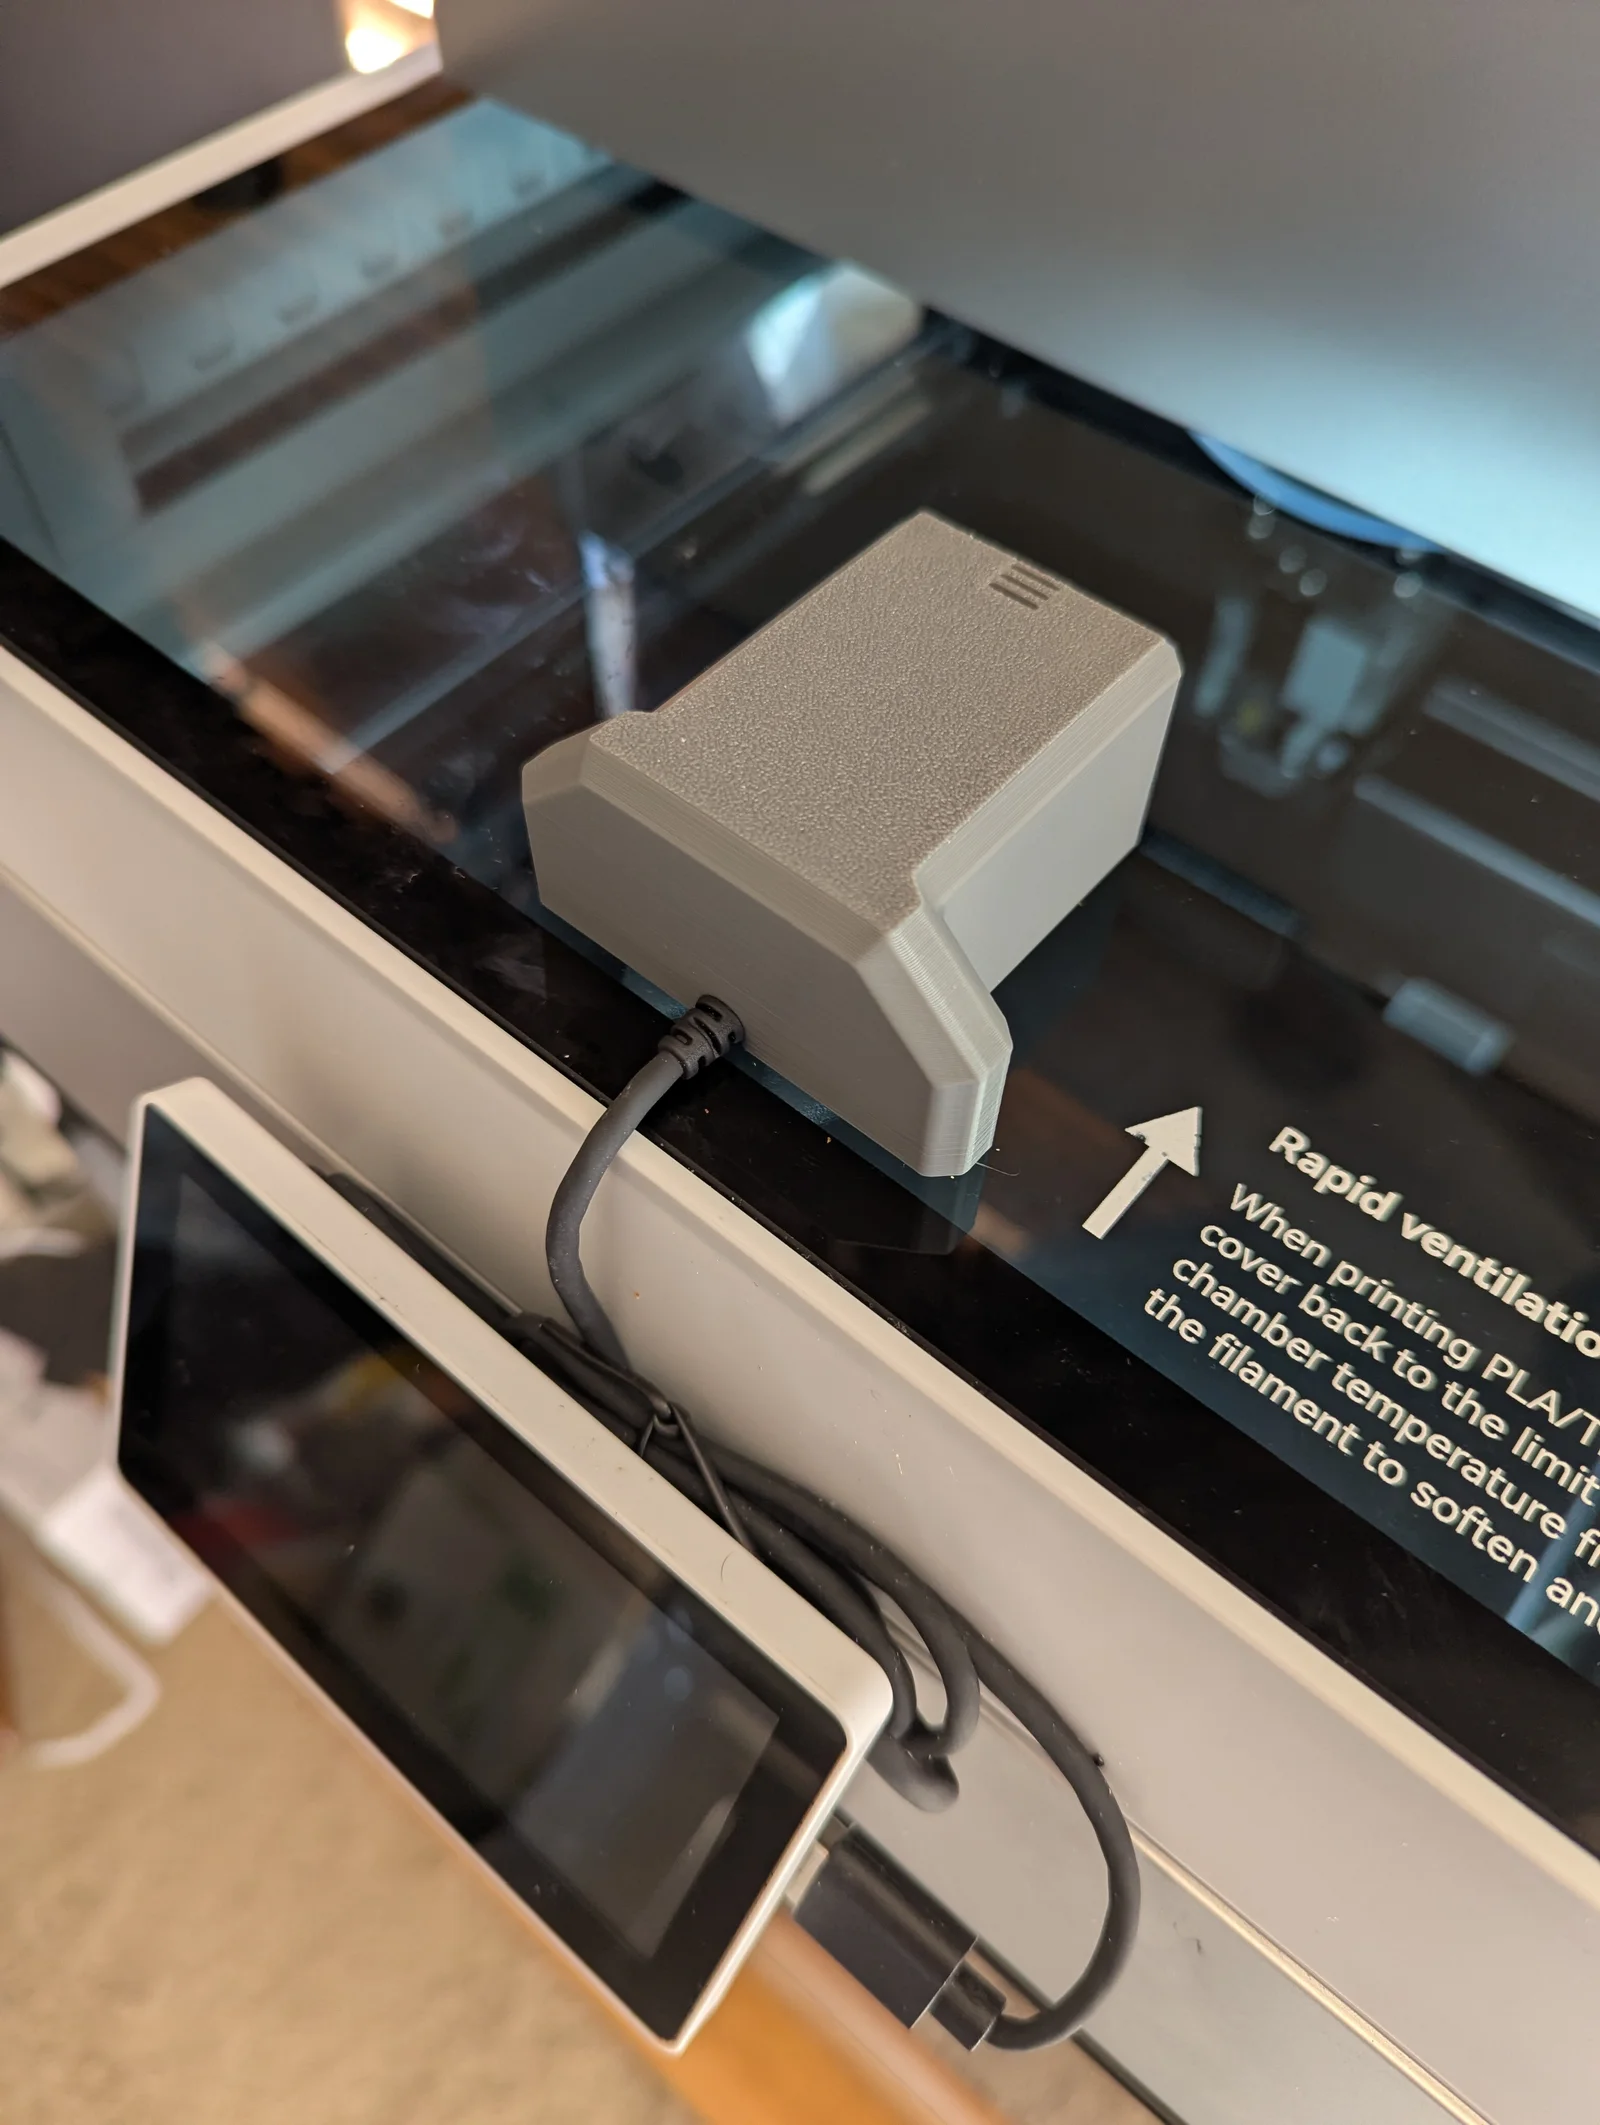
Add an overhead camera to your Q2! This replaces the existing top glass handle and uses the same screws to mount.
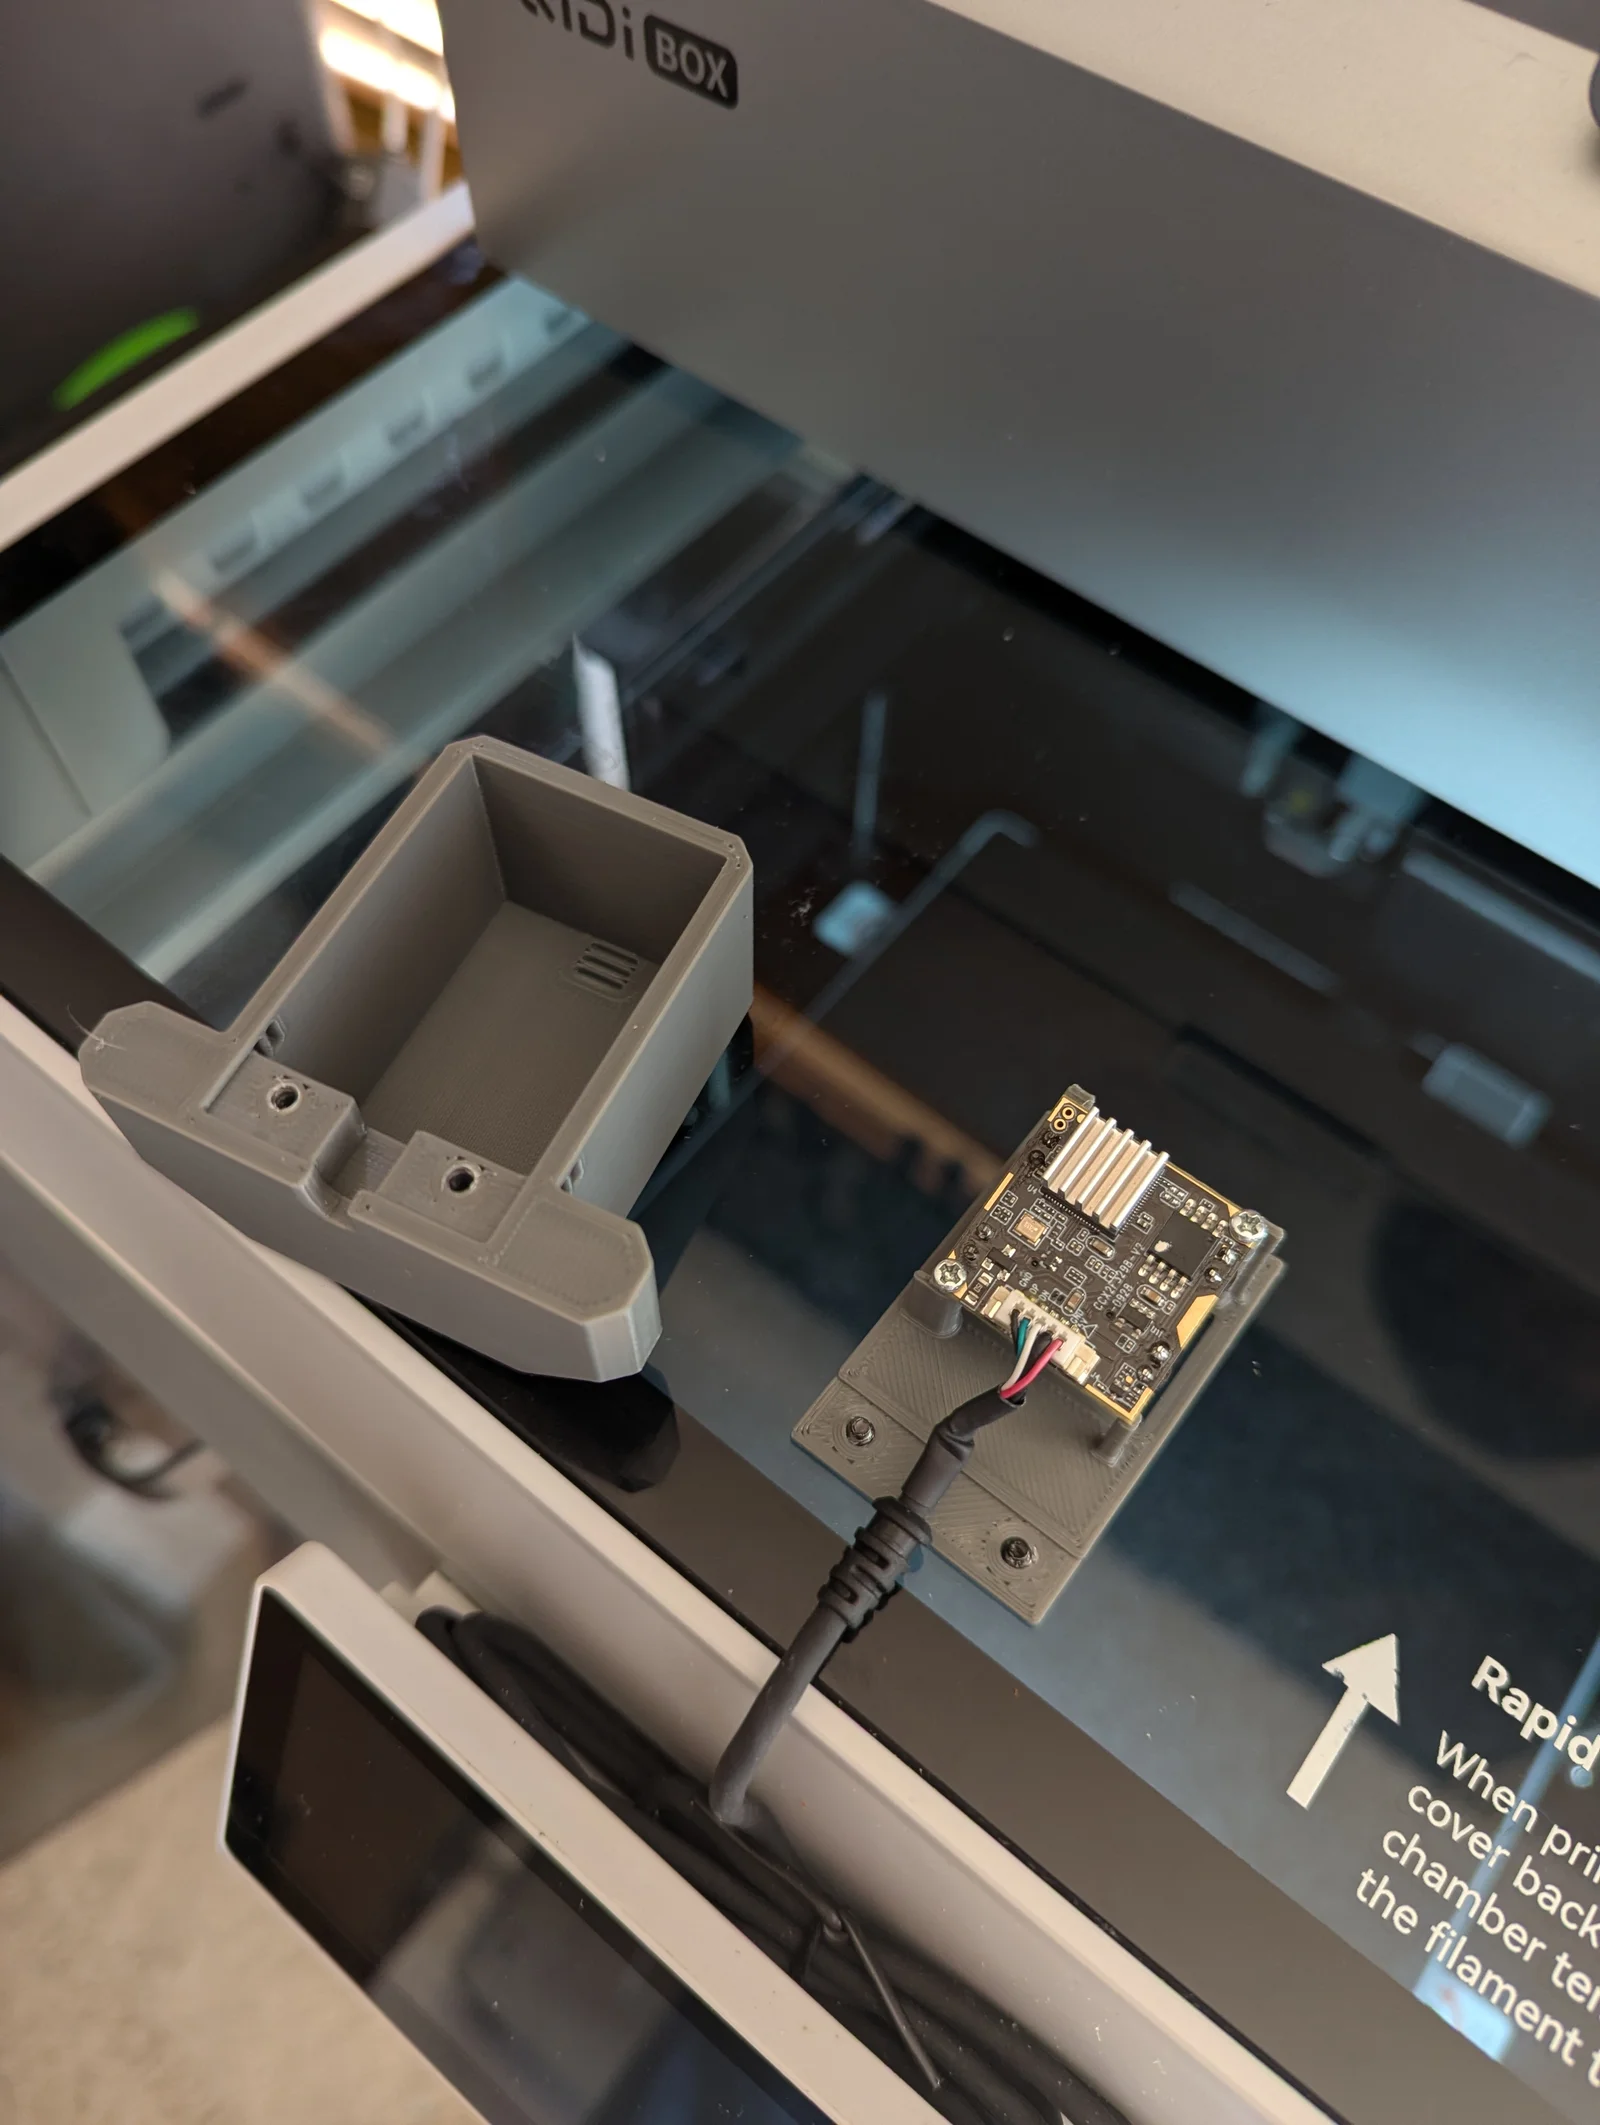
Disassemble the Nebula camera as you will only need the camera PCB and the USB cable and the two screws holding the PCB.
Remove the existing top-glass handle from the printer and keep the screws to re-use on the new mount.
Mount the camera PCB to the camera mount using the screws that came out of the Nebula.
Place the mount into position lining up the screw holes of the top-glass and start the screws in with about 2mm exposed so you can line-up the cover.
Place top cover over camera and insert the USB cable relief into the notch of the cover.
Tighten the top-glass screws while holding the cover in position (walk the cover down alternating screws a turn at a time). You are screwing into plastic so do not over-tighten.
Connect the camera to the screen's USB port.
Add the camera to crowsnest.cfg (I have included a txt file that has the needed configuration of the camera). Add it to the end of the existing config. Save the config and restart crowsnest service or restart the printer.
In Fluidd add the camera as shown in the screenshot included in this post.
You should now have the camera as an available option to view in Fluidd. Enjoy your new view!
note: The nebula has issues with it's IR turning on randomly at times (pretty rare). I used 4mm black shrink-wrap tubing (glue type) to cover the three IR emitters on the PCB. If the IR kicks in shooting through the top-glass will white-out the image. Place a piece of the shrink tubing on the IR LED and heat and pinch at the top to seal the tube to block the IR. More permanent solution I guess is to use like black nail polish on the LED's if you want to.
Print with cover top-down and no supports needed on either piece. I used 0.2 LH / 6 top and bottom / 4 walls / 15% Honeycomb 3D infill.
Camera does get warm (as cameras do) and no issues with using this mount and put vent holes in the model to help with heat dissipation.
Bytinx_1344834Likes1.2KDownloads6K

 Byds-printsLikes0Downloads354

 Byprusa-researchLikes0Downloads2.7K

 Bydet-manLikes0Downloads175

 Bygummiegecko8477Likes0Downloads167

 ByBrokentooth_designsLikes17Downloads159

 BydalleLikes0Downloads149

 Byarhi_585078Likes64Downloads545

 ByHanzo3dLikes155Downloads417

 BydarienLikes0Downloads1K

 ByGeek5DLikes147Downloads490
