



Còi Tàu Hơi Nước Mini
 ByfifindrLikes500Downloads4K
Build another version of this model.
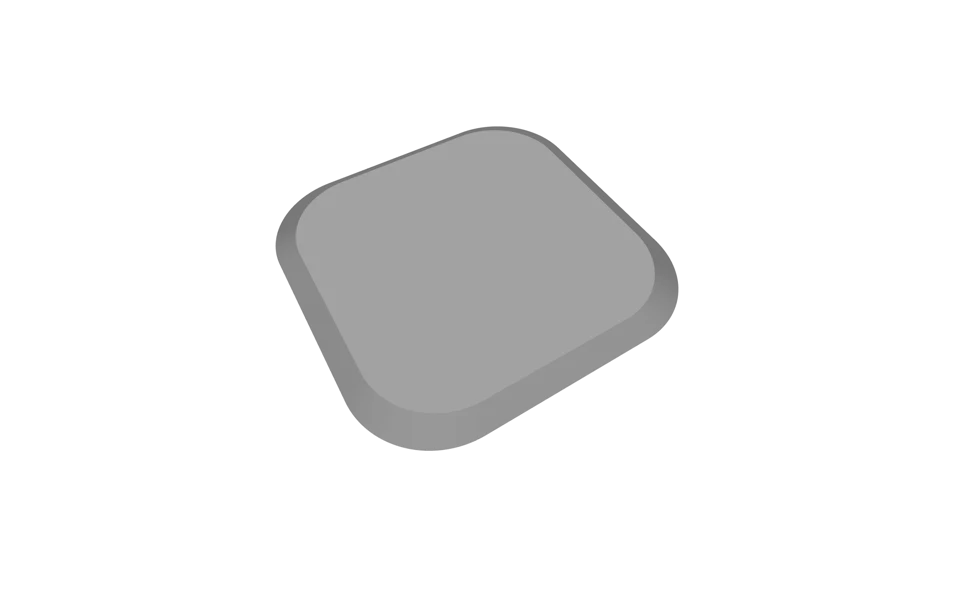
Sacrificial molds for repairing and modifying composites.
Used for making repaired surfaces completely flat and level. Can serve as a replacement for scotch tape, peel ply, pieces of glass, etc.
Meant to be printed out of PVA. 100% infill is ideal, especially when dealing with epoxy (due to high curing temperature). You can go down to as low as 10% if you're targeting a flat surface. Meant to be scaled in the slicer to perfectly match the size of the damaged area. For use on curved surfaces, the mold can be bent against neighboring (intact) area and shaped using heat gun.
Print to be slightly larger than the target area
Apply filler material to the target area;
Position this mold on top;
Wipe any excess resin that may come out around the edges;
Point a heat gun or cover with a heating pad to heat-cure the epoxy (optional);
Let it cure;
Dissolve using water;
Similar idea to backing strips (planks); aimed primarily at composite materials. It's a surface mold for hard-to-reach areas.
TBA (blue and red PETG-like filaments, north south pole, etc)
Prepare the opening (especially the edges, on both sides);
Print the backer plank slightly larger than the back side of the opening;
Put layer(s) of fibers onto the mold;
Put a bit of resin (or glue) onto the edges of the mold;
Clamp the mold and fibers with magnets from both sides;
Attach fishing line (or strong sewing thread) to both magnets;
Carefully pull the plug through the opening, keeping it centered (avoid detaching the magnets!);
Secure the pulling wire using a rubber band or tie and hang a small weight on it [e.g. tungsten sinkers] to keep a little bit of tension and press the mold against the back side of the opening;
Wait until the resin/glue is hard enough to hold the plug in place by itself;
Detach the magnets;
Insert your (foam/honeycomb) plug into the opening, along with all the necessary mixtures and fibers;
Cover with peel ply, dissolvable surface mold, or perform vacuum bag infusion;
After the resin is fully cured, dissolve the backer plank using water;
TBA
ByfifindrLikes500Downloads4K

 ByVC_DesignLikes679Downloads3.6K

 ByDan Schwartz SchwartzLikes744Downloads3.4K

 Bykjus_448782Likes314Downloads673

 Bychubbs8697_2027893Likes585Downloads1.7K

 Byquibeck_3353173Likes965Downloads1.9K

 ByRungeKuttaLikes229Downloads1.2K

 ByEadubsLikes228Downloads1.3K

 ByJeremyVillalo_760366Likes68Downloads767

 ByZED4EverLikes313Downloads5.2K

 BySchmitzBertLikes95Downloads629

 ByNathanKun_342409Likes132Downloads590