



Kaido – Dragon Planter
 ByshoheiyLikes0Downloads298
Build another version of this model.
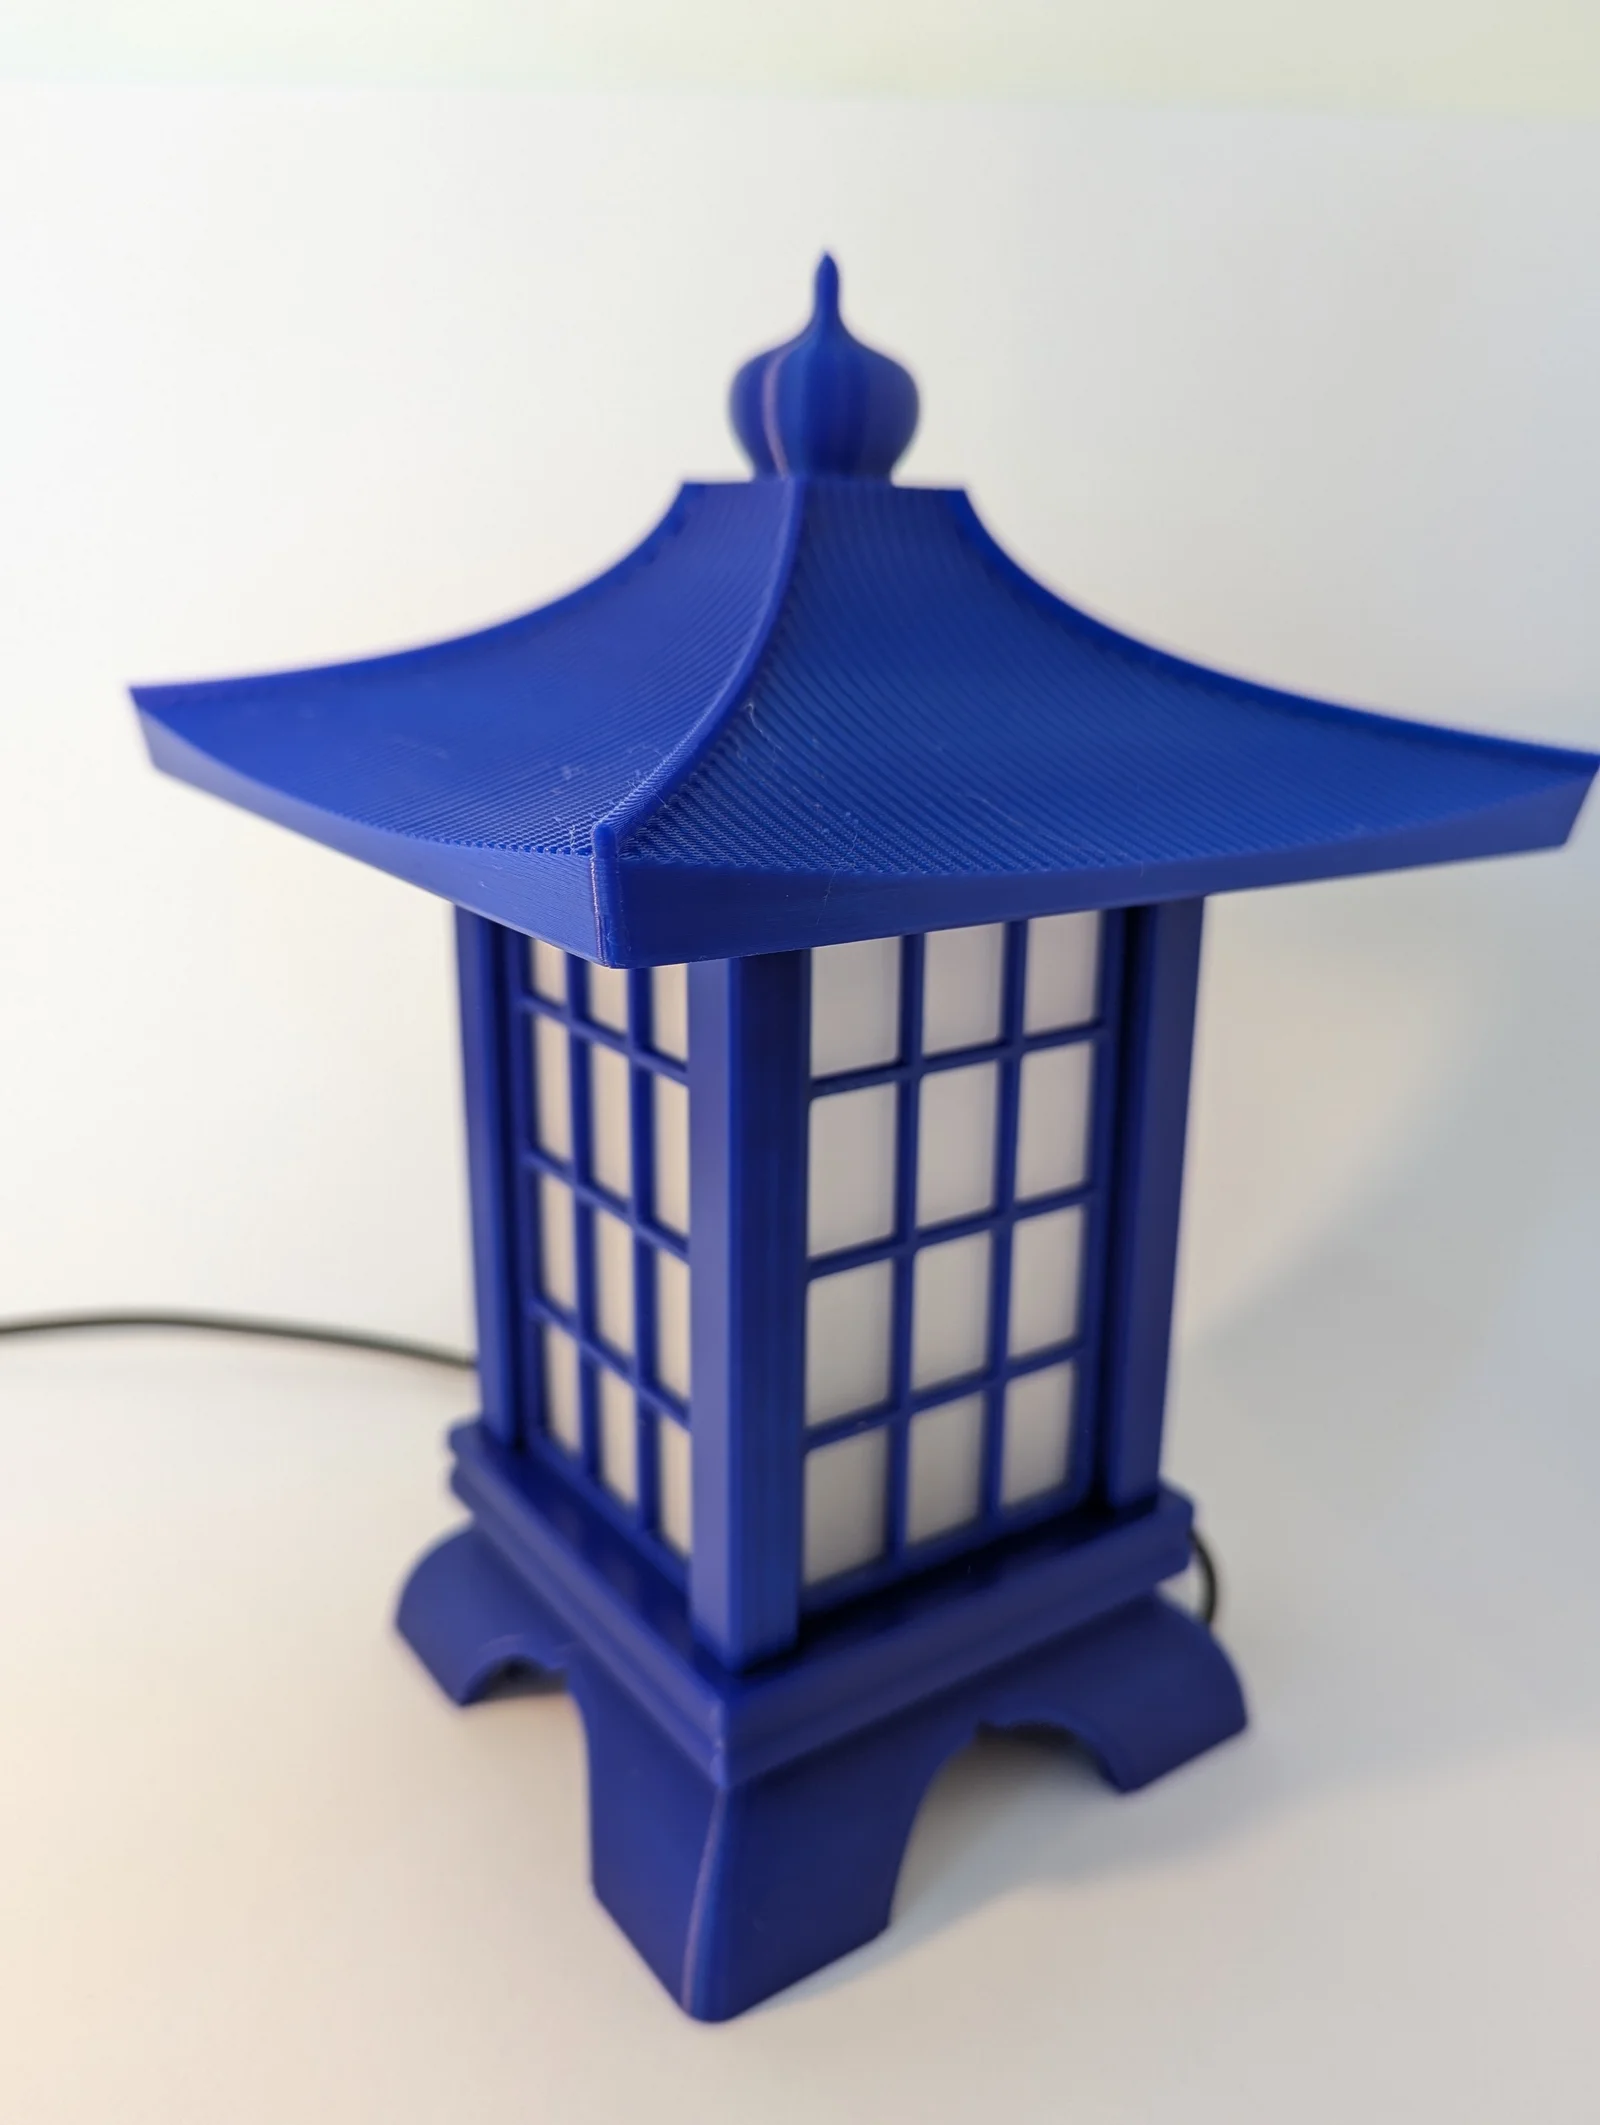
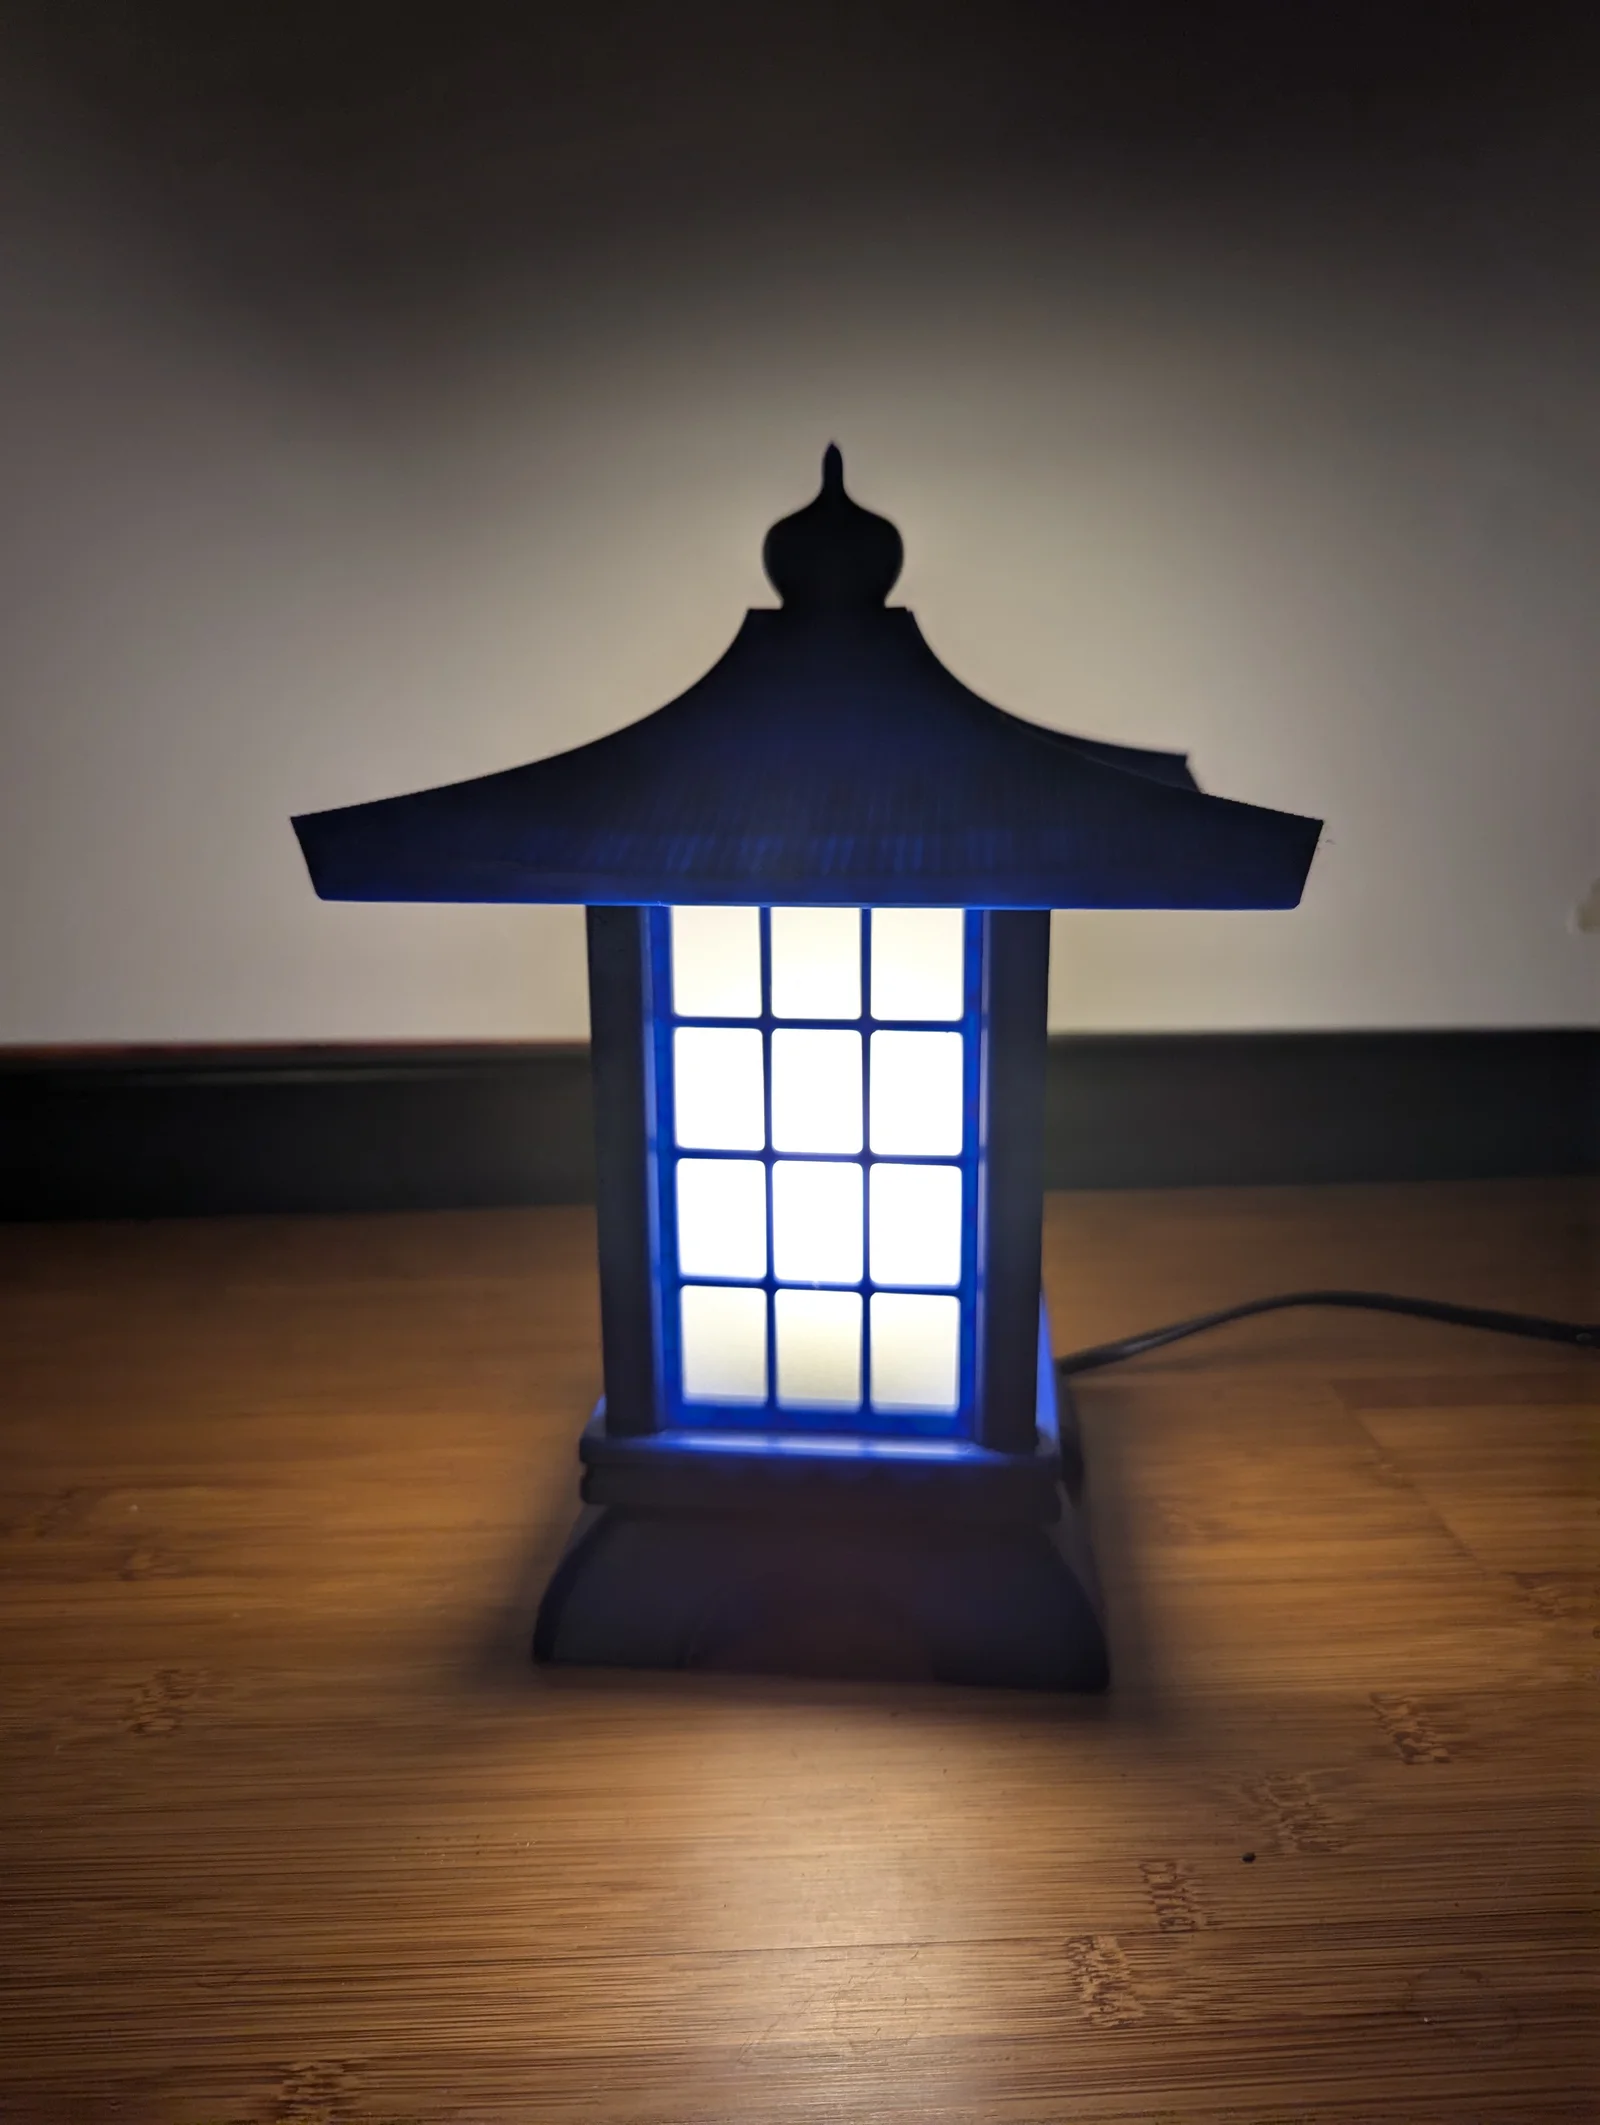
Japanese lantern inspired lamp. Indoor version with paper shoji doors.
The base has a 40mm hole for a e27 fitting (see picture), this fitting has two rings that are used to keep it in place.
There is also a version without hole, use negative volume to fit what you have available, or downsize and use a (ONLY LED!) tea light.
Please send me a message if you have a different type of socket, I could try to edit the base to make it fit.
I also added a fusion360 file to make your own sidepanel designs.
I started my design from scratch, but I got some ideas and inspiration from https://www.thingiverse.com/thing:4969135 and https://www.thingiverse.com/thing:5381403 . Check them out!
Instructions:
you will need to print:
Don't change the print orientation. No need for support. I used 3 perimiters and 15% Adaptive cubic (to save filament).
Assembly:
Please share your makes, and custom panels!
ByshoheiyLikes0Downloads298

 Bylayer-forgeLikes0Downloads598

 ByGIVEMHEVNLikes71Downloads146

 BybobmakesLikes2.5KDownloads17.5K

 ByEmilySpencer_1496565Likes151Downloads513

 Bysektor-7-studiosLikes0Downloads456

 Bymoleculecrtr_1215658Likes544Downloads2K

 ByPiotrRagoLikes161Downloads451

 By3d-paint-labLikes0Downloads216

 ByHeenkLikes118Downloads416

 Byvg1Likes0Downloads267

 BydmtinkdevLikes74Downloads296